A Brutalist flat gets a transformation.

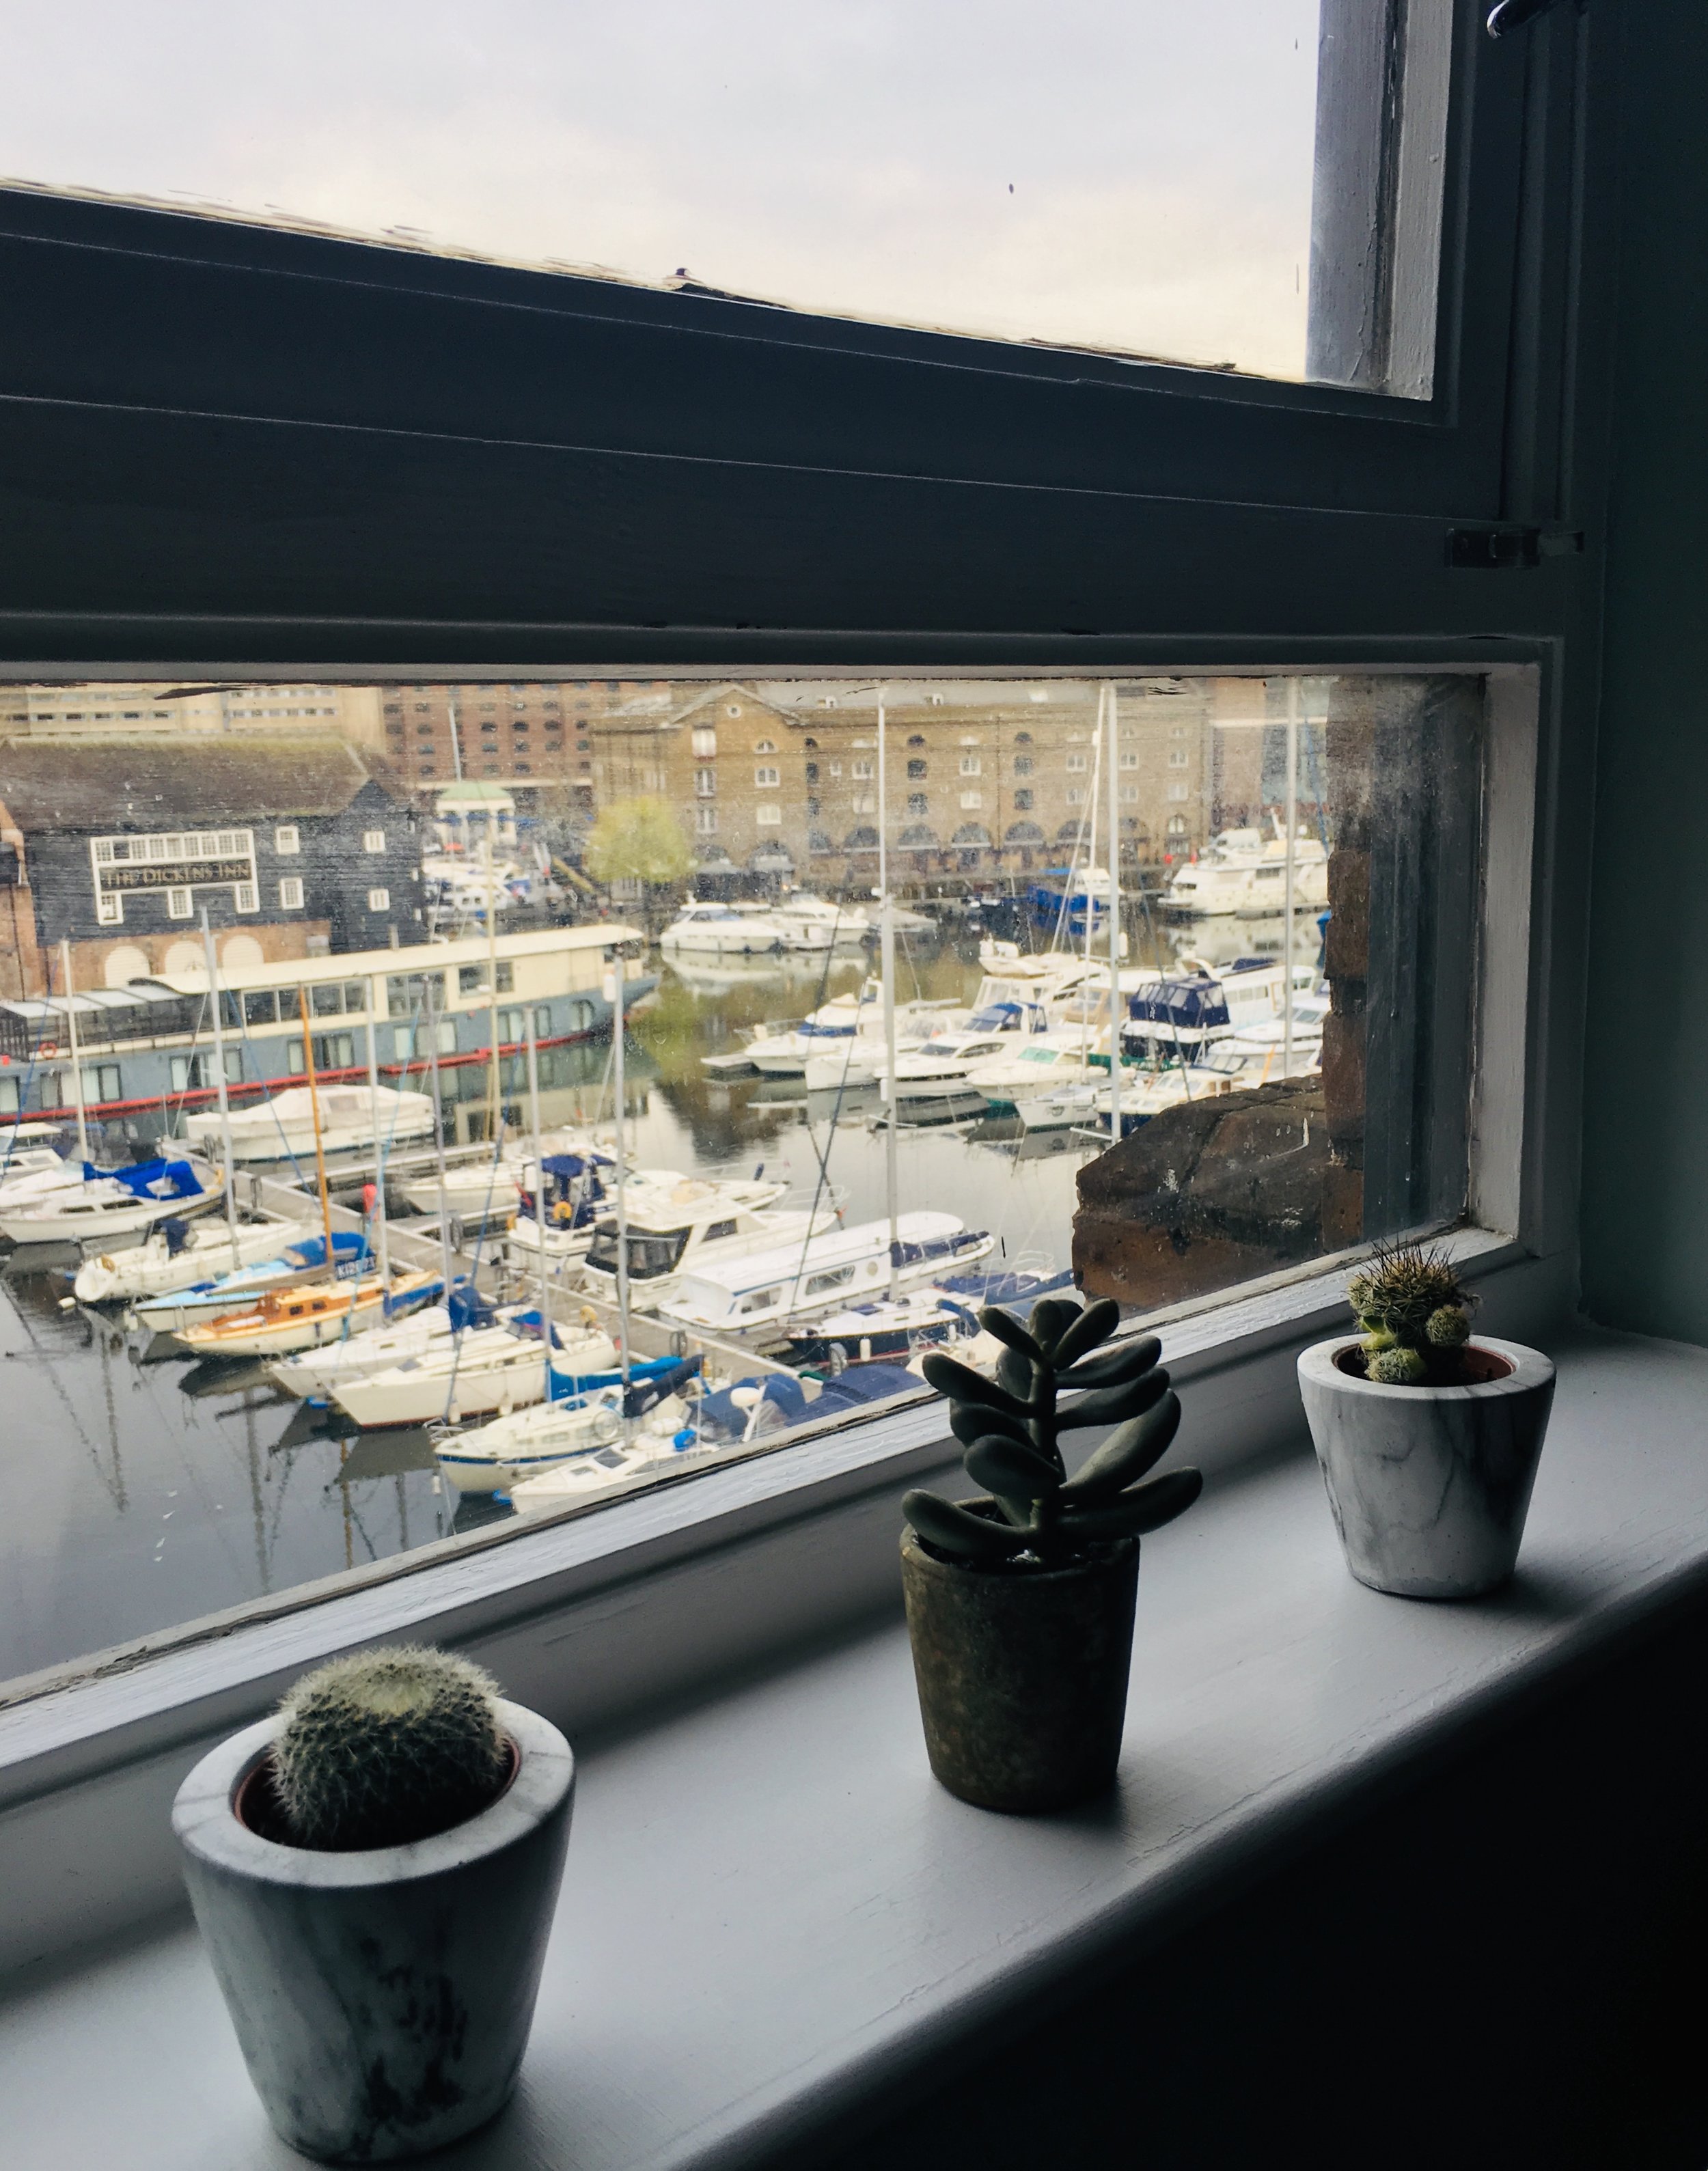
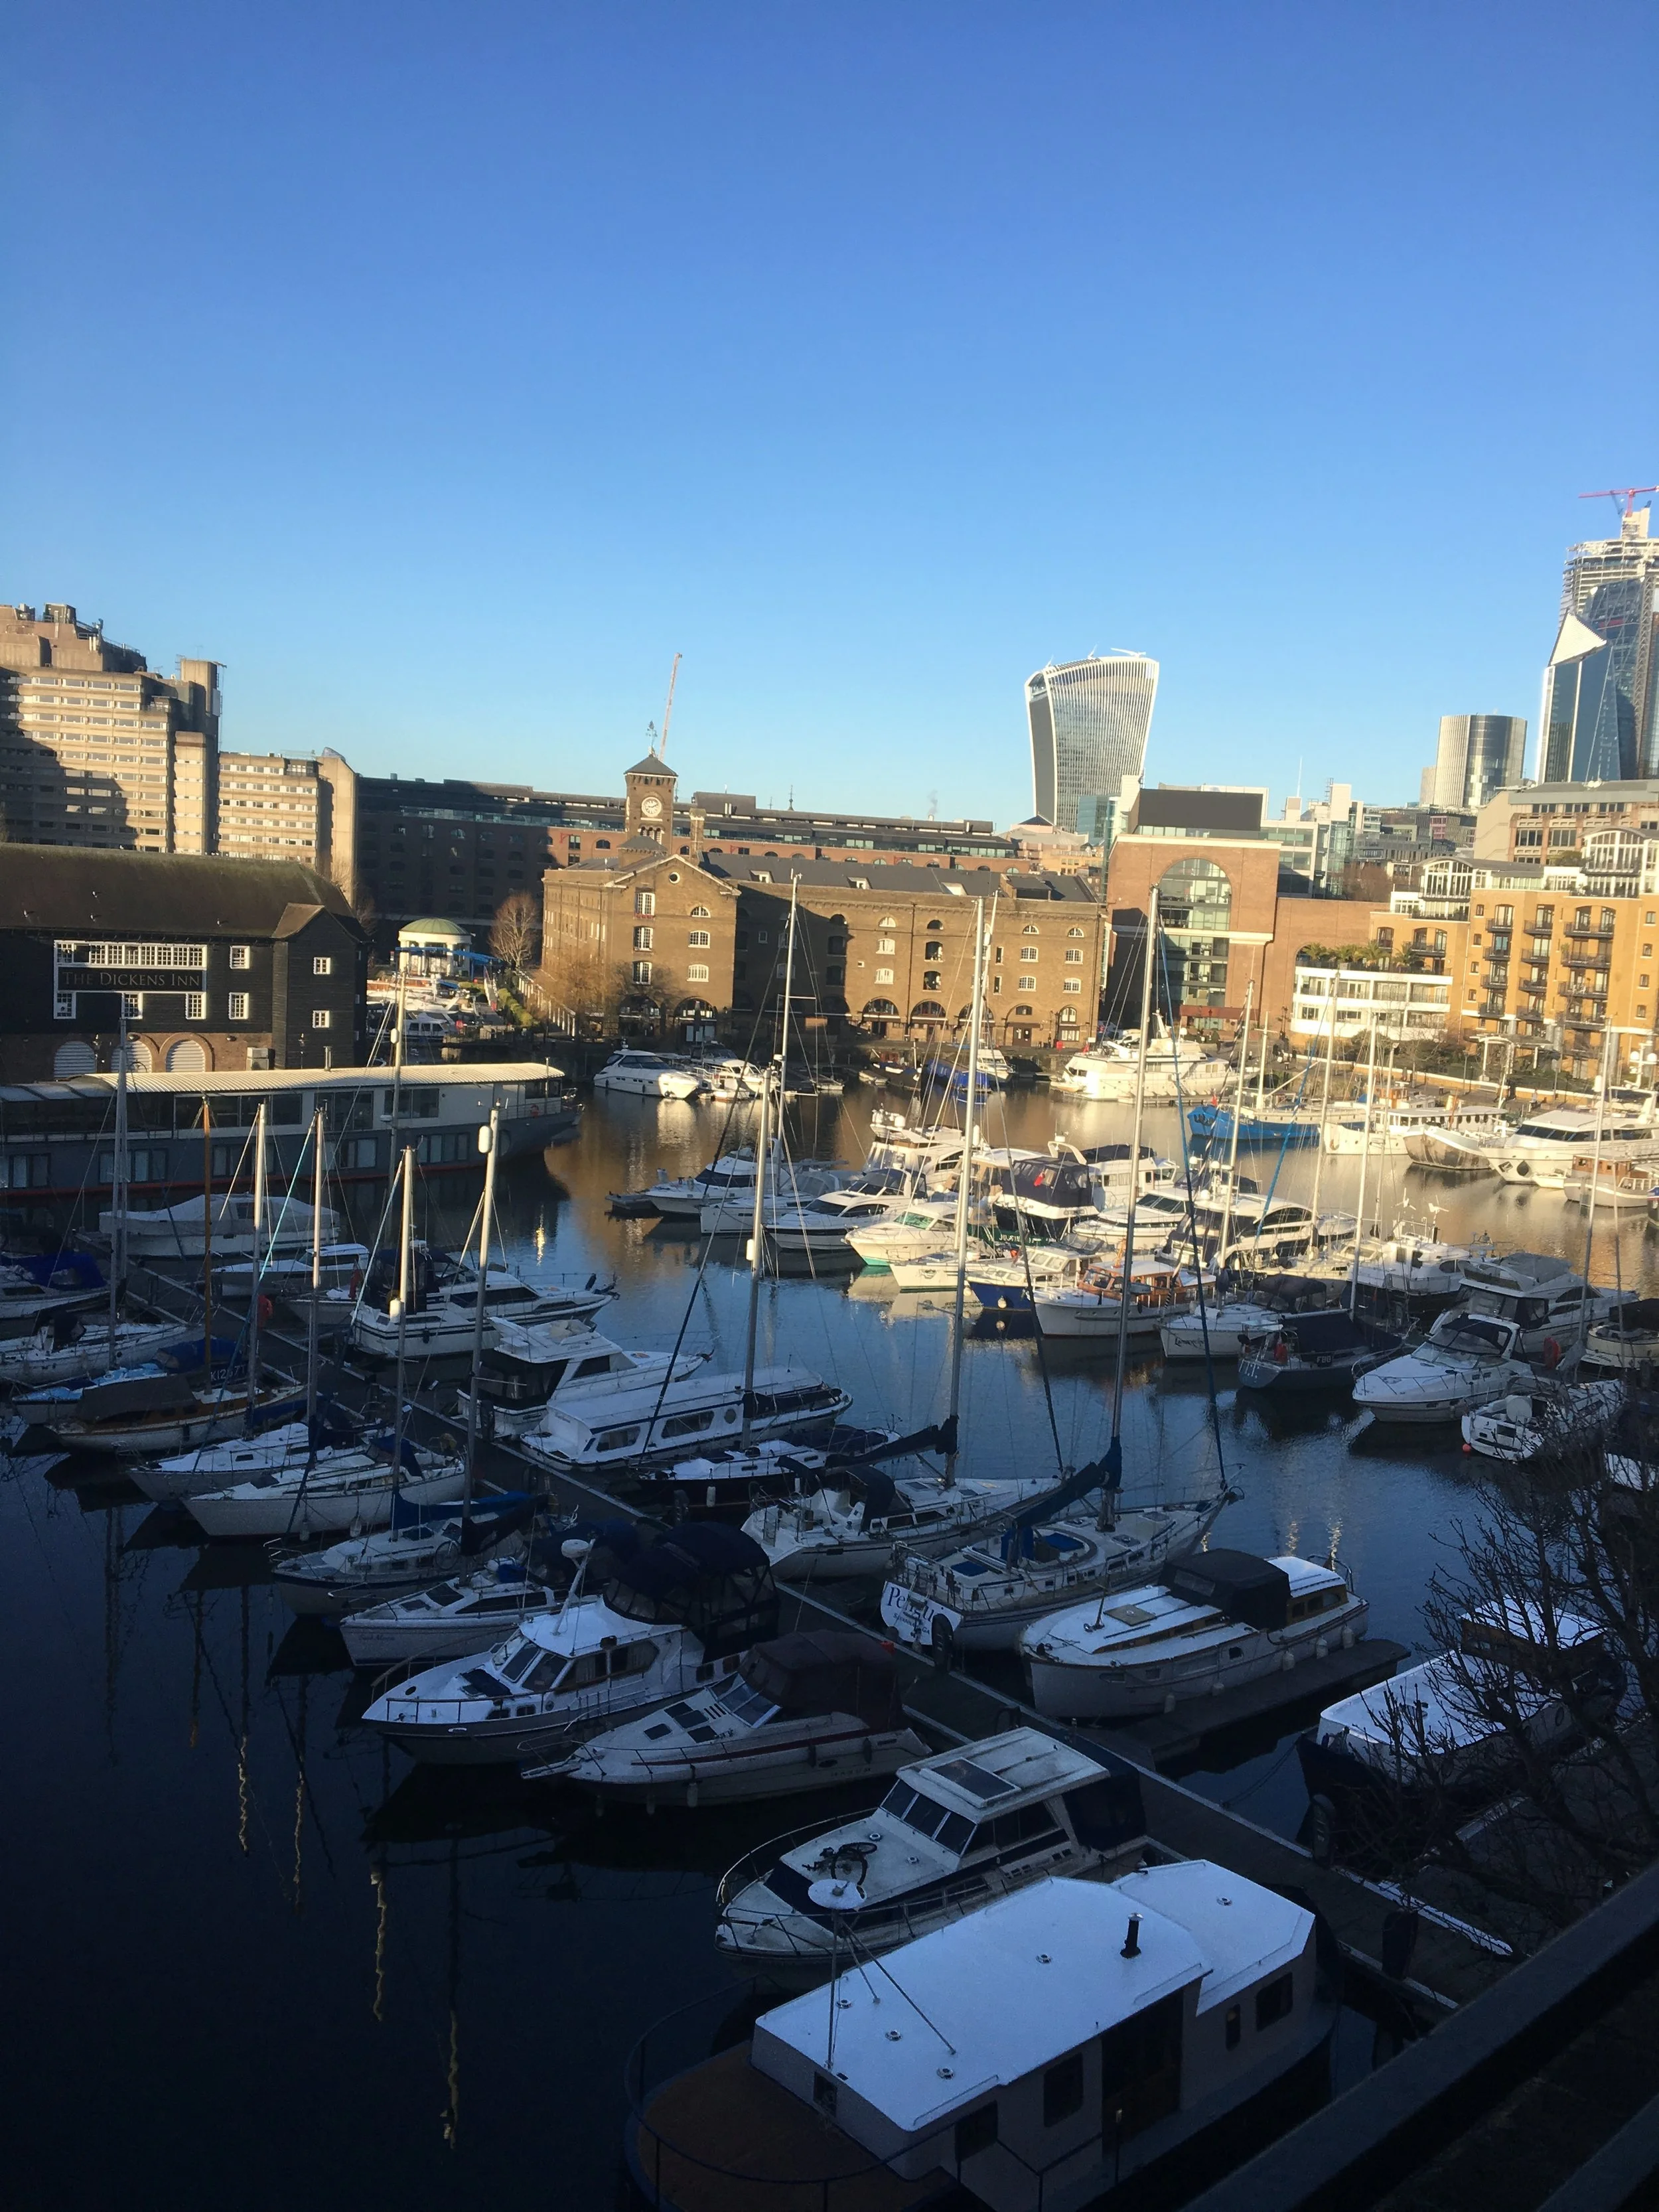
St Katharine Docks
A Brutalist transformation
This is a Marmite building.
A late 1960’s to early 1970’s Brutalist structure with none of the decor of the Victorian or Edwardian era. It is a style that I have come to appreciate especially when you see the size of the rooms and the sturdiness of the structure. You can also appreciate square walls and lack of strange nooks and crannies when trying to design and renovate a spacel.
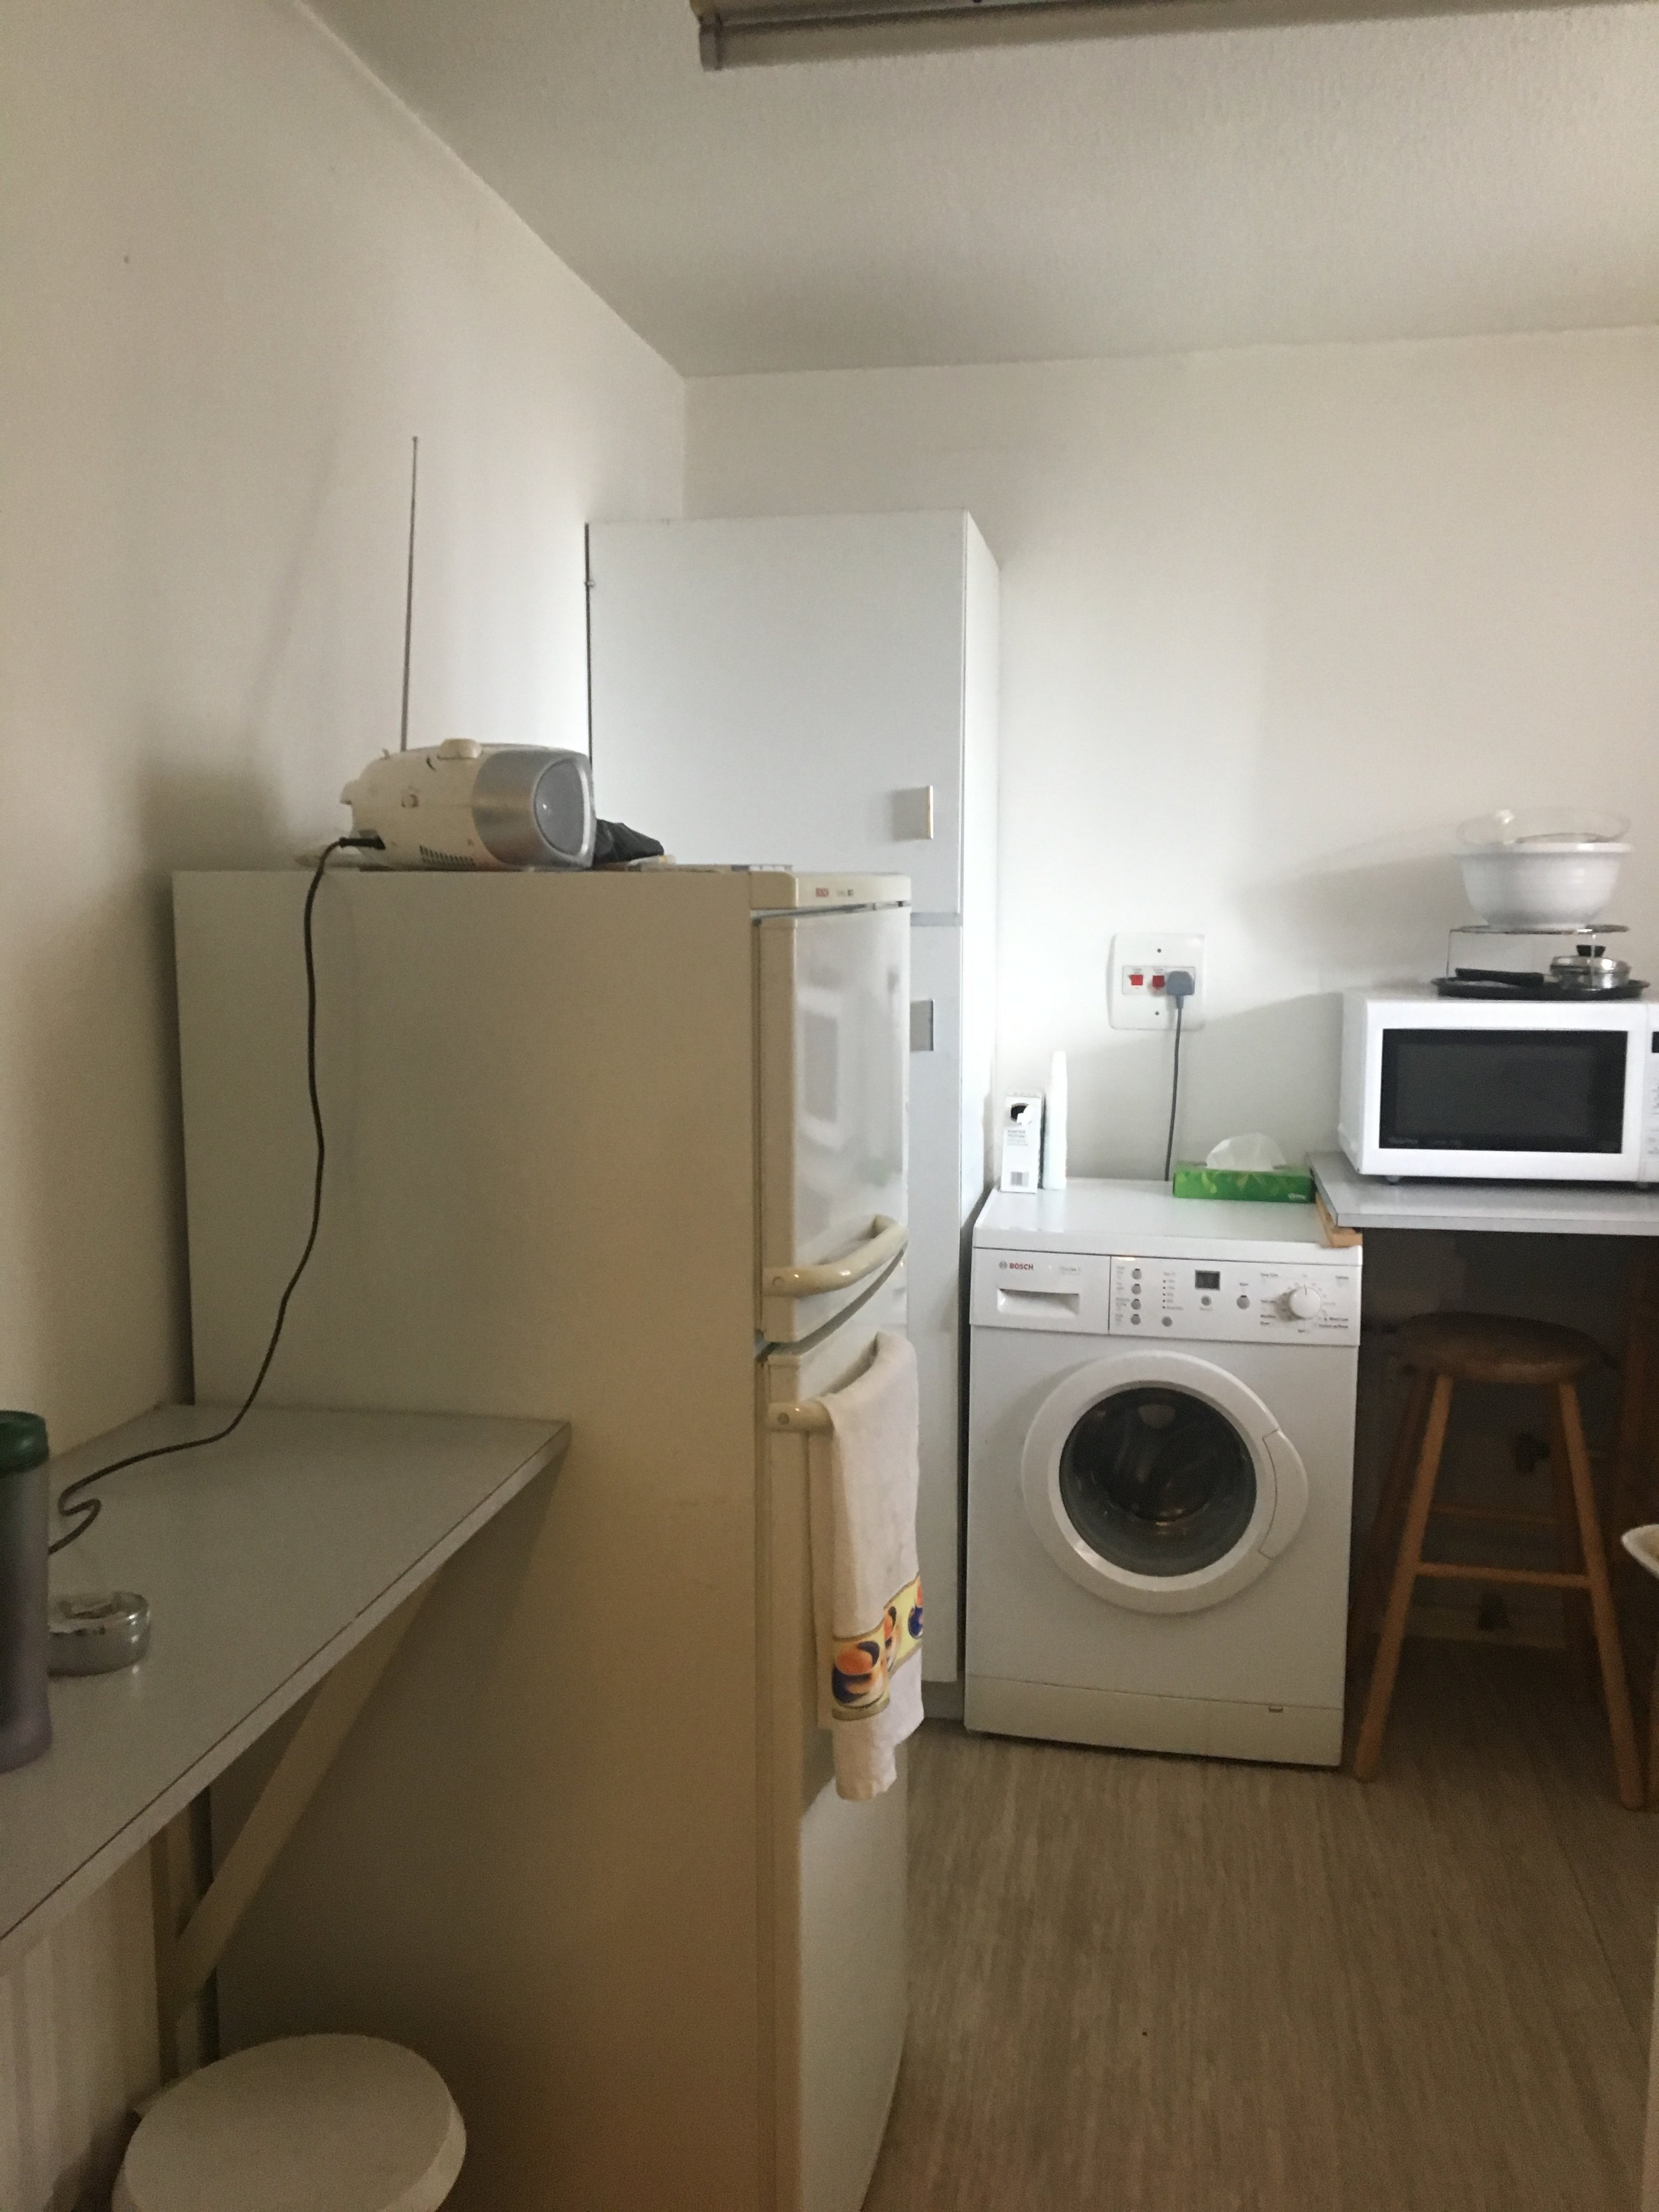
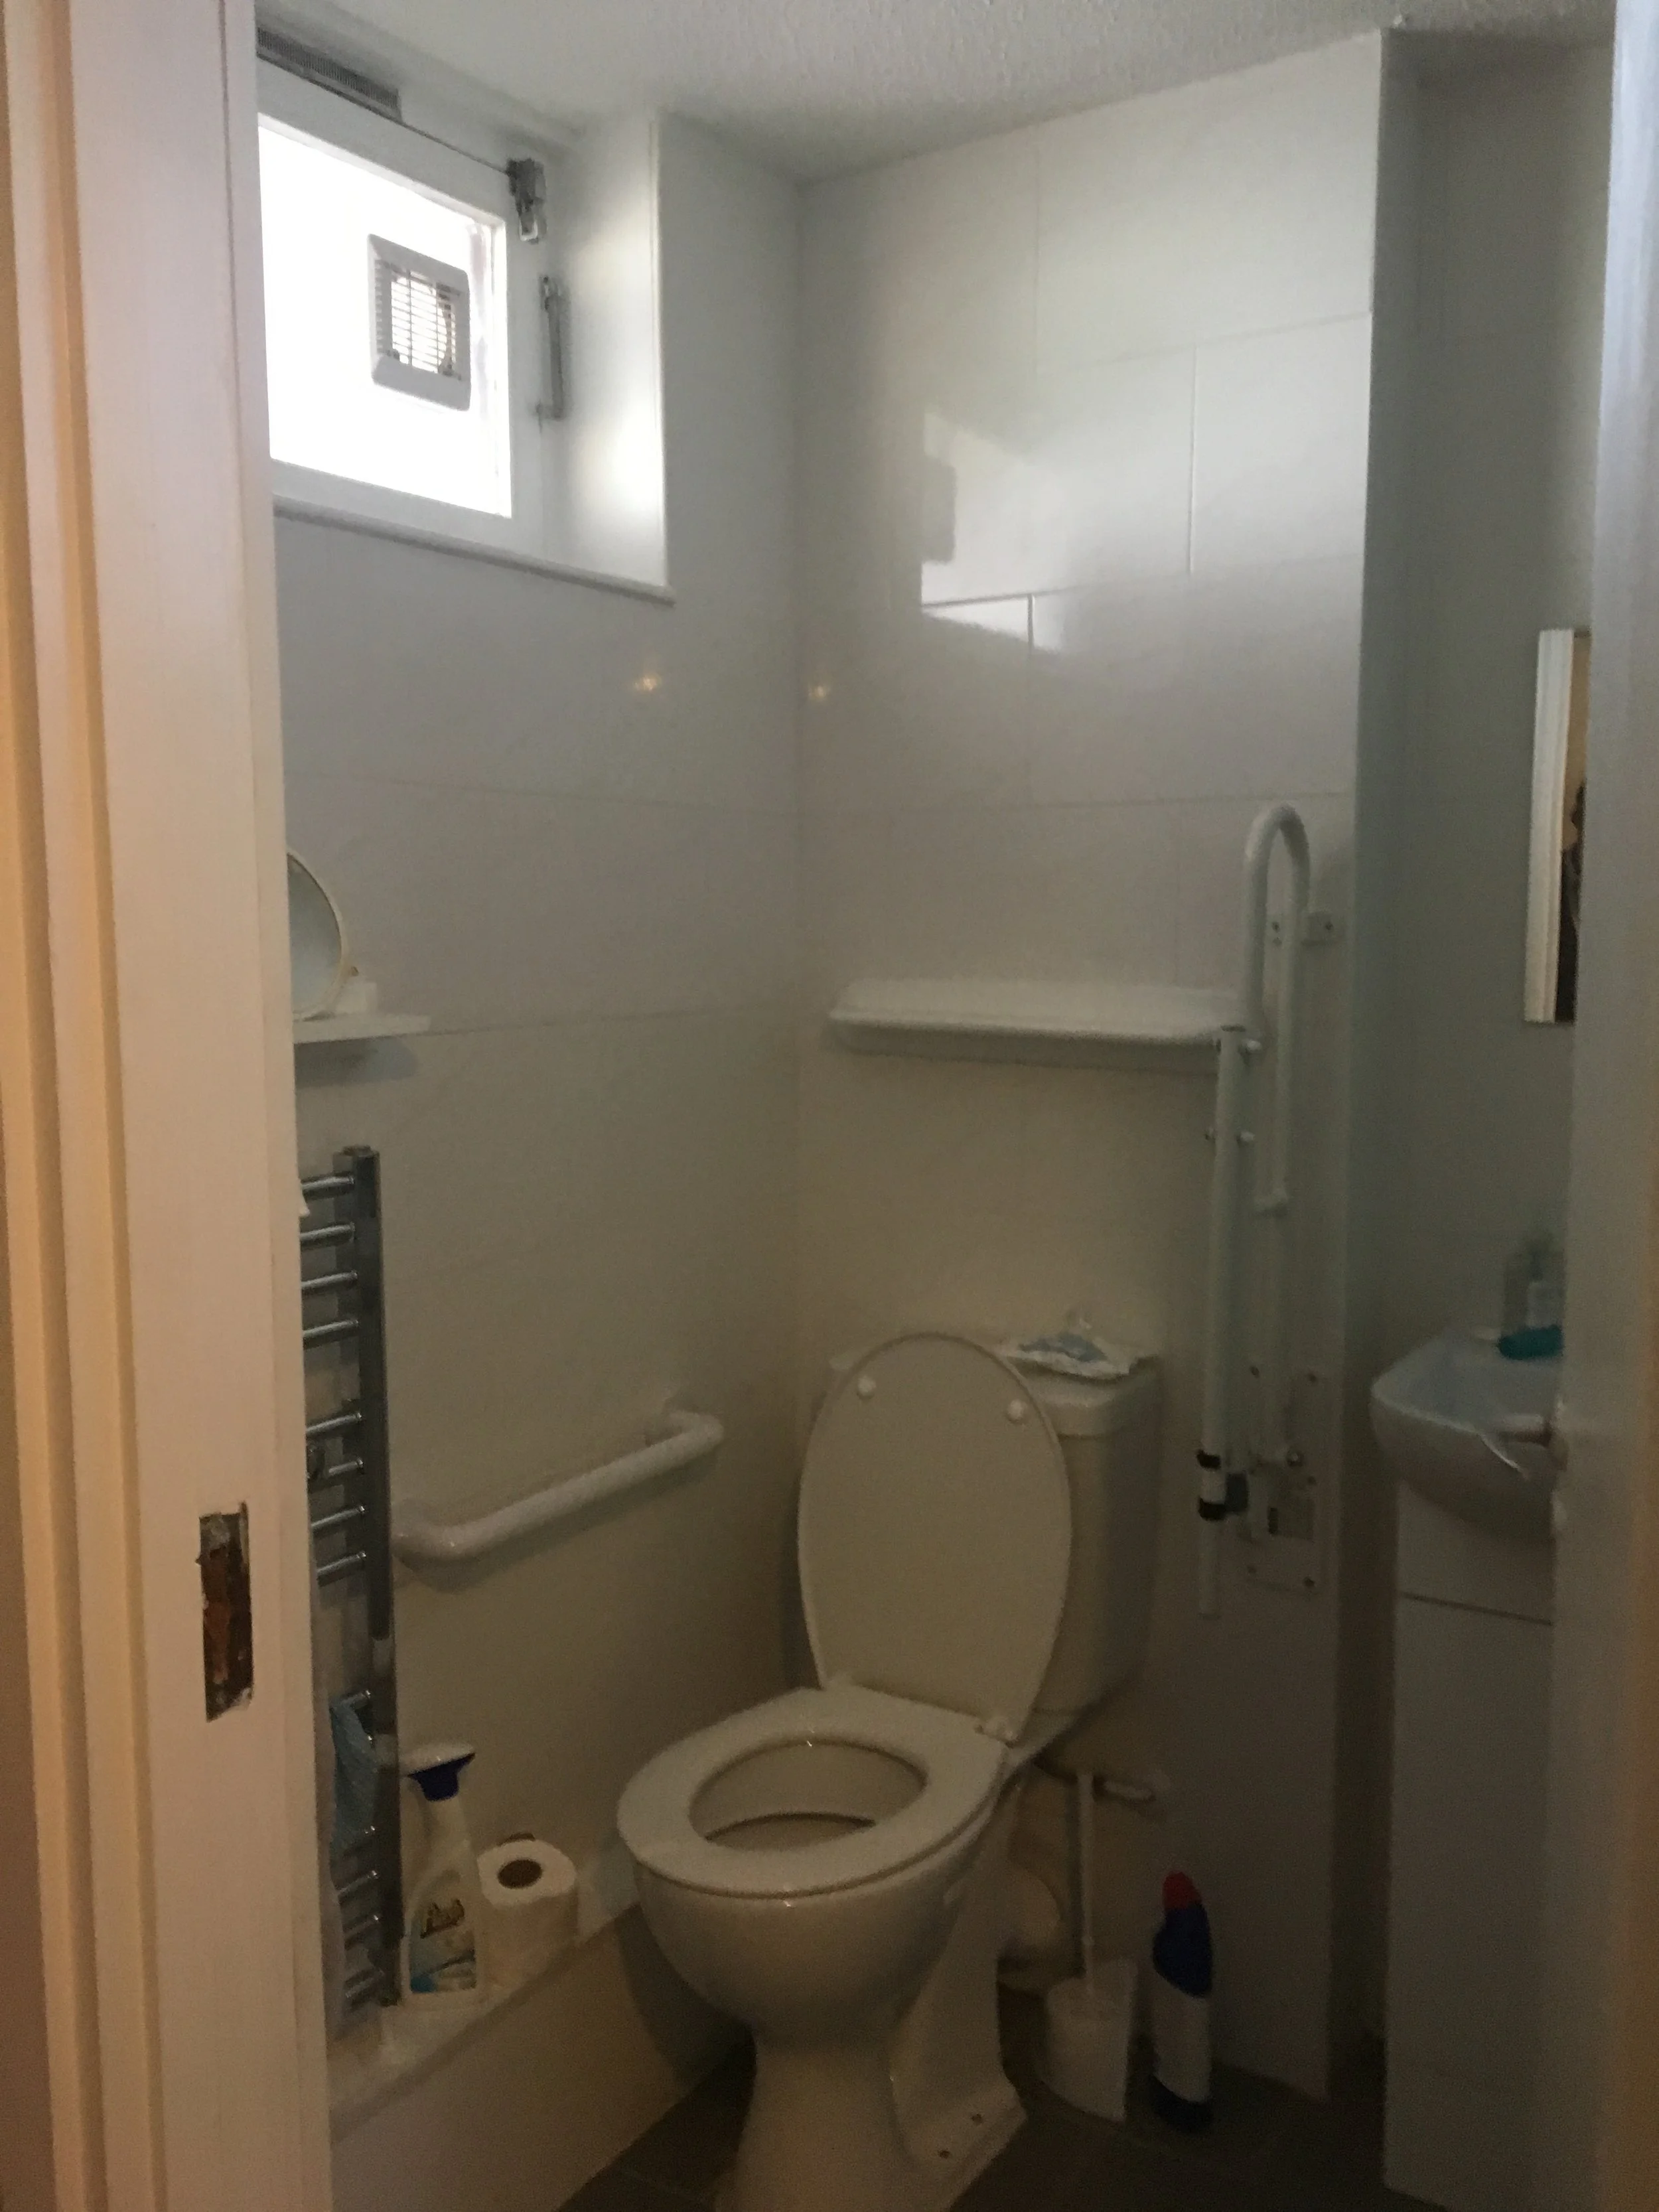
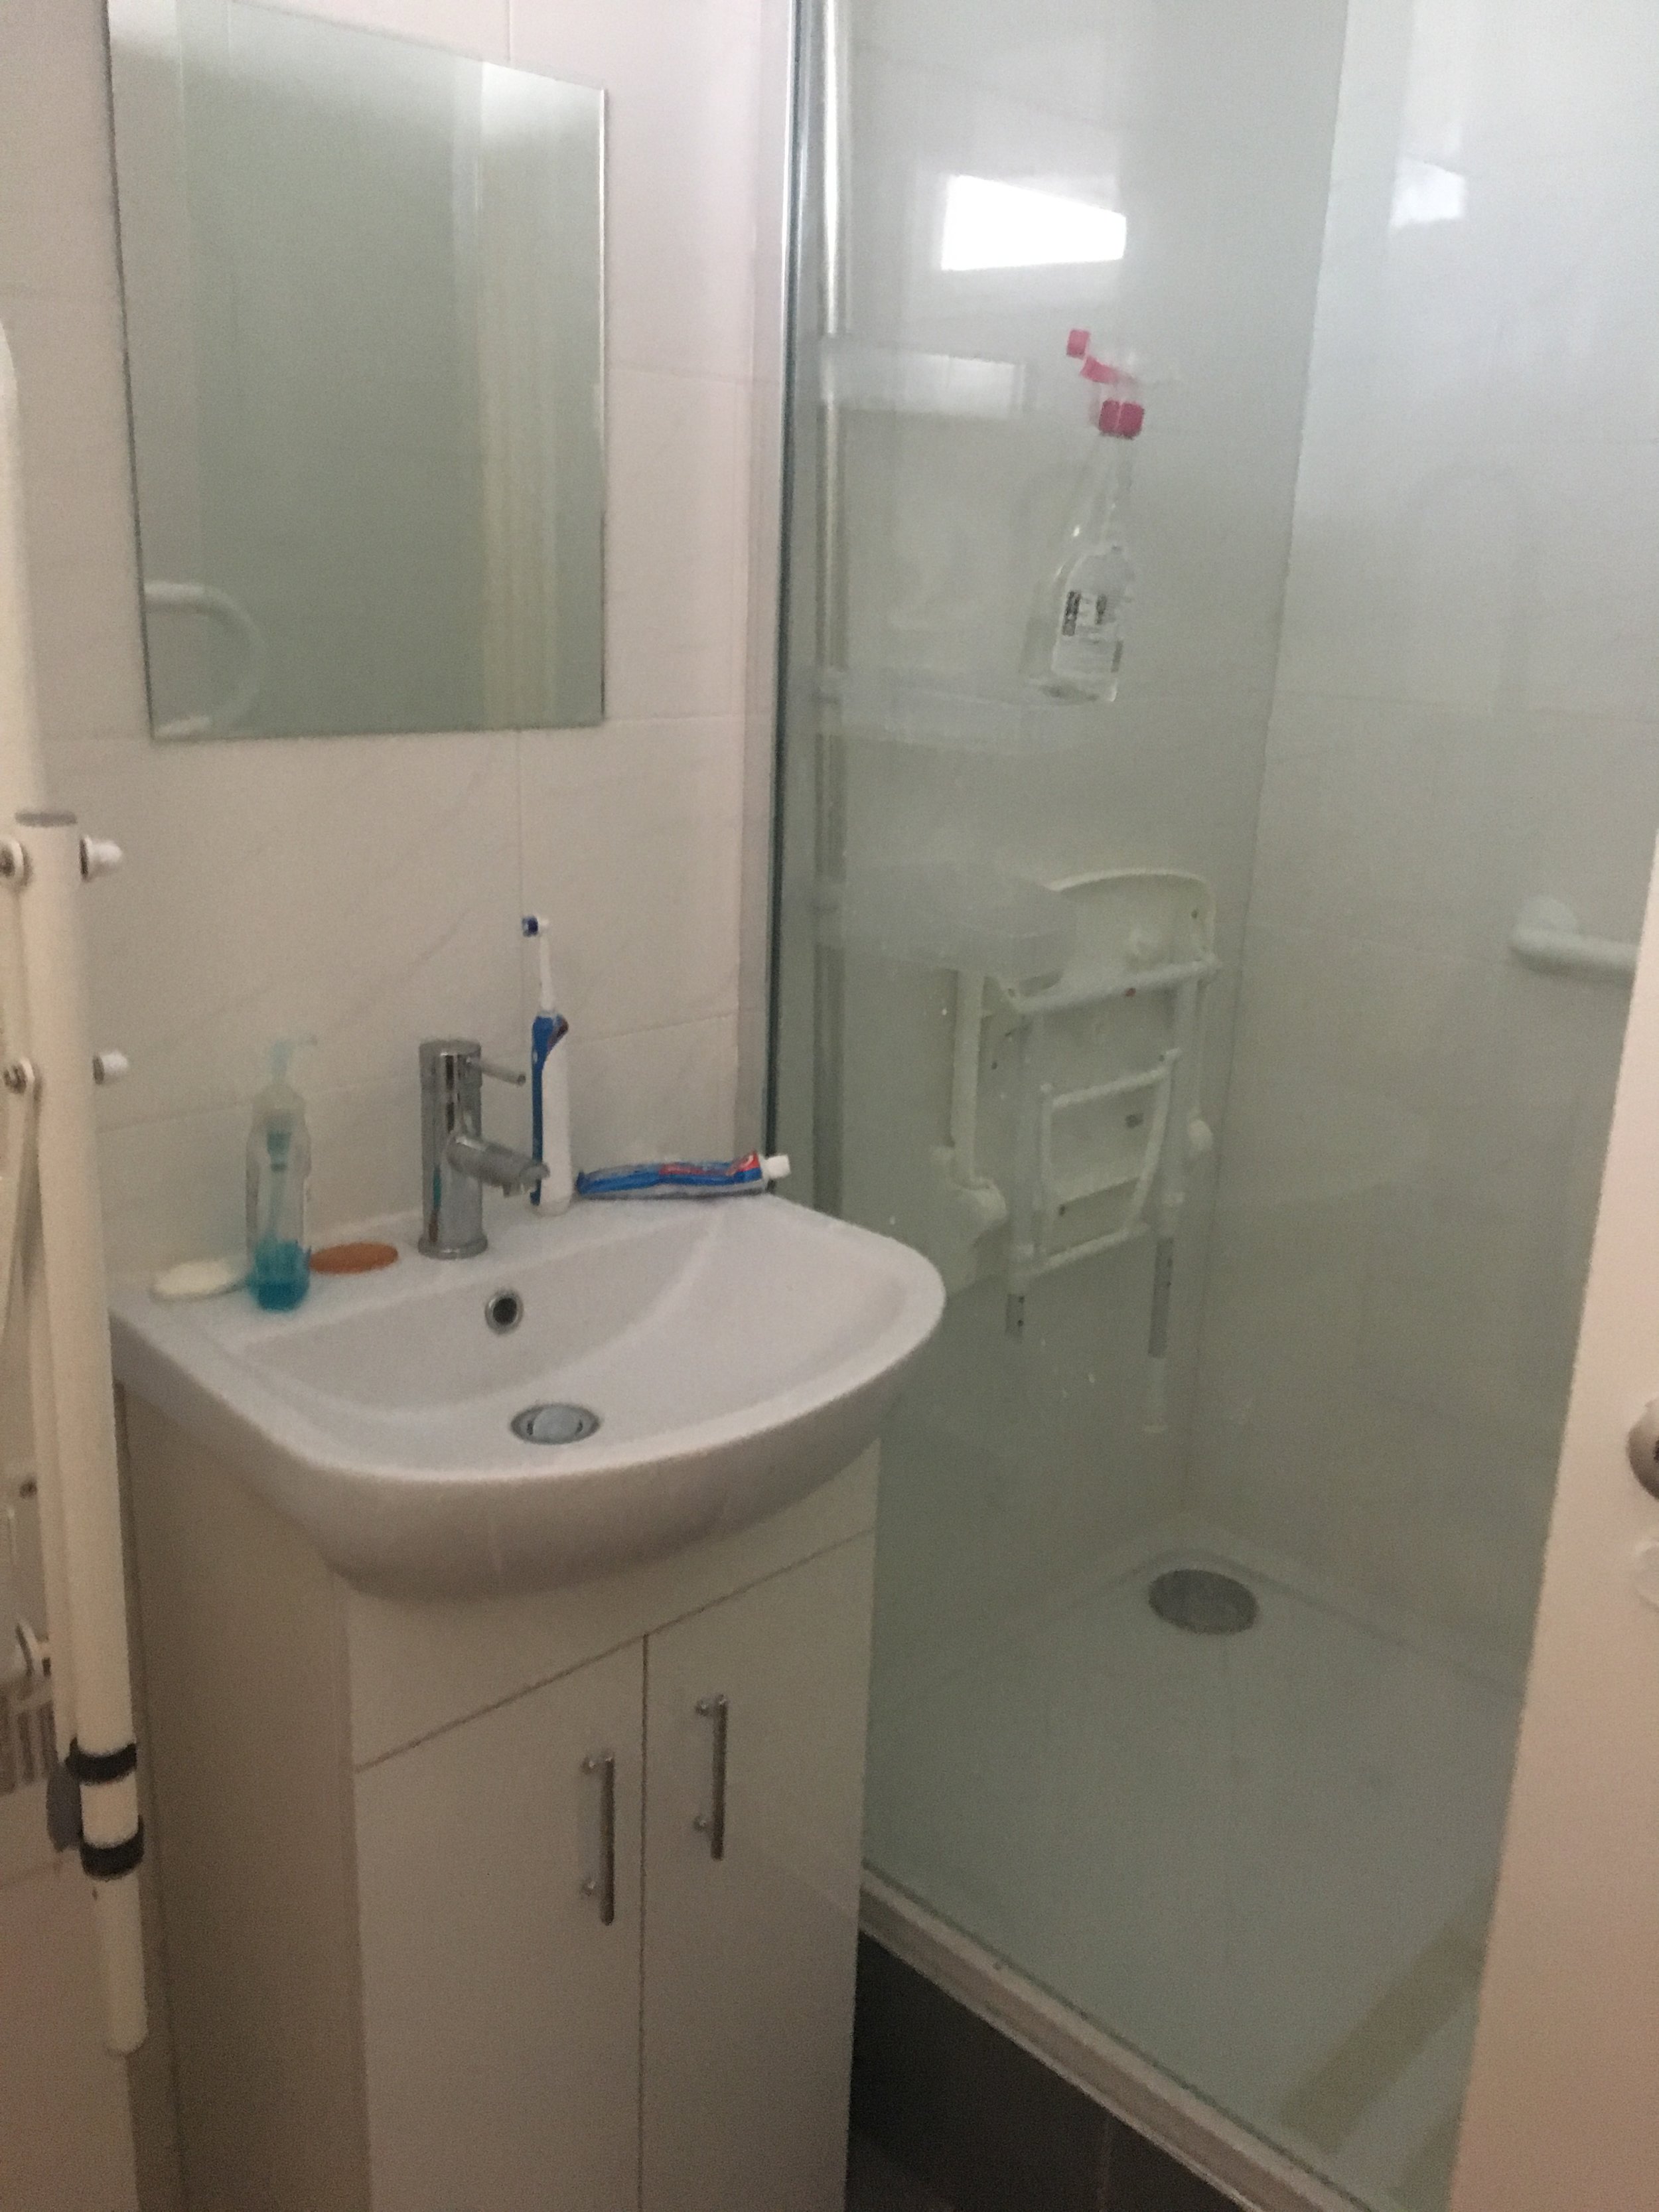
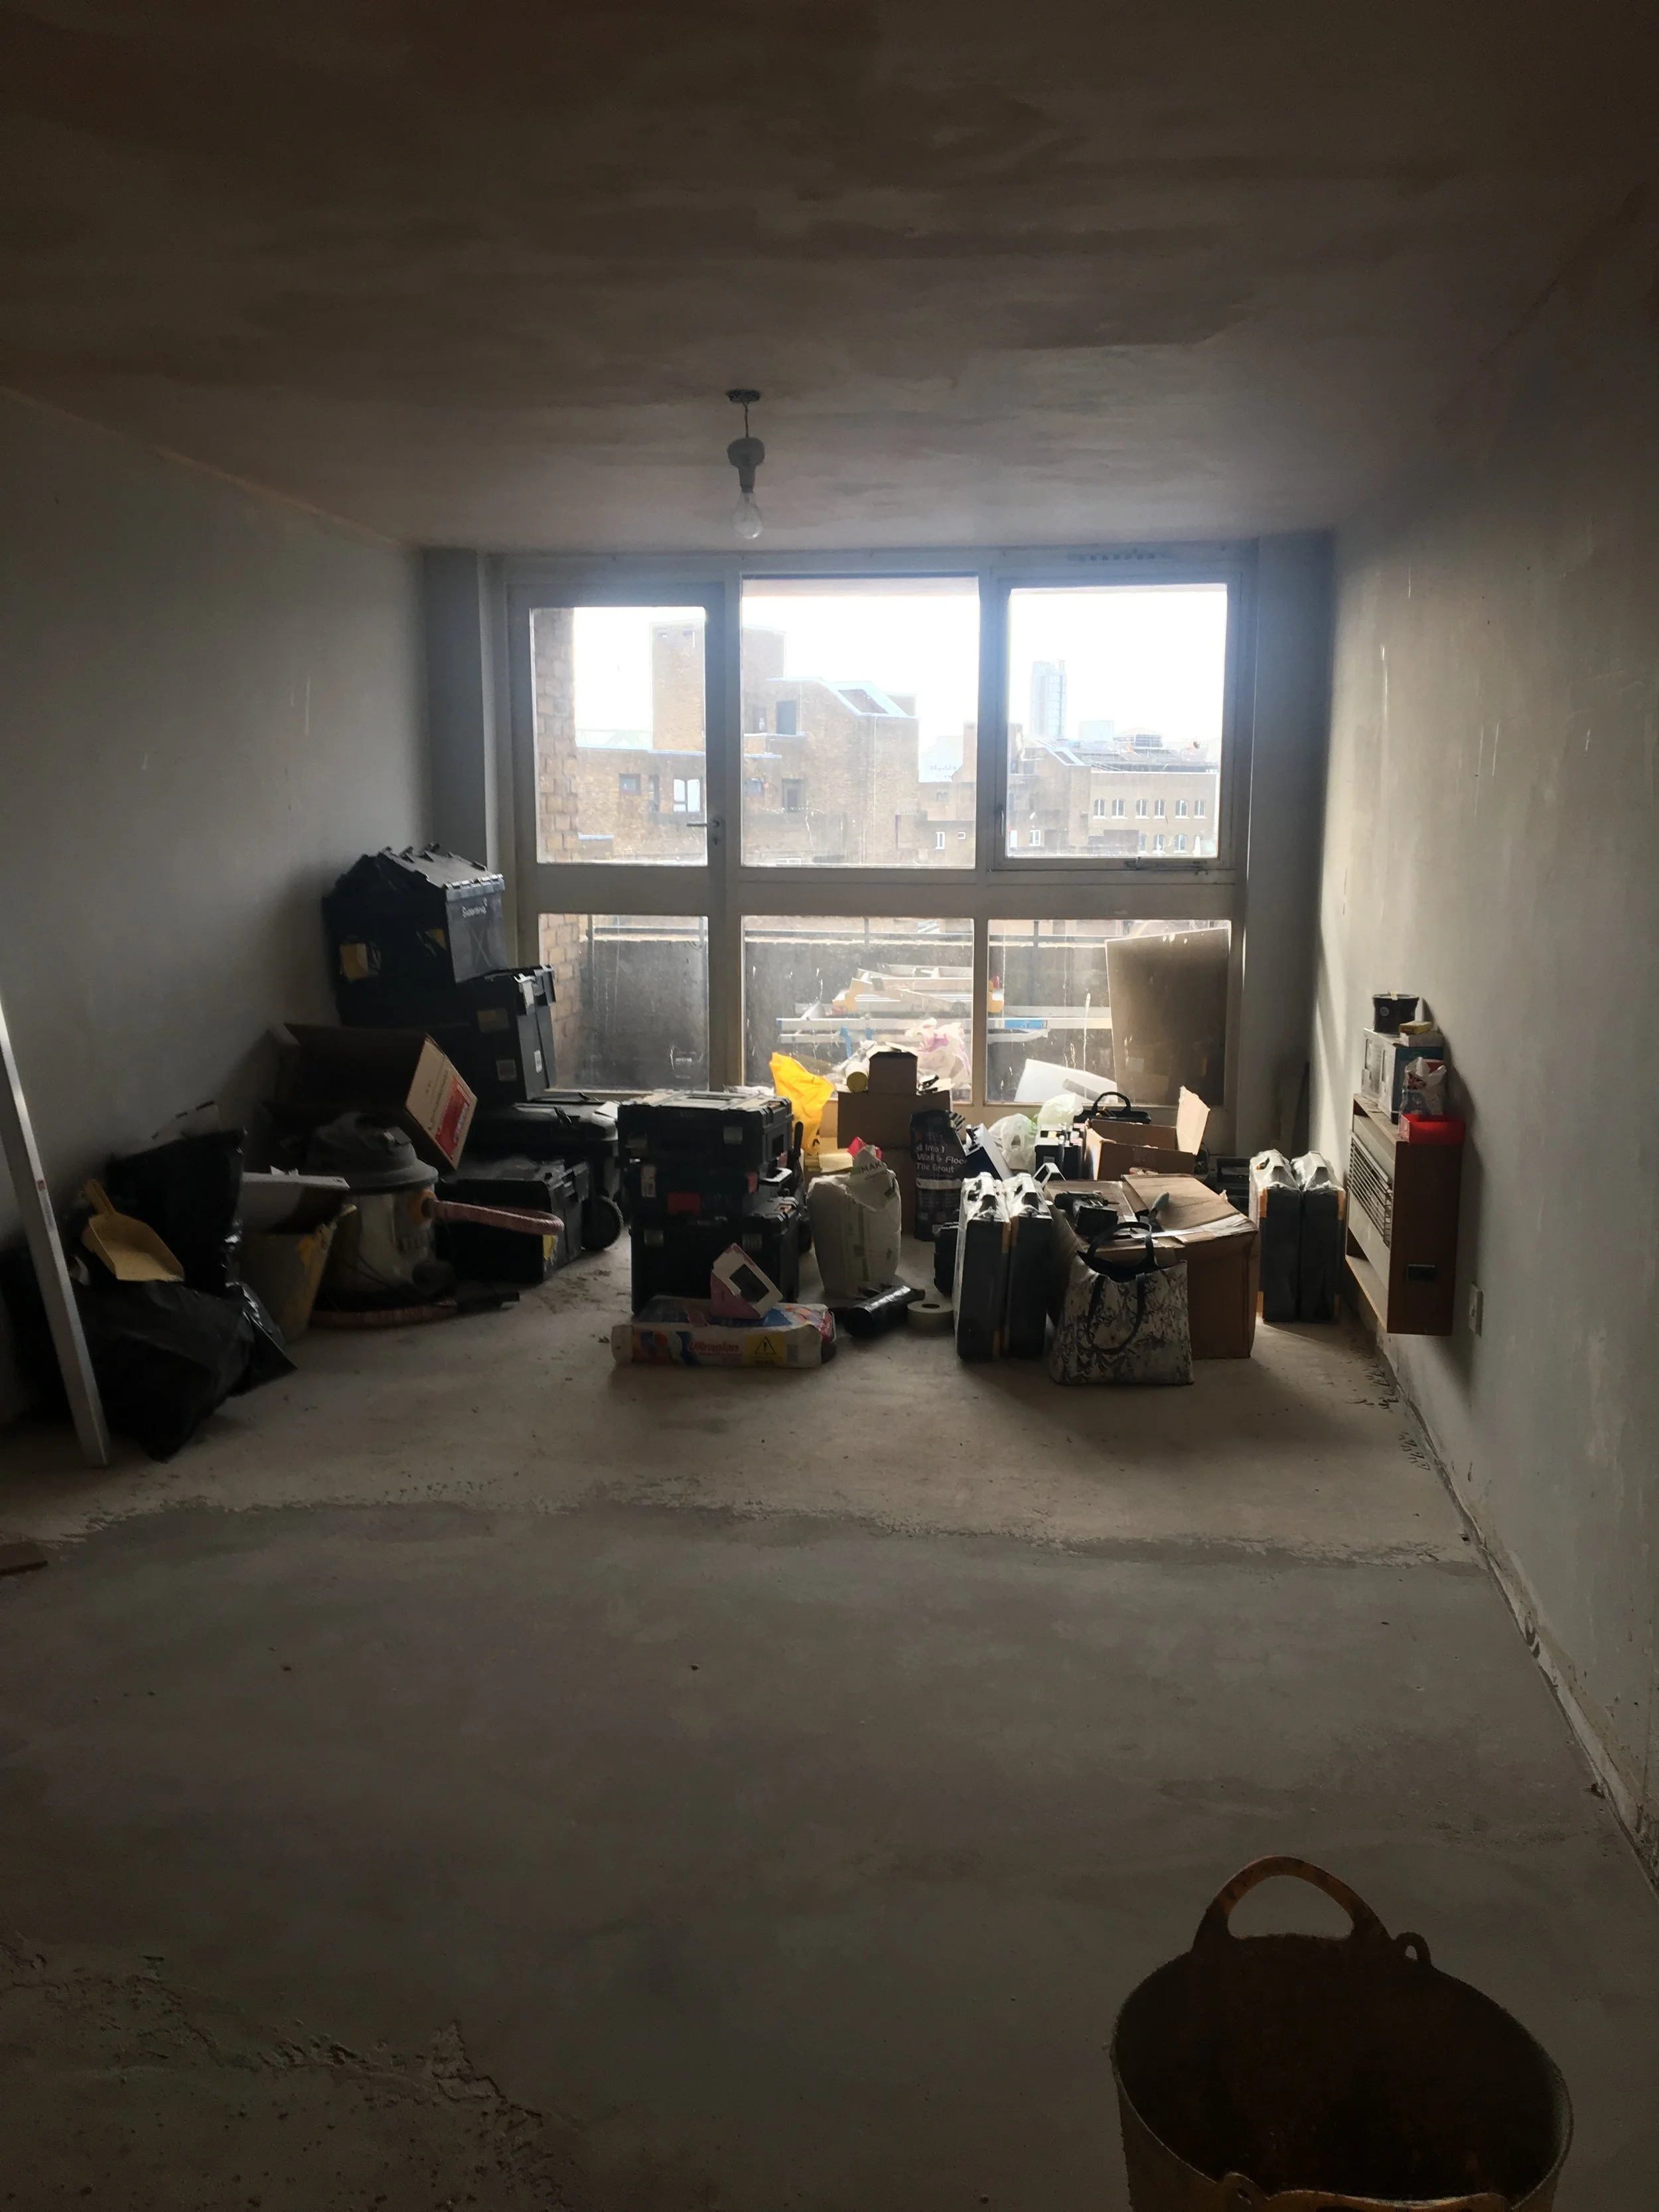
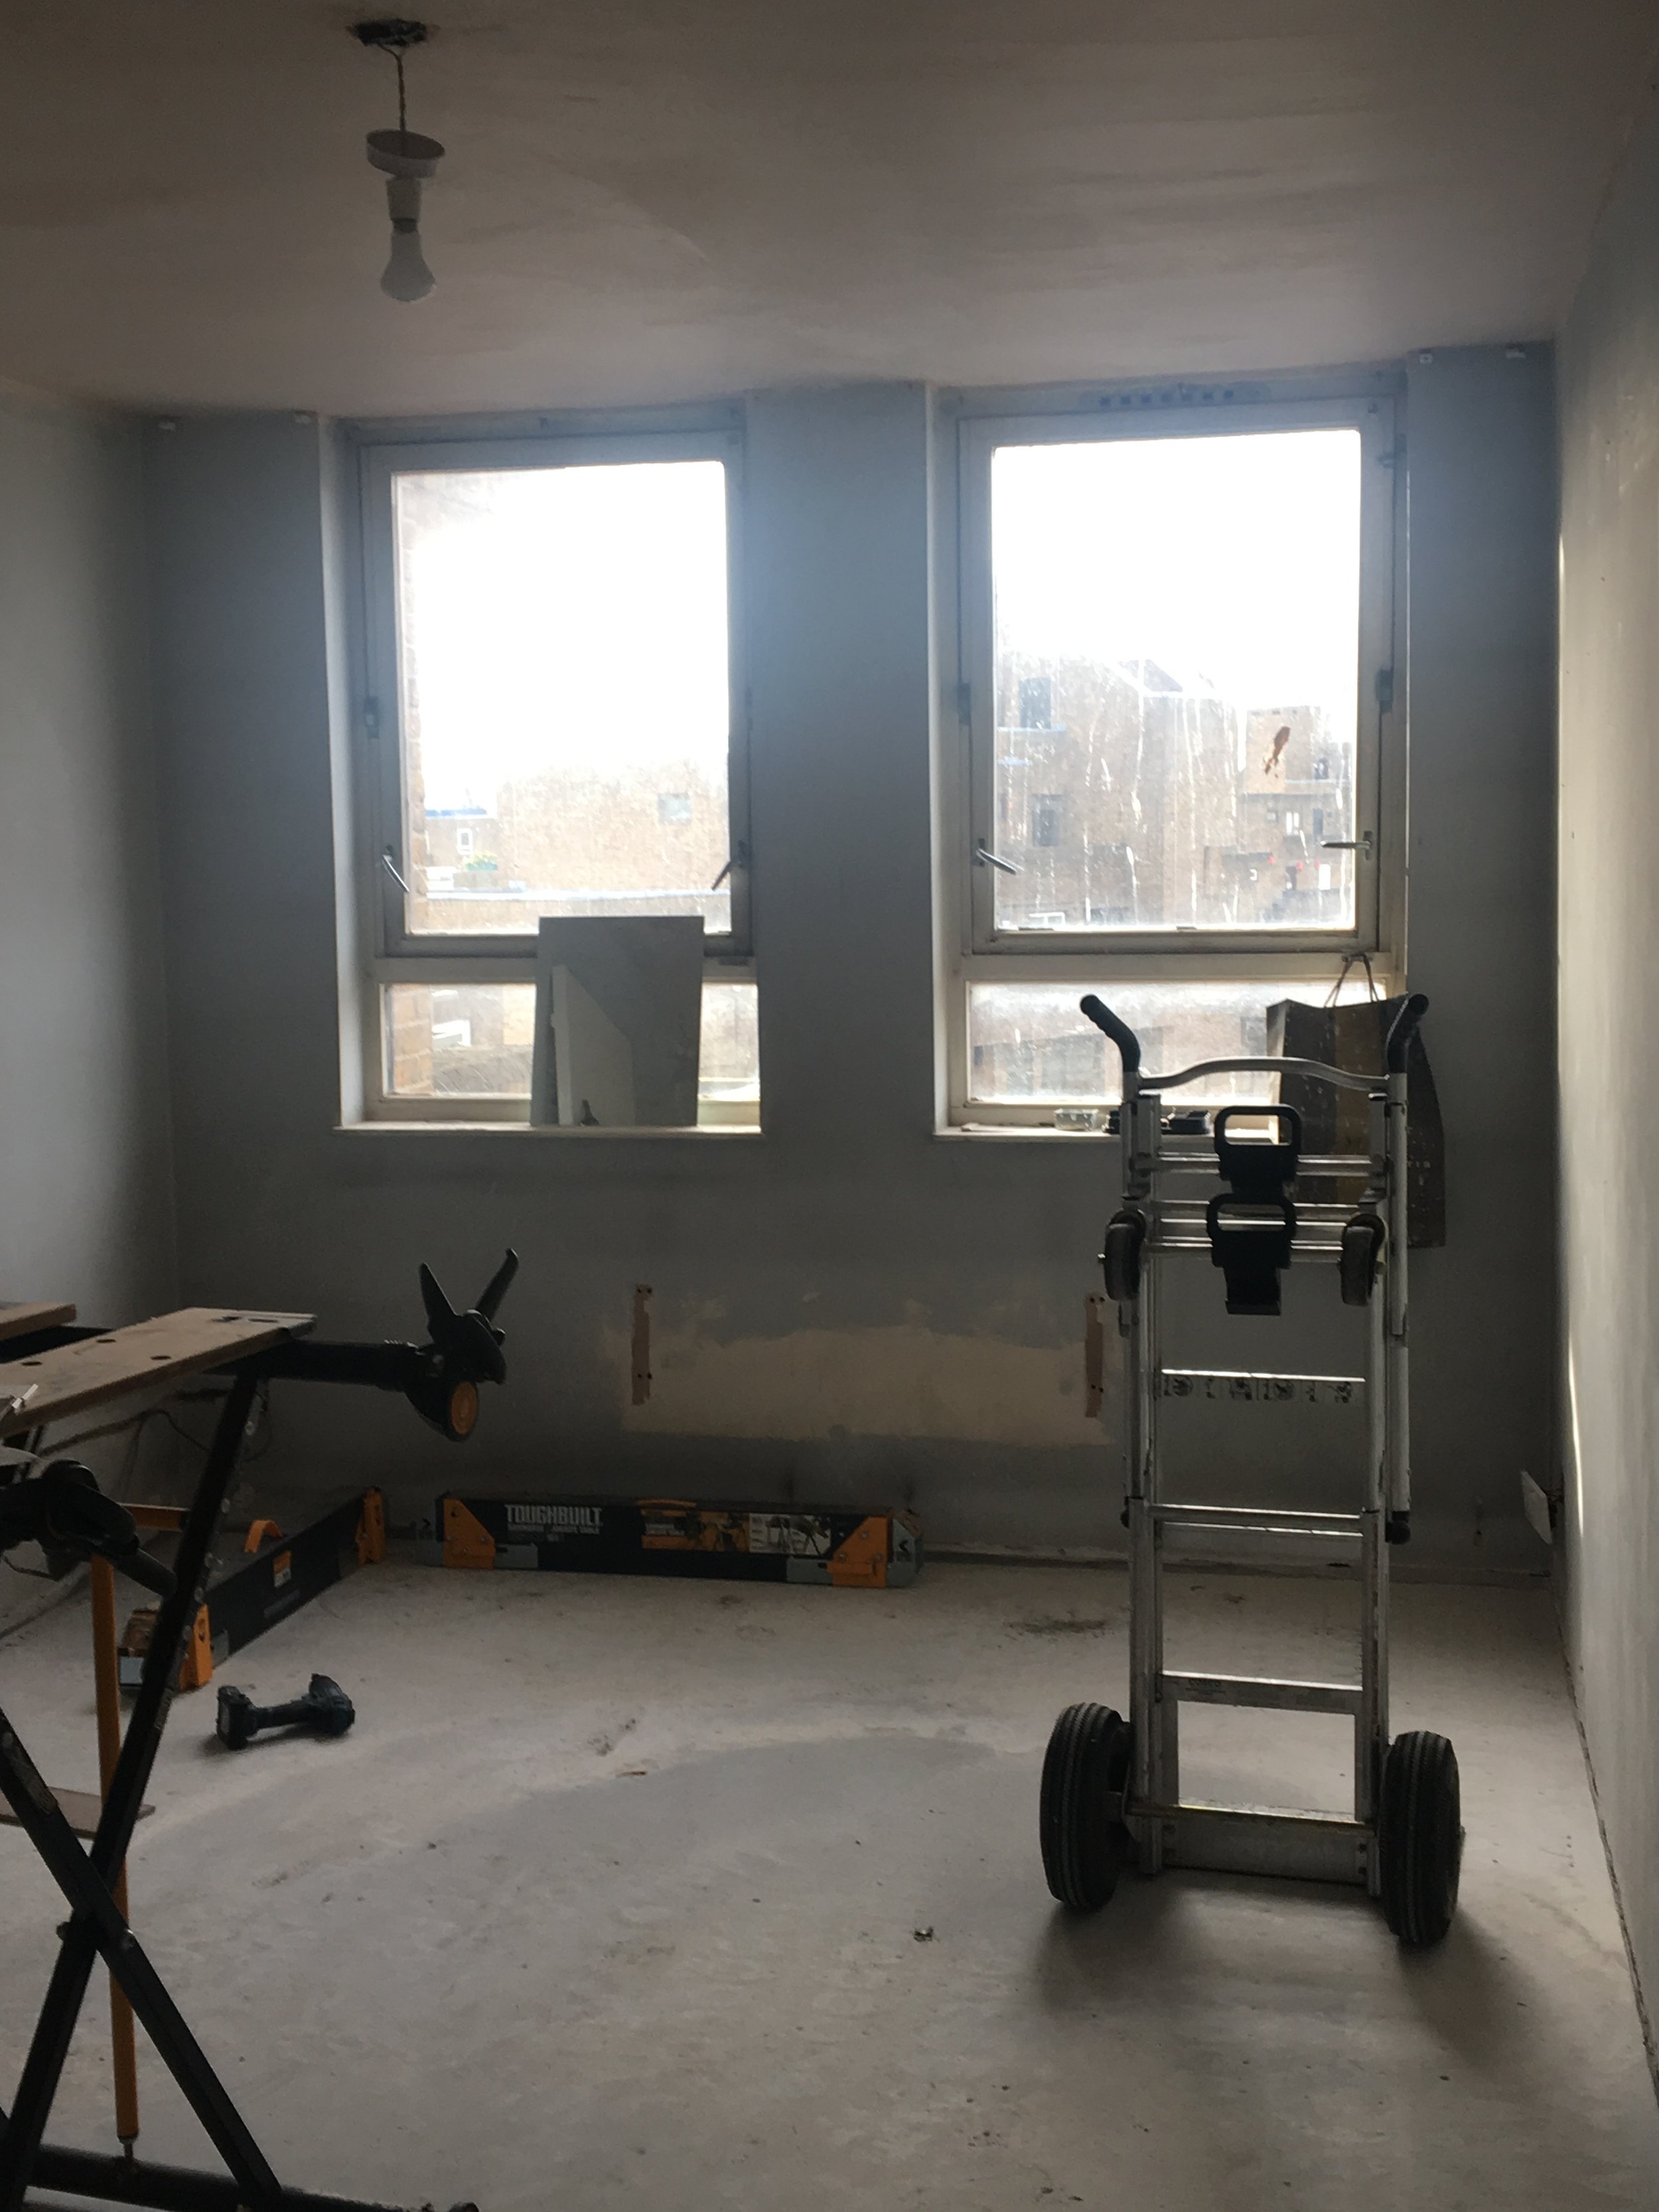
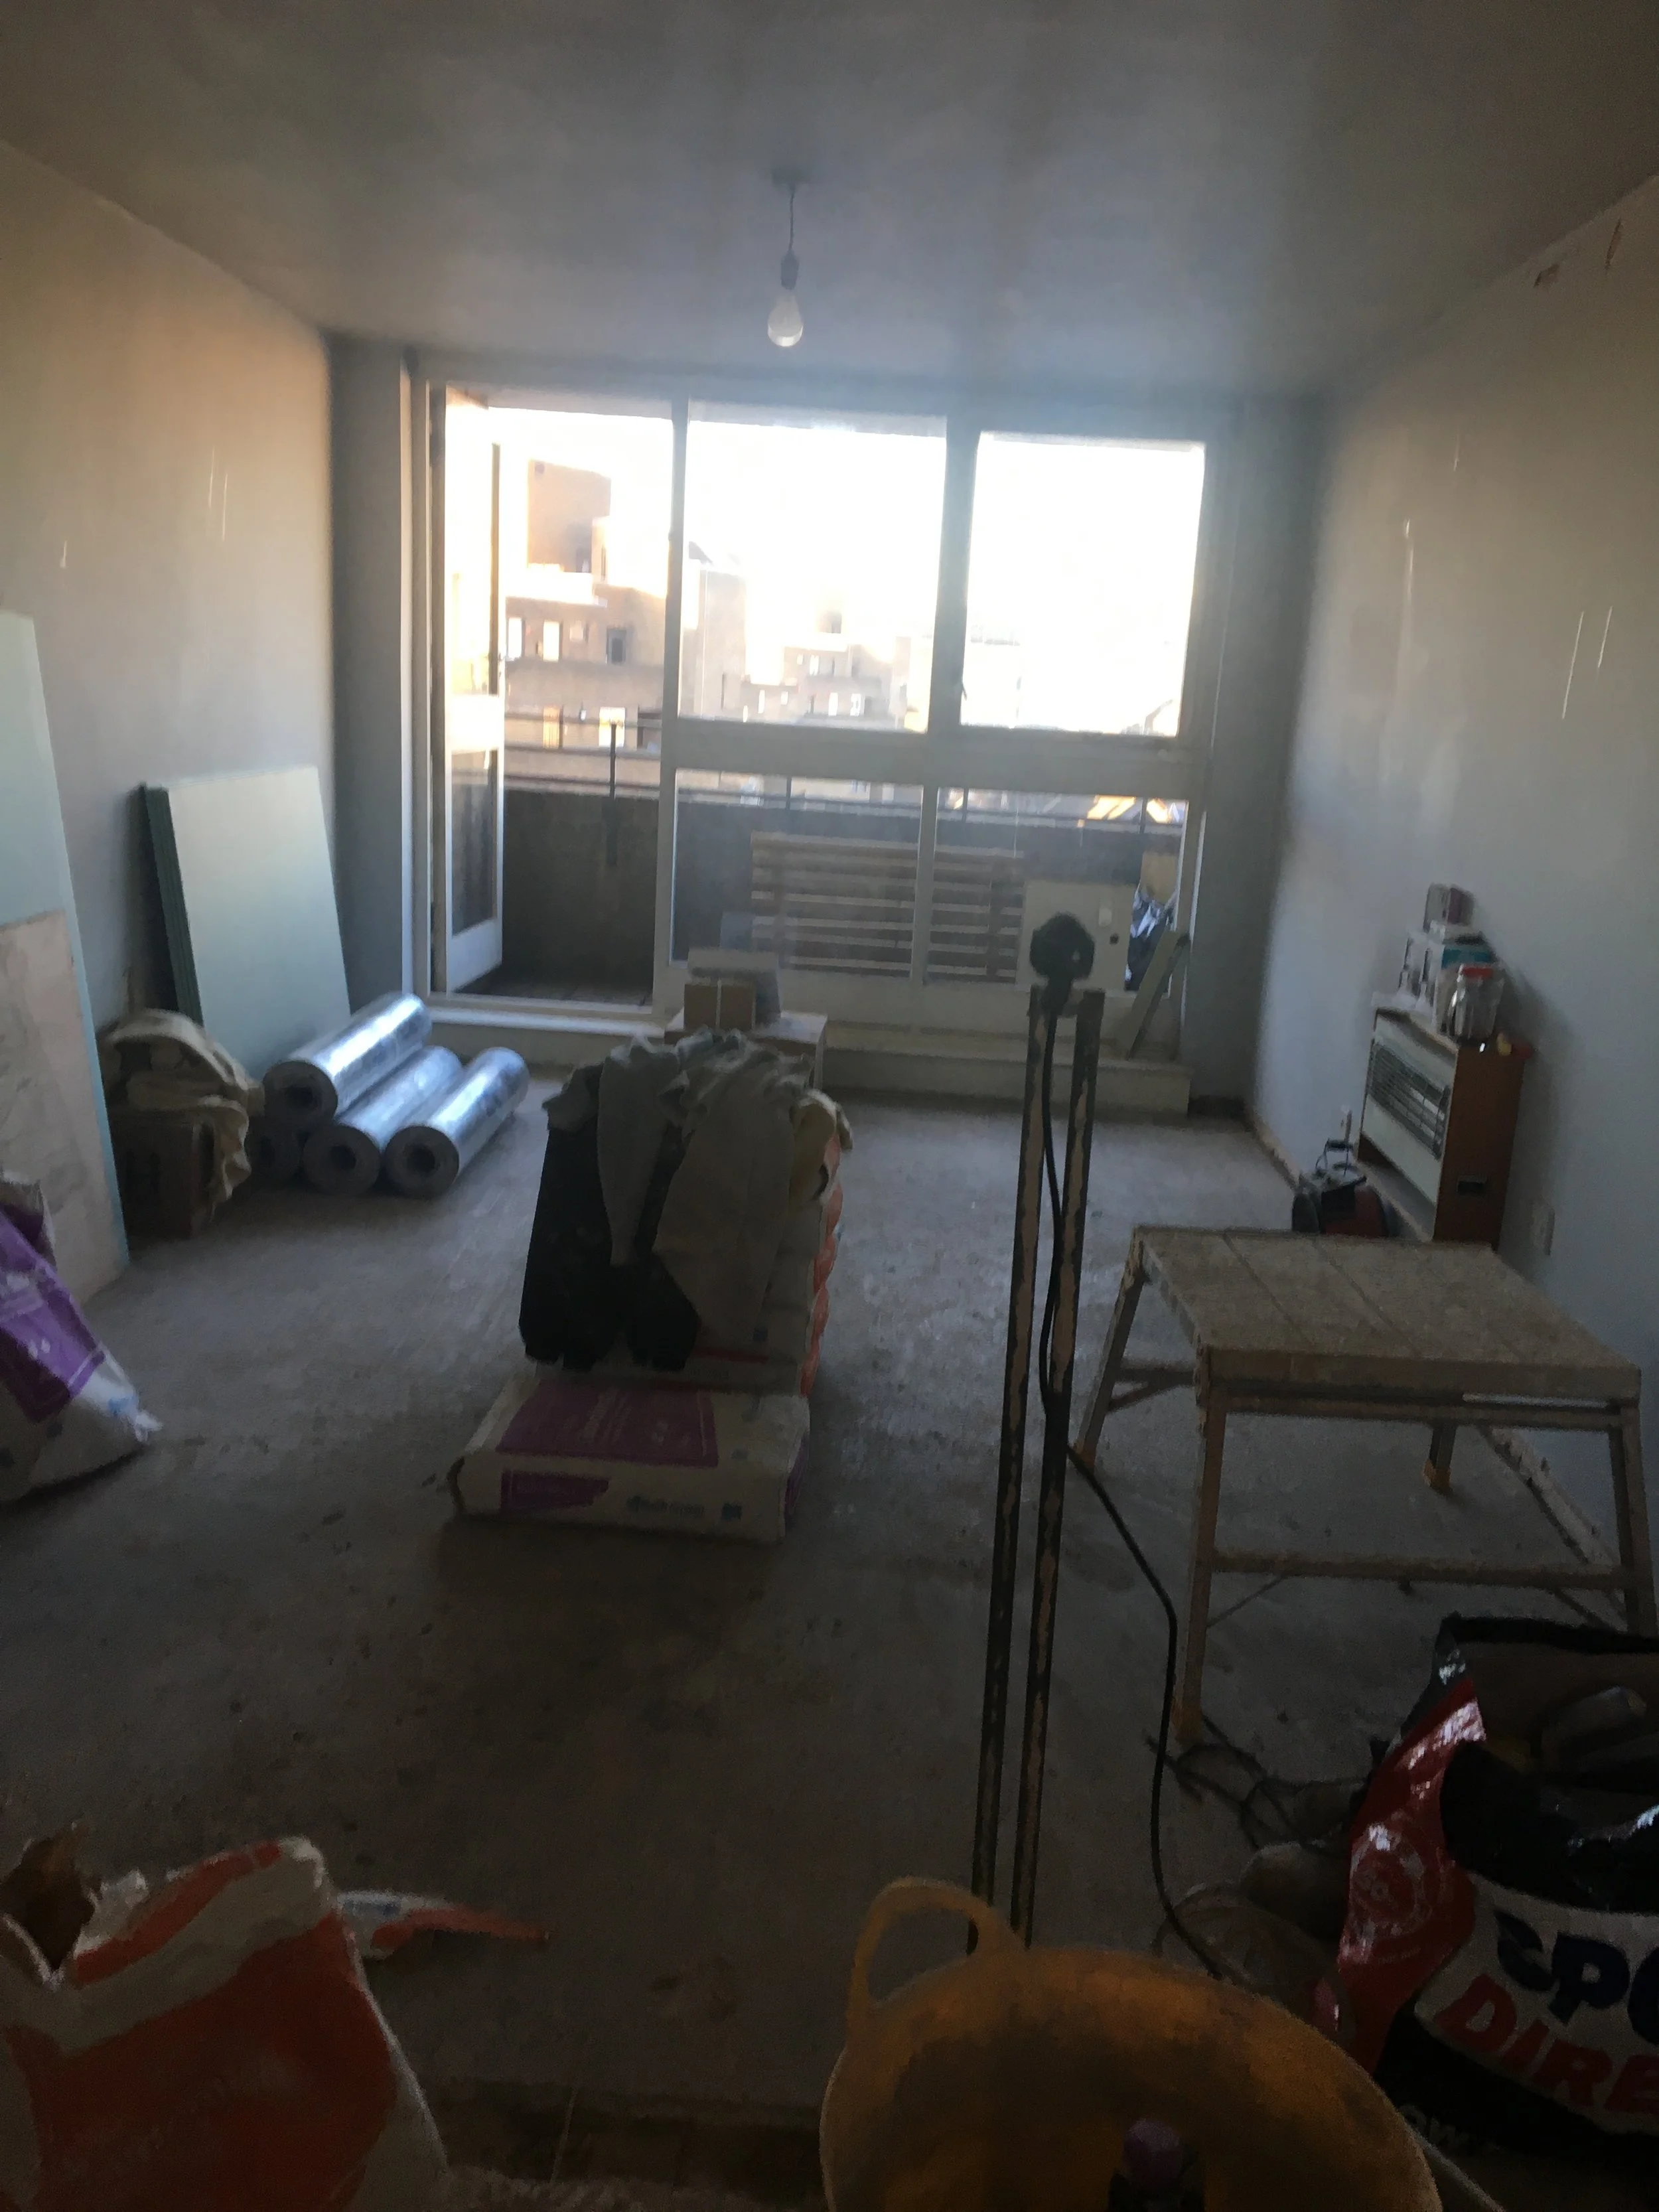
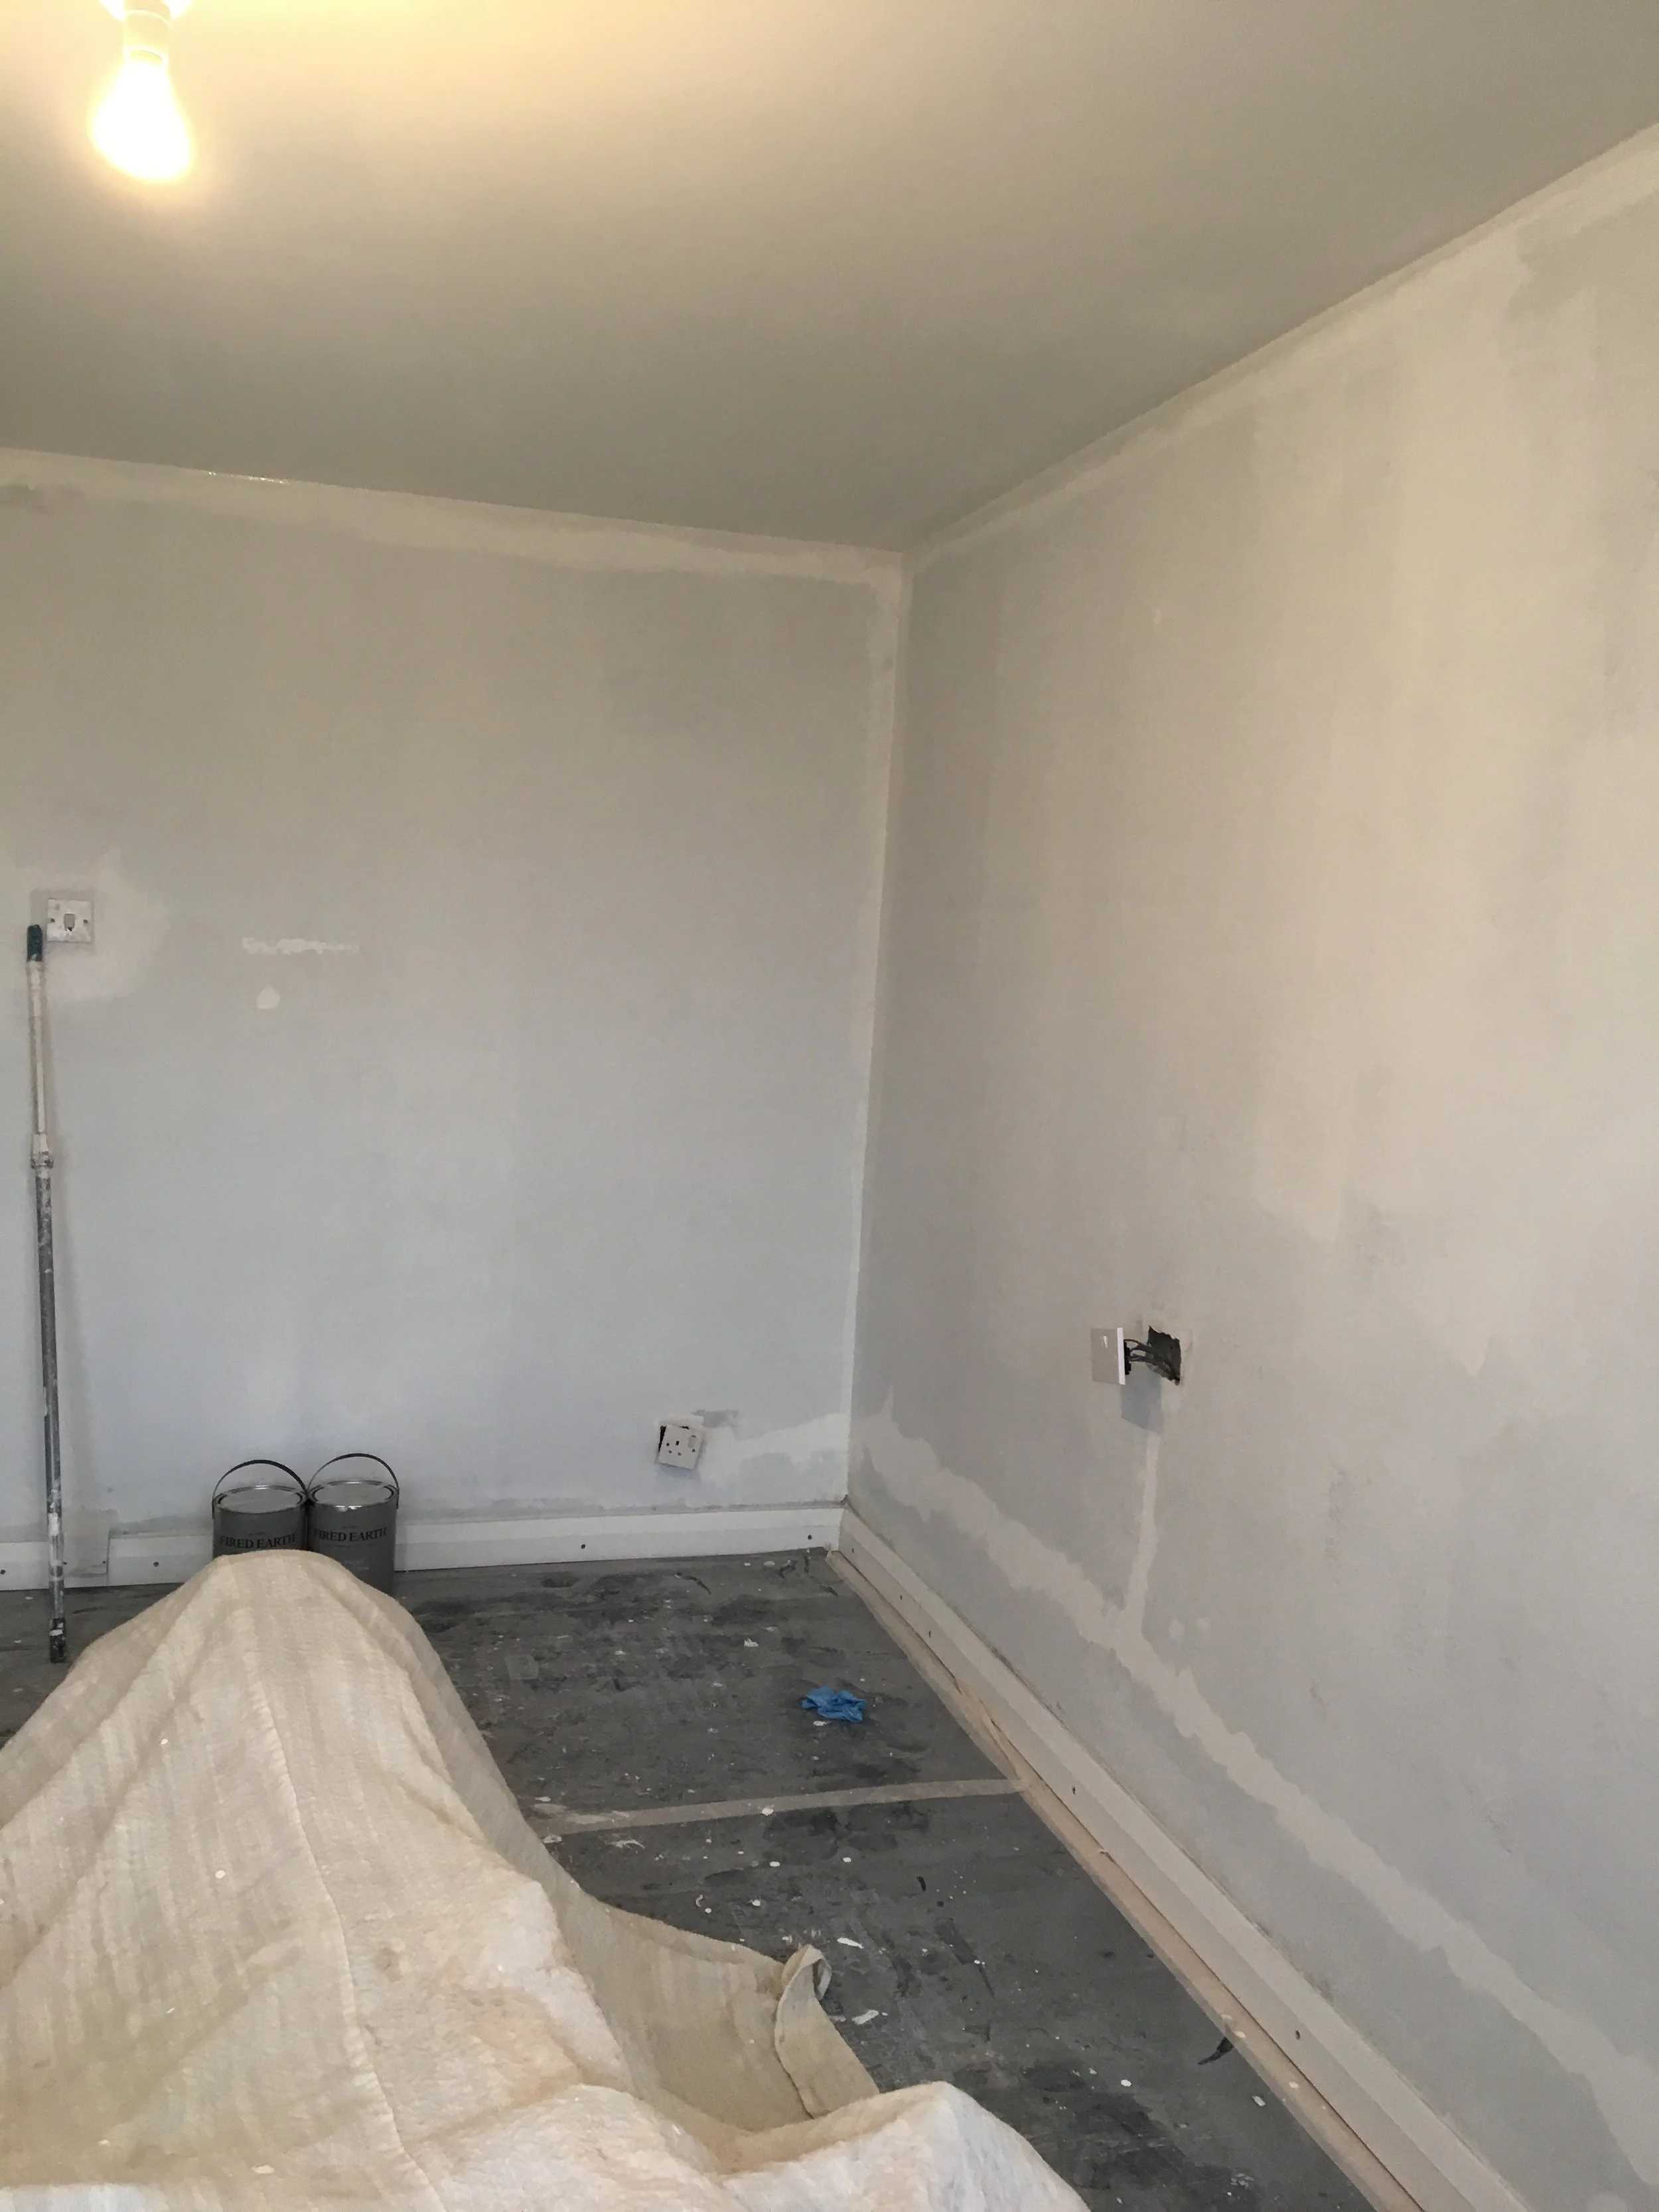
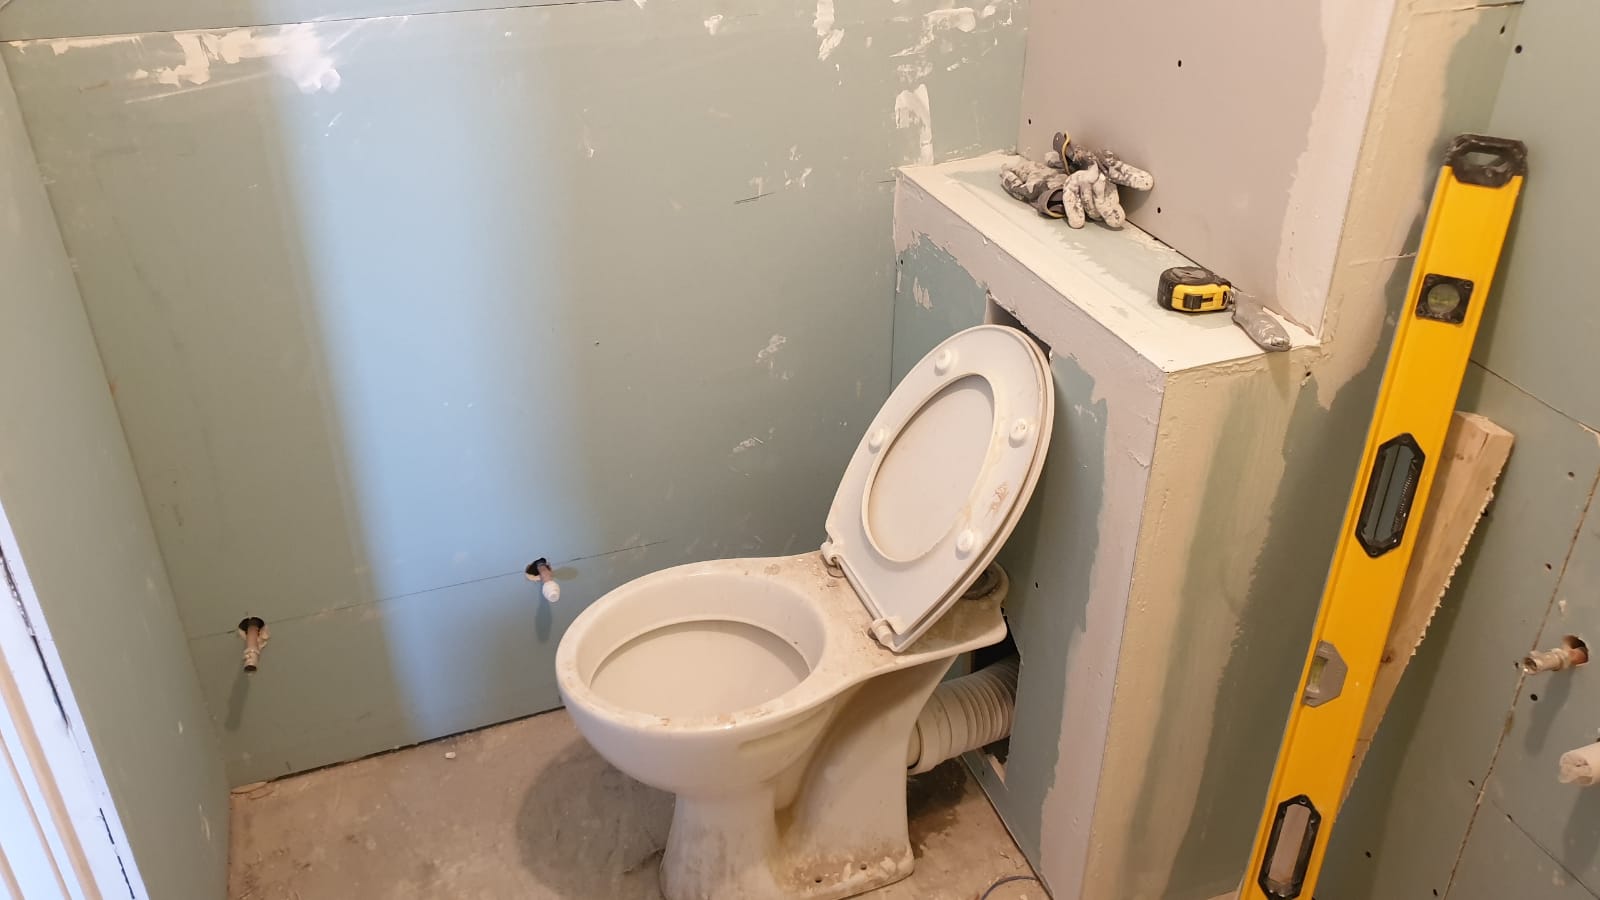
This flat on the 6th floor, overlooking the Marina, had been lived in by its original owner since it was built and was in dire need of TLC. A simple layout of kitchen and bathroom as soon as you enter the flat off a small hallway, with the bedroom and lounge at the front of the space. The small, dark narrow hallway made the entry feel cramped and dark. The tiny kitchen and bathroom did not leave much space to move in. However the Bedroom and the Lounge were of a good size and had great views. Below are some ‘Before’ pictures.

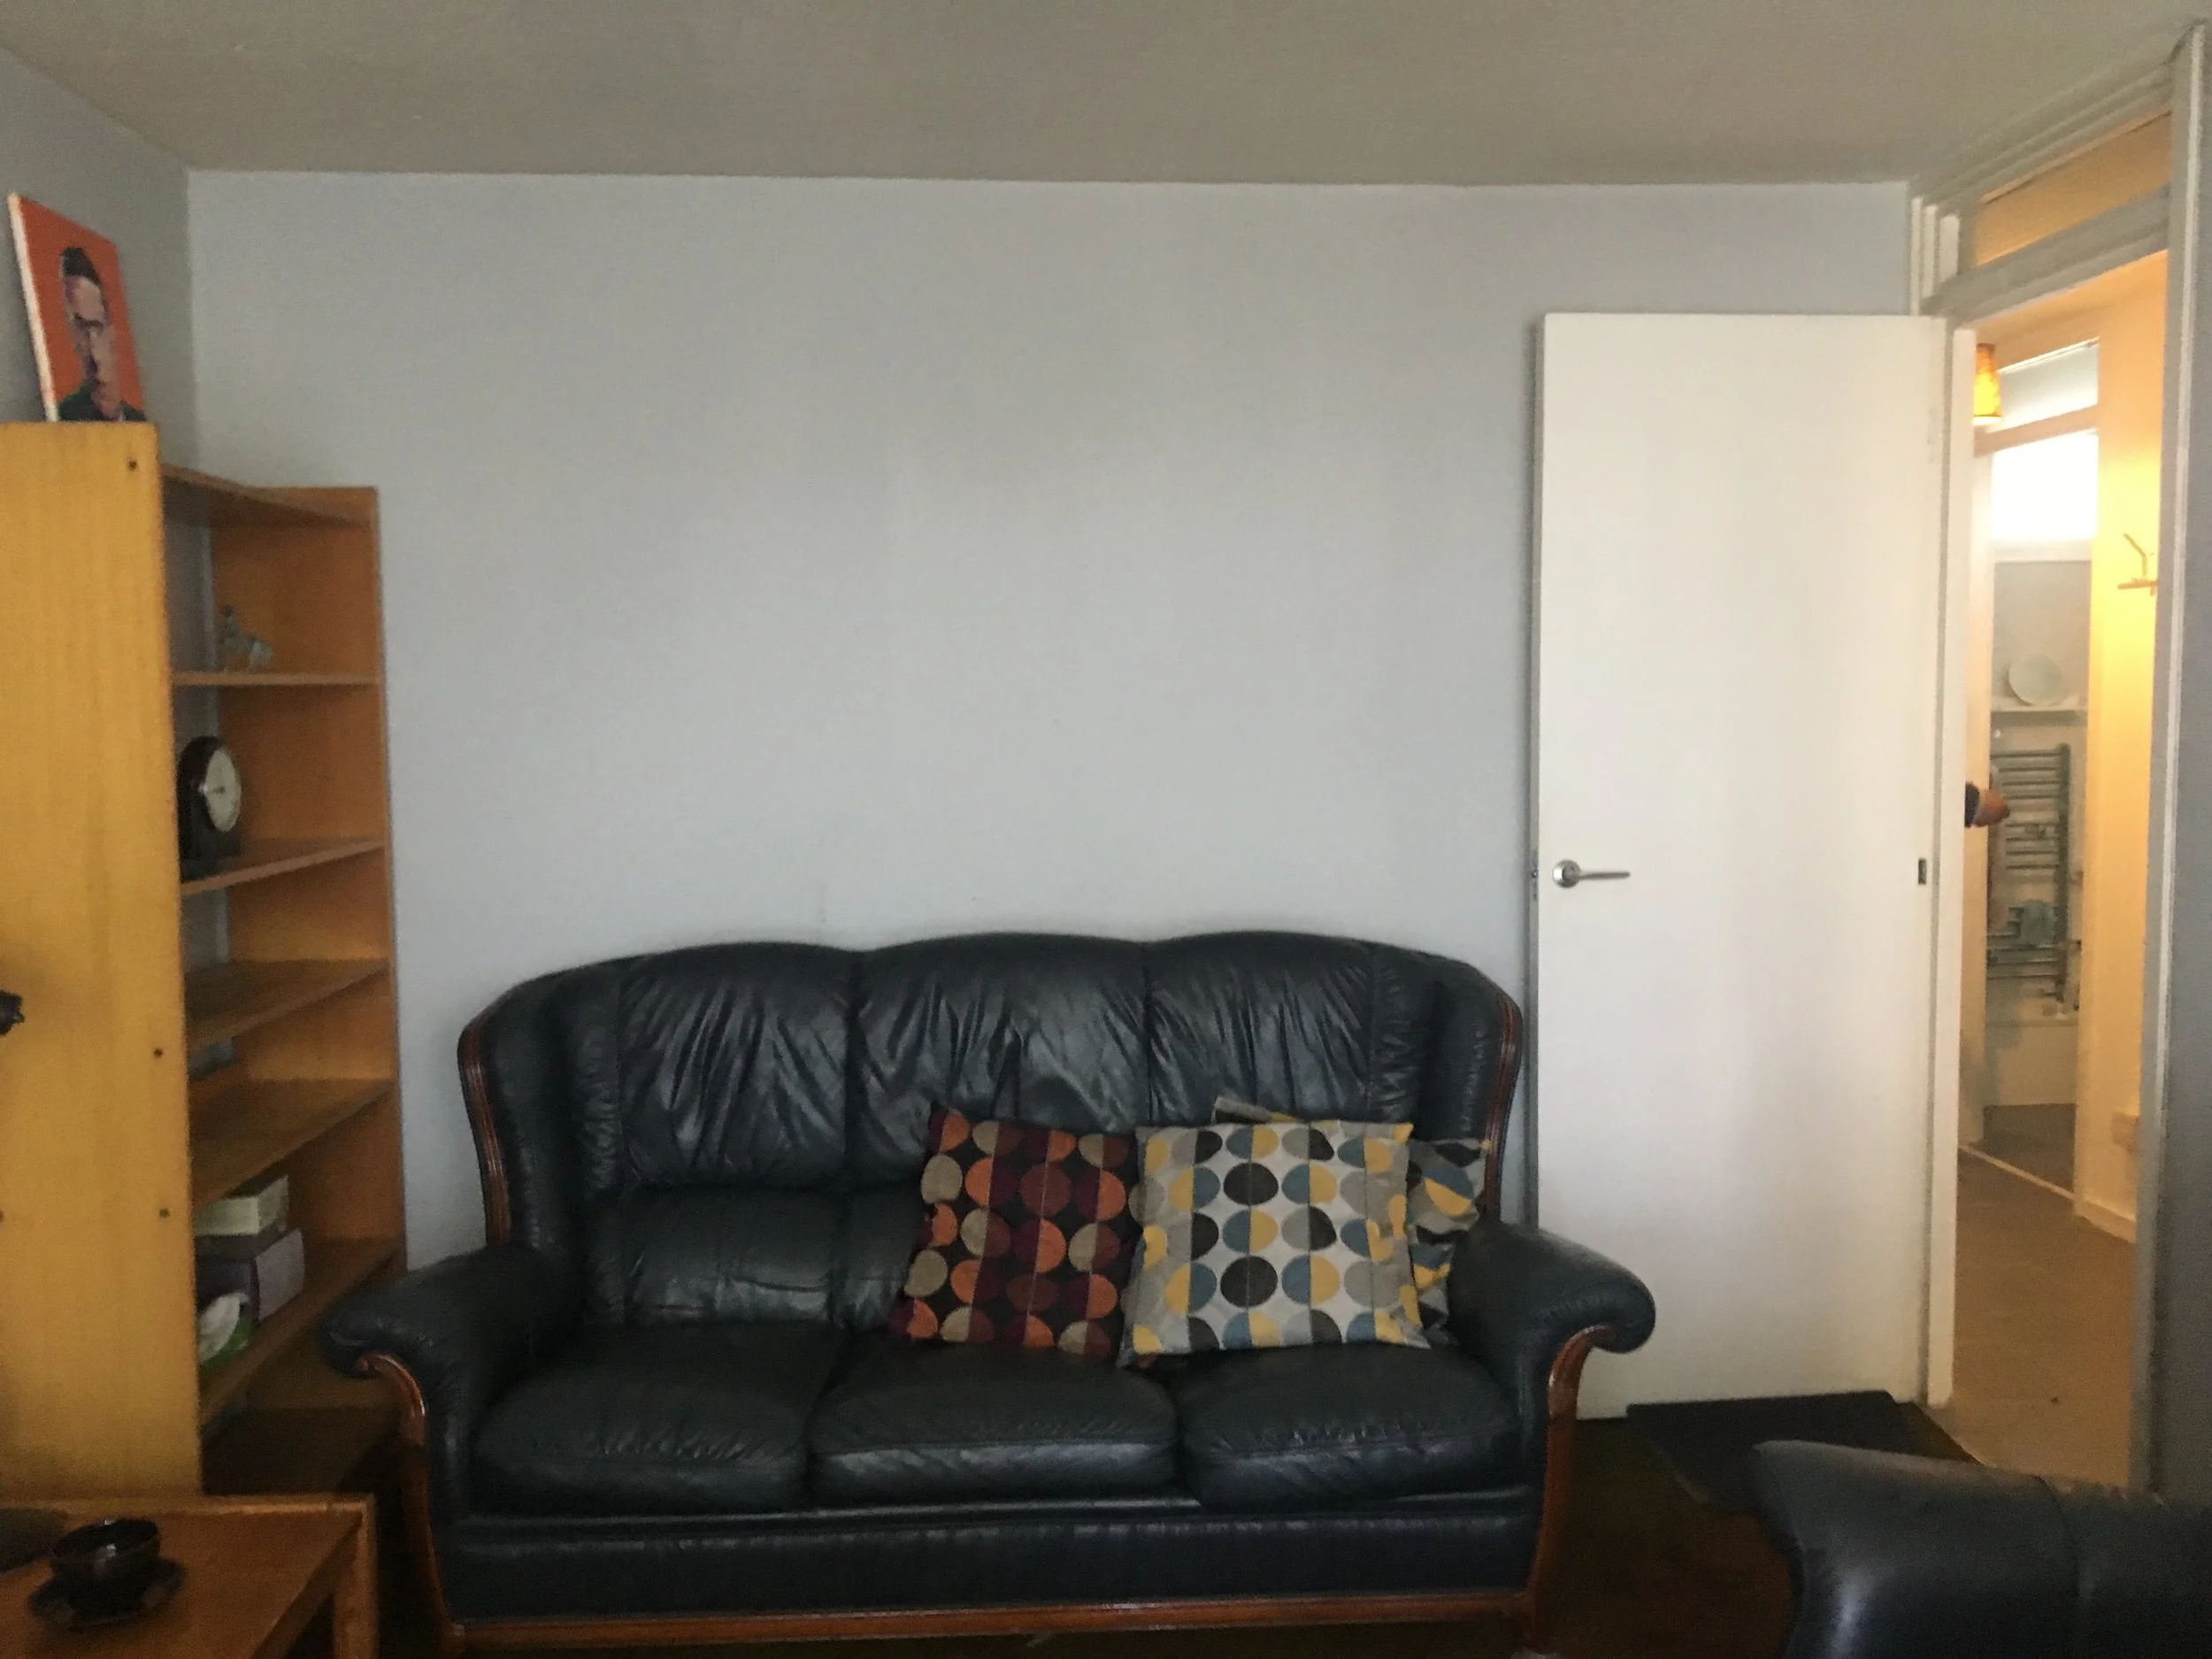
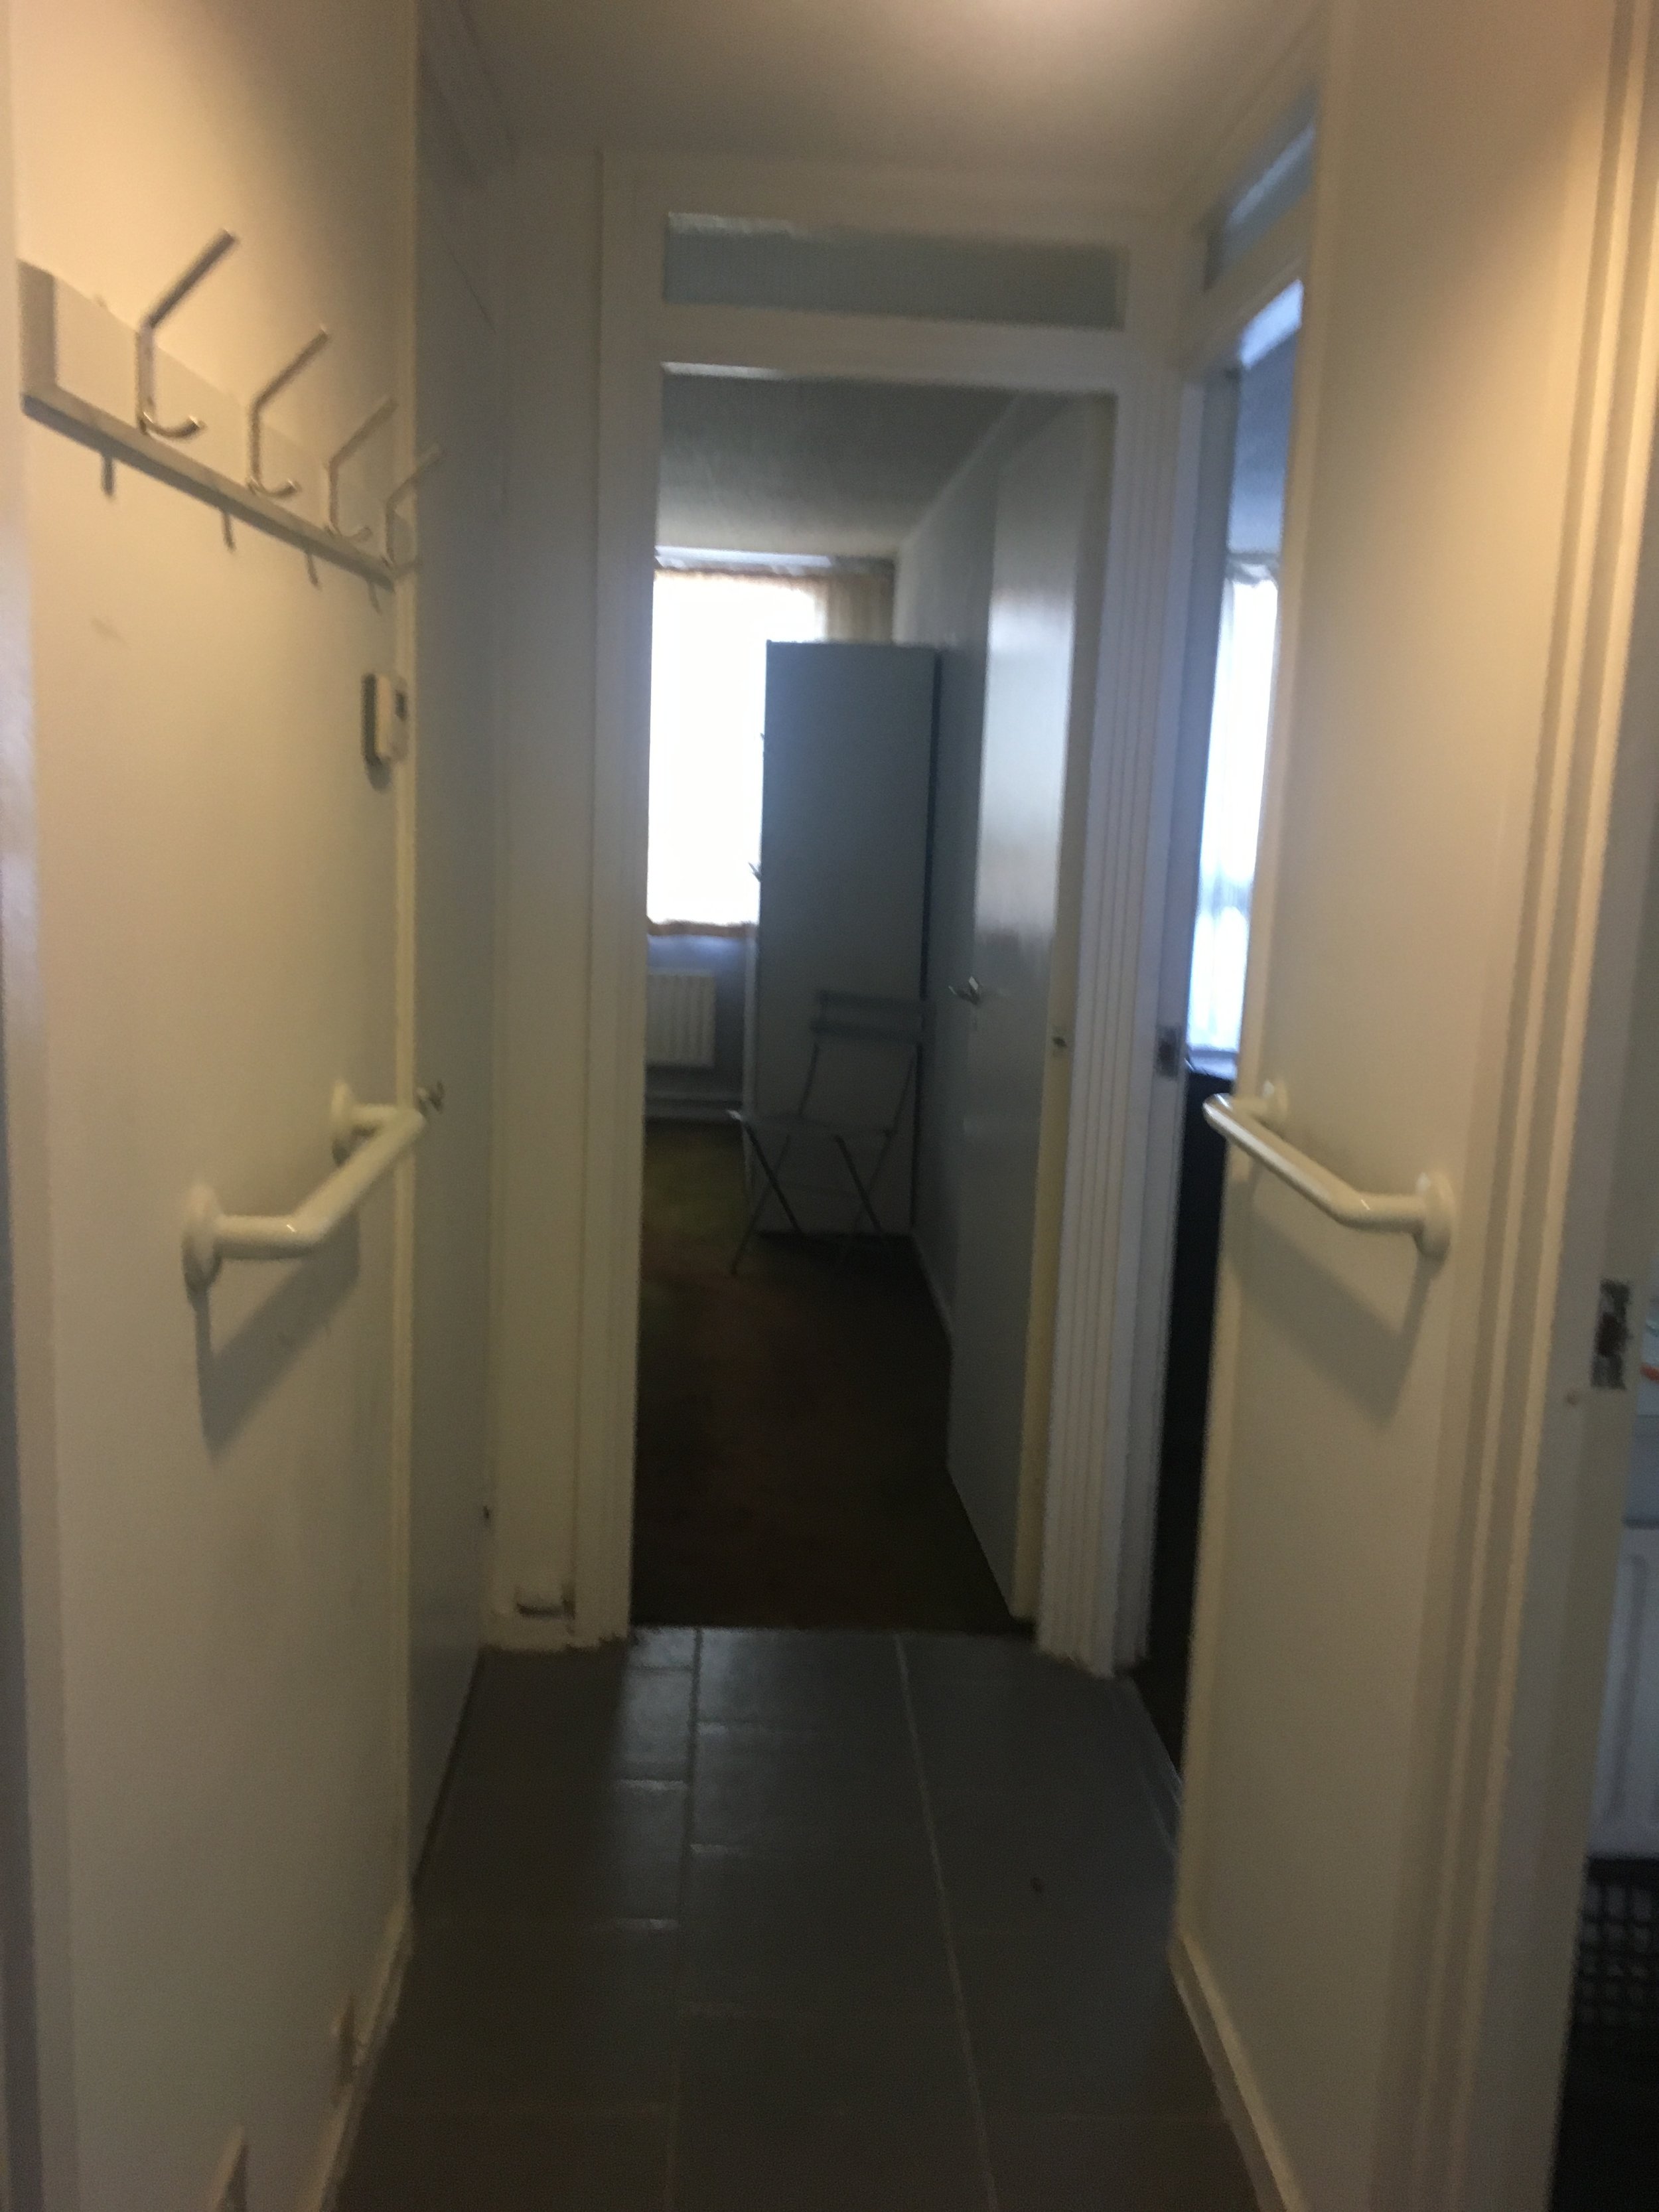
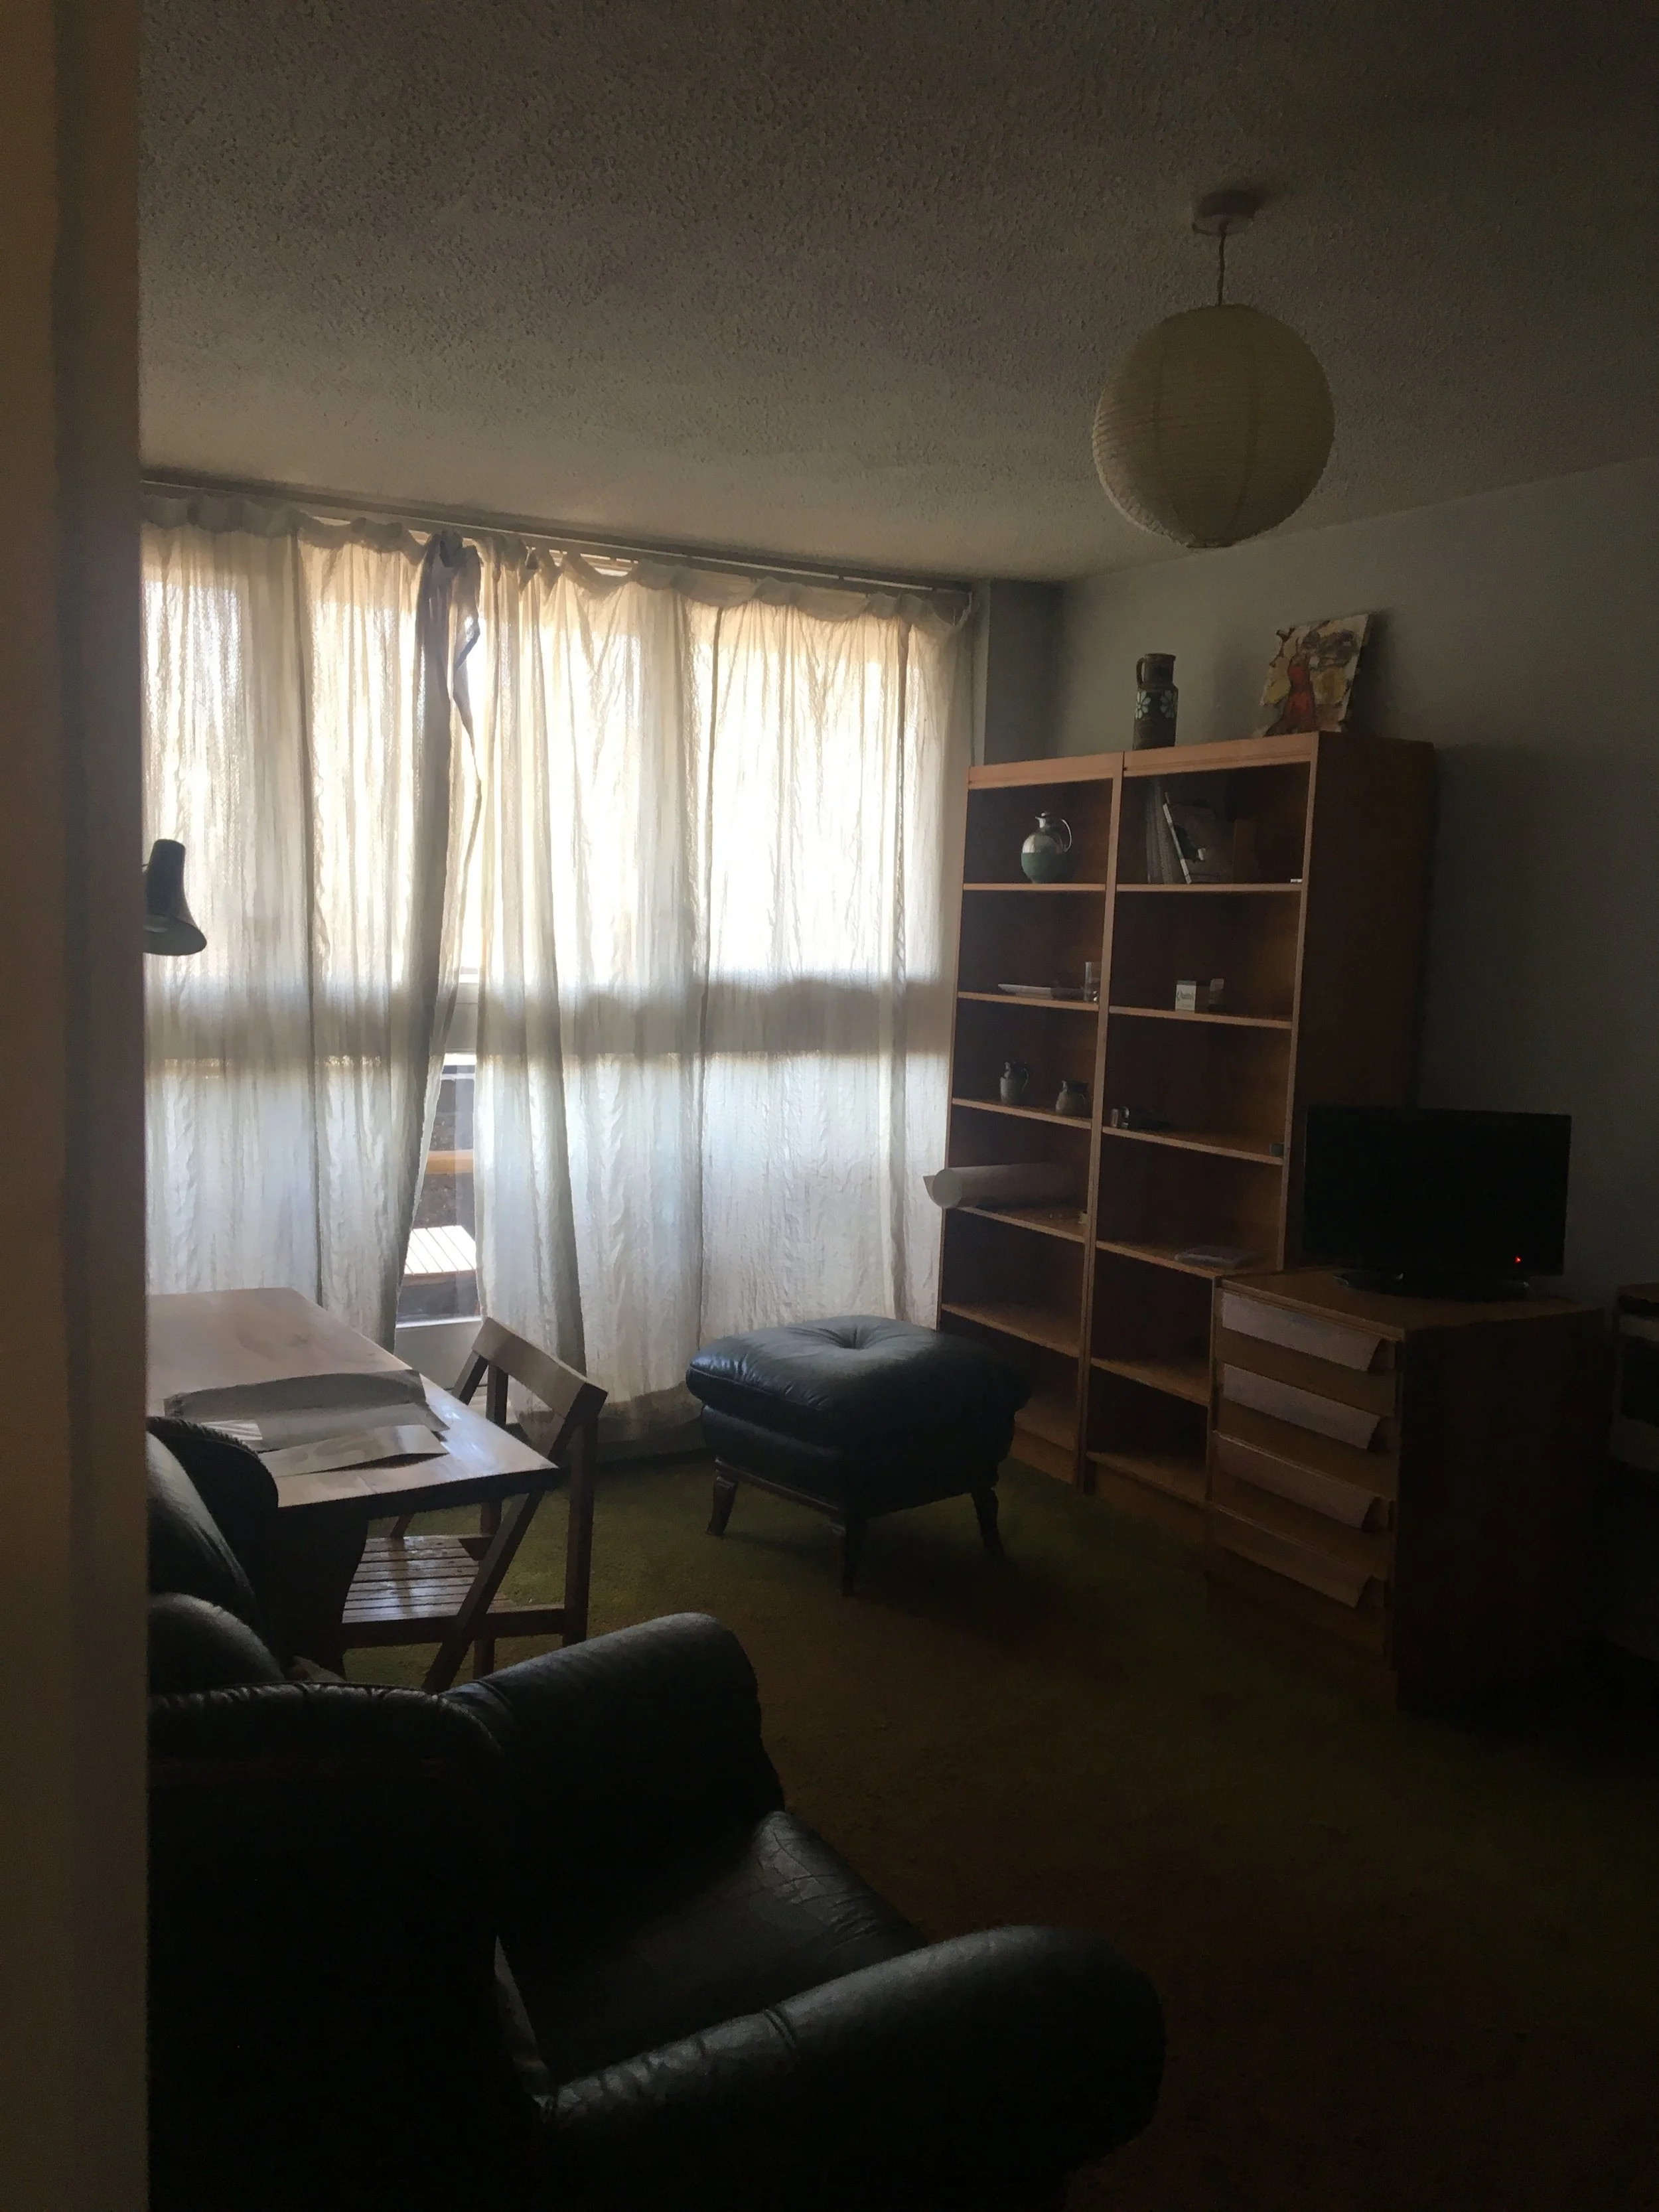
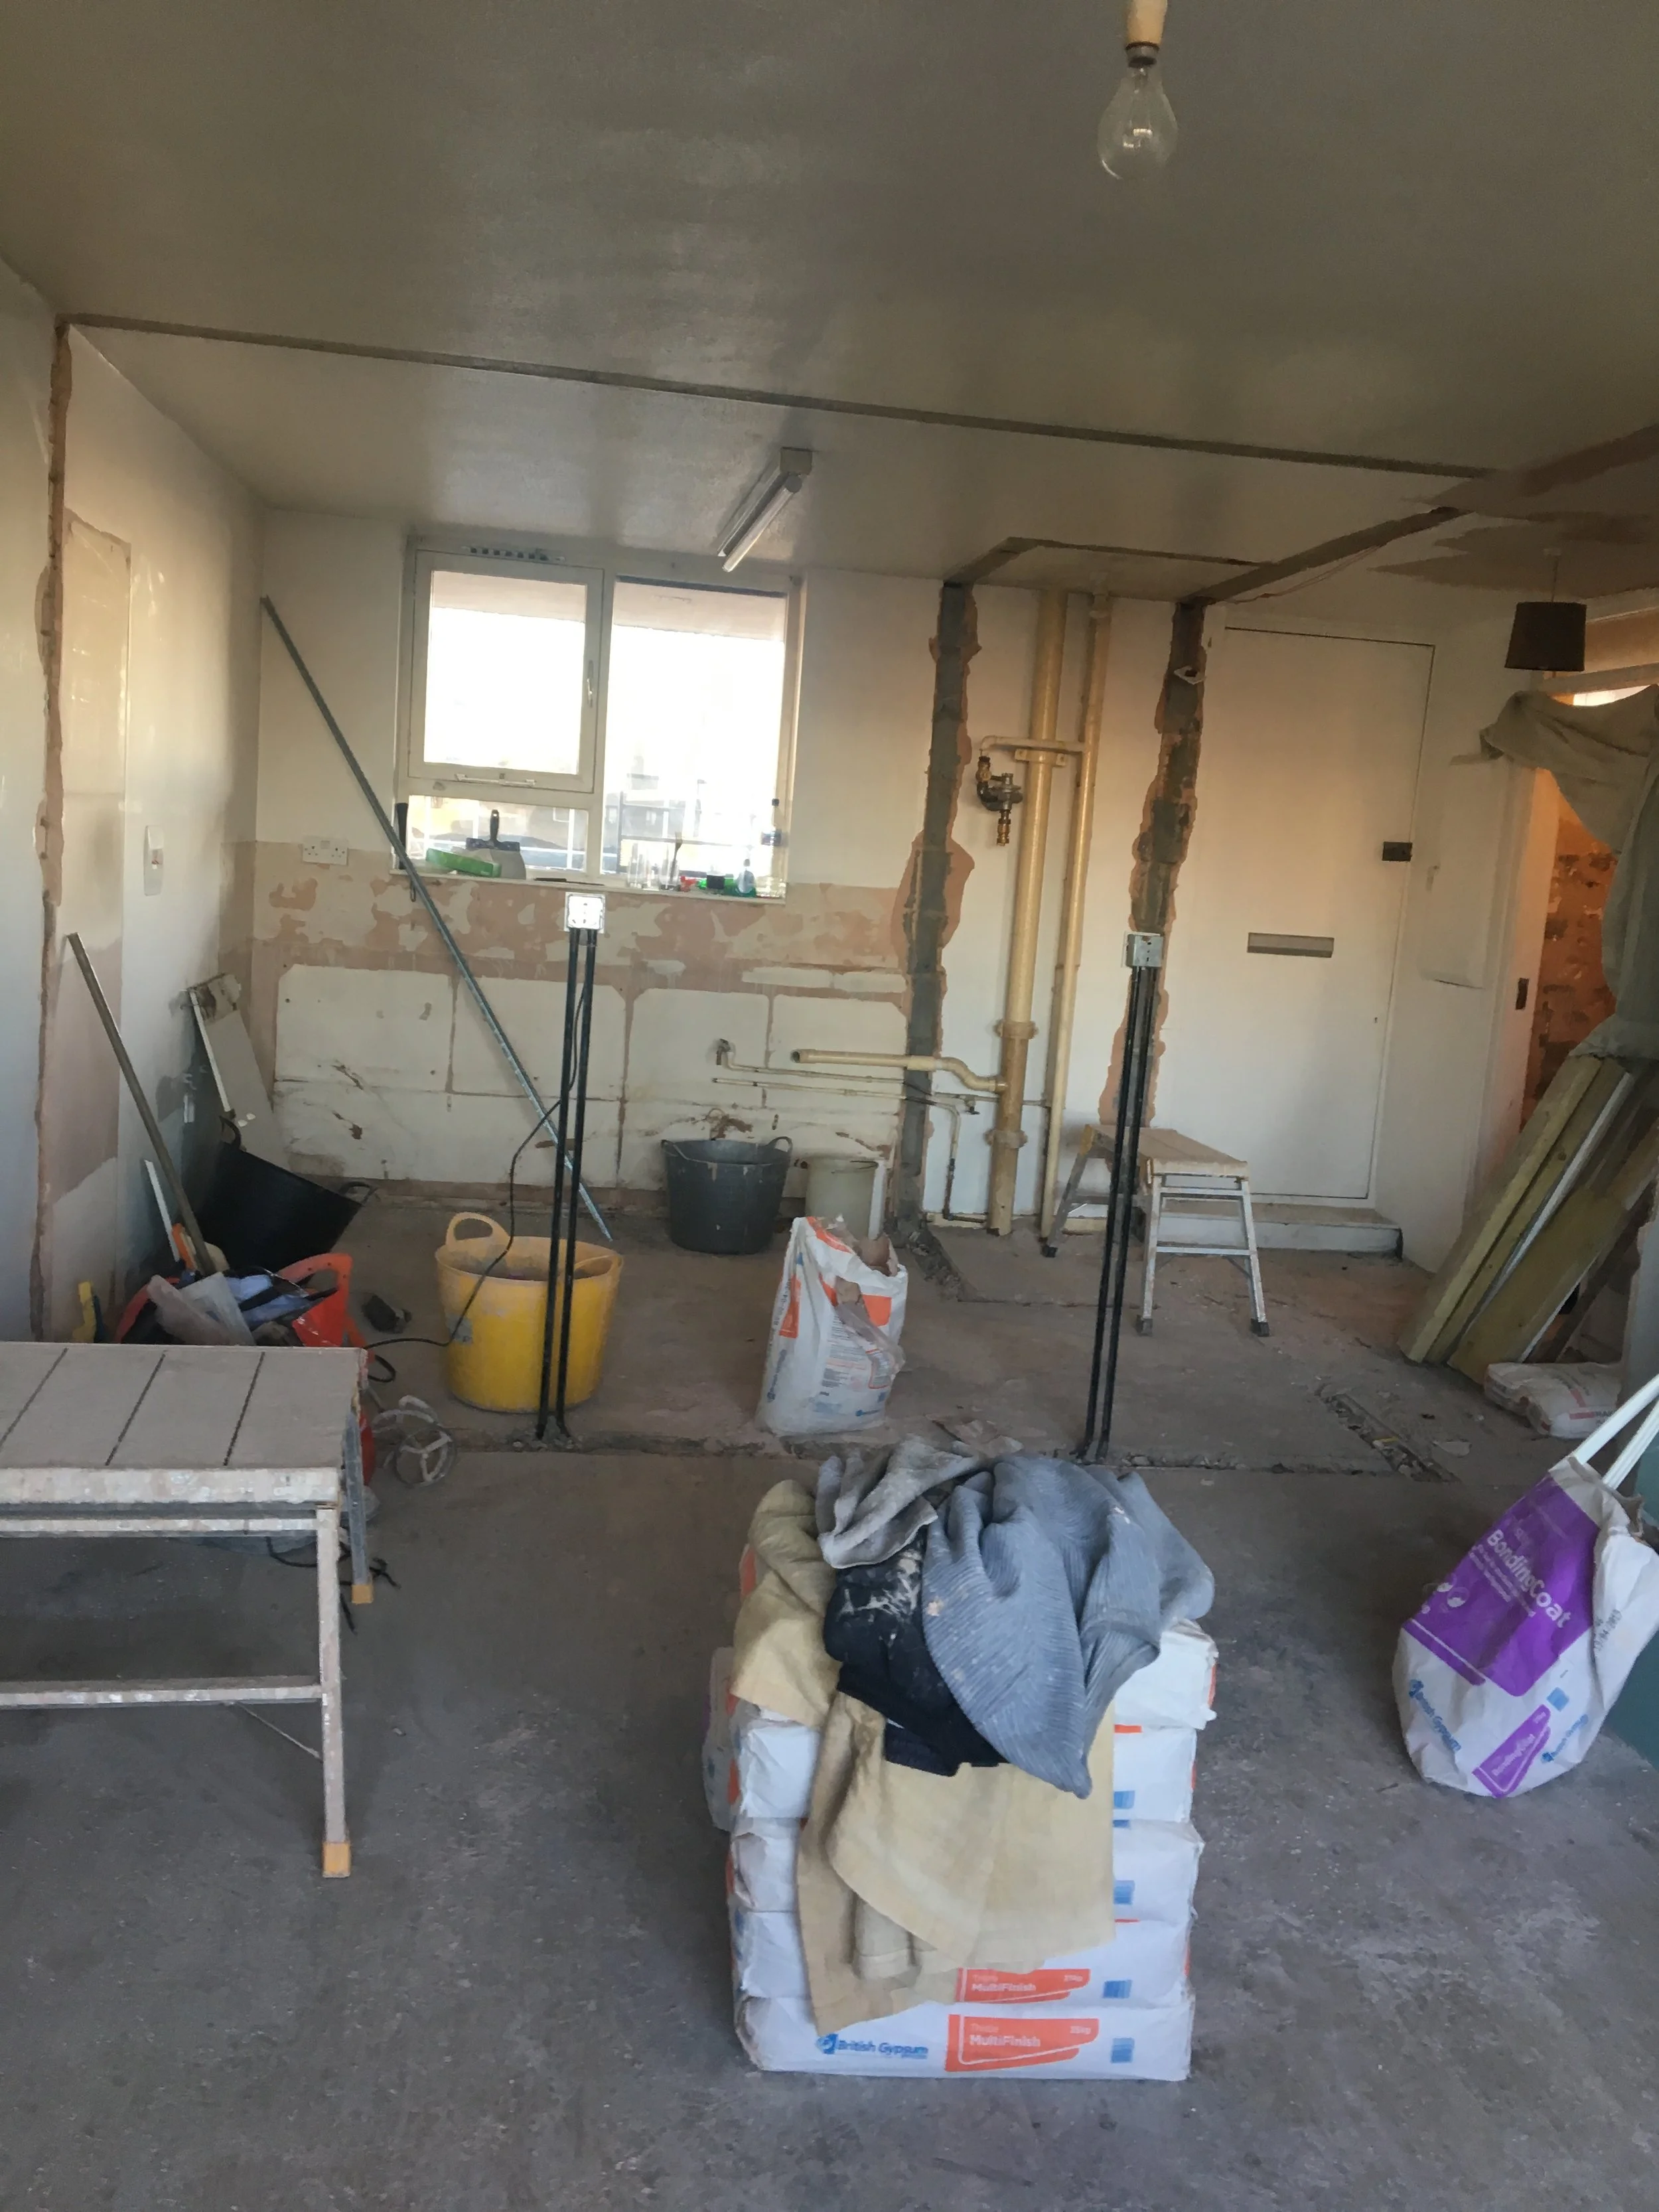
The first thought was how to make the best of the space and the light from the large front floor to windows in the lounge and the kitchen windows. The small hallway was narrow and blocked any views when you enter the space. As this was built as a concrete box I knew that the walls would be non-structural and a Structural Engineer confirmed this (ALWAYS check this before you start taking walls down).
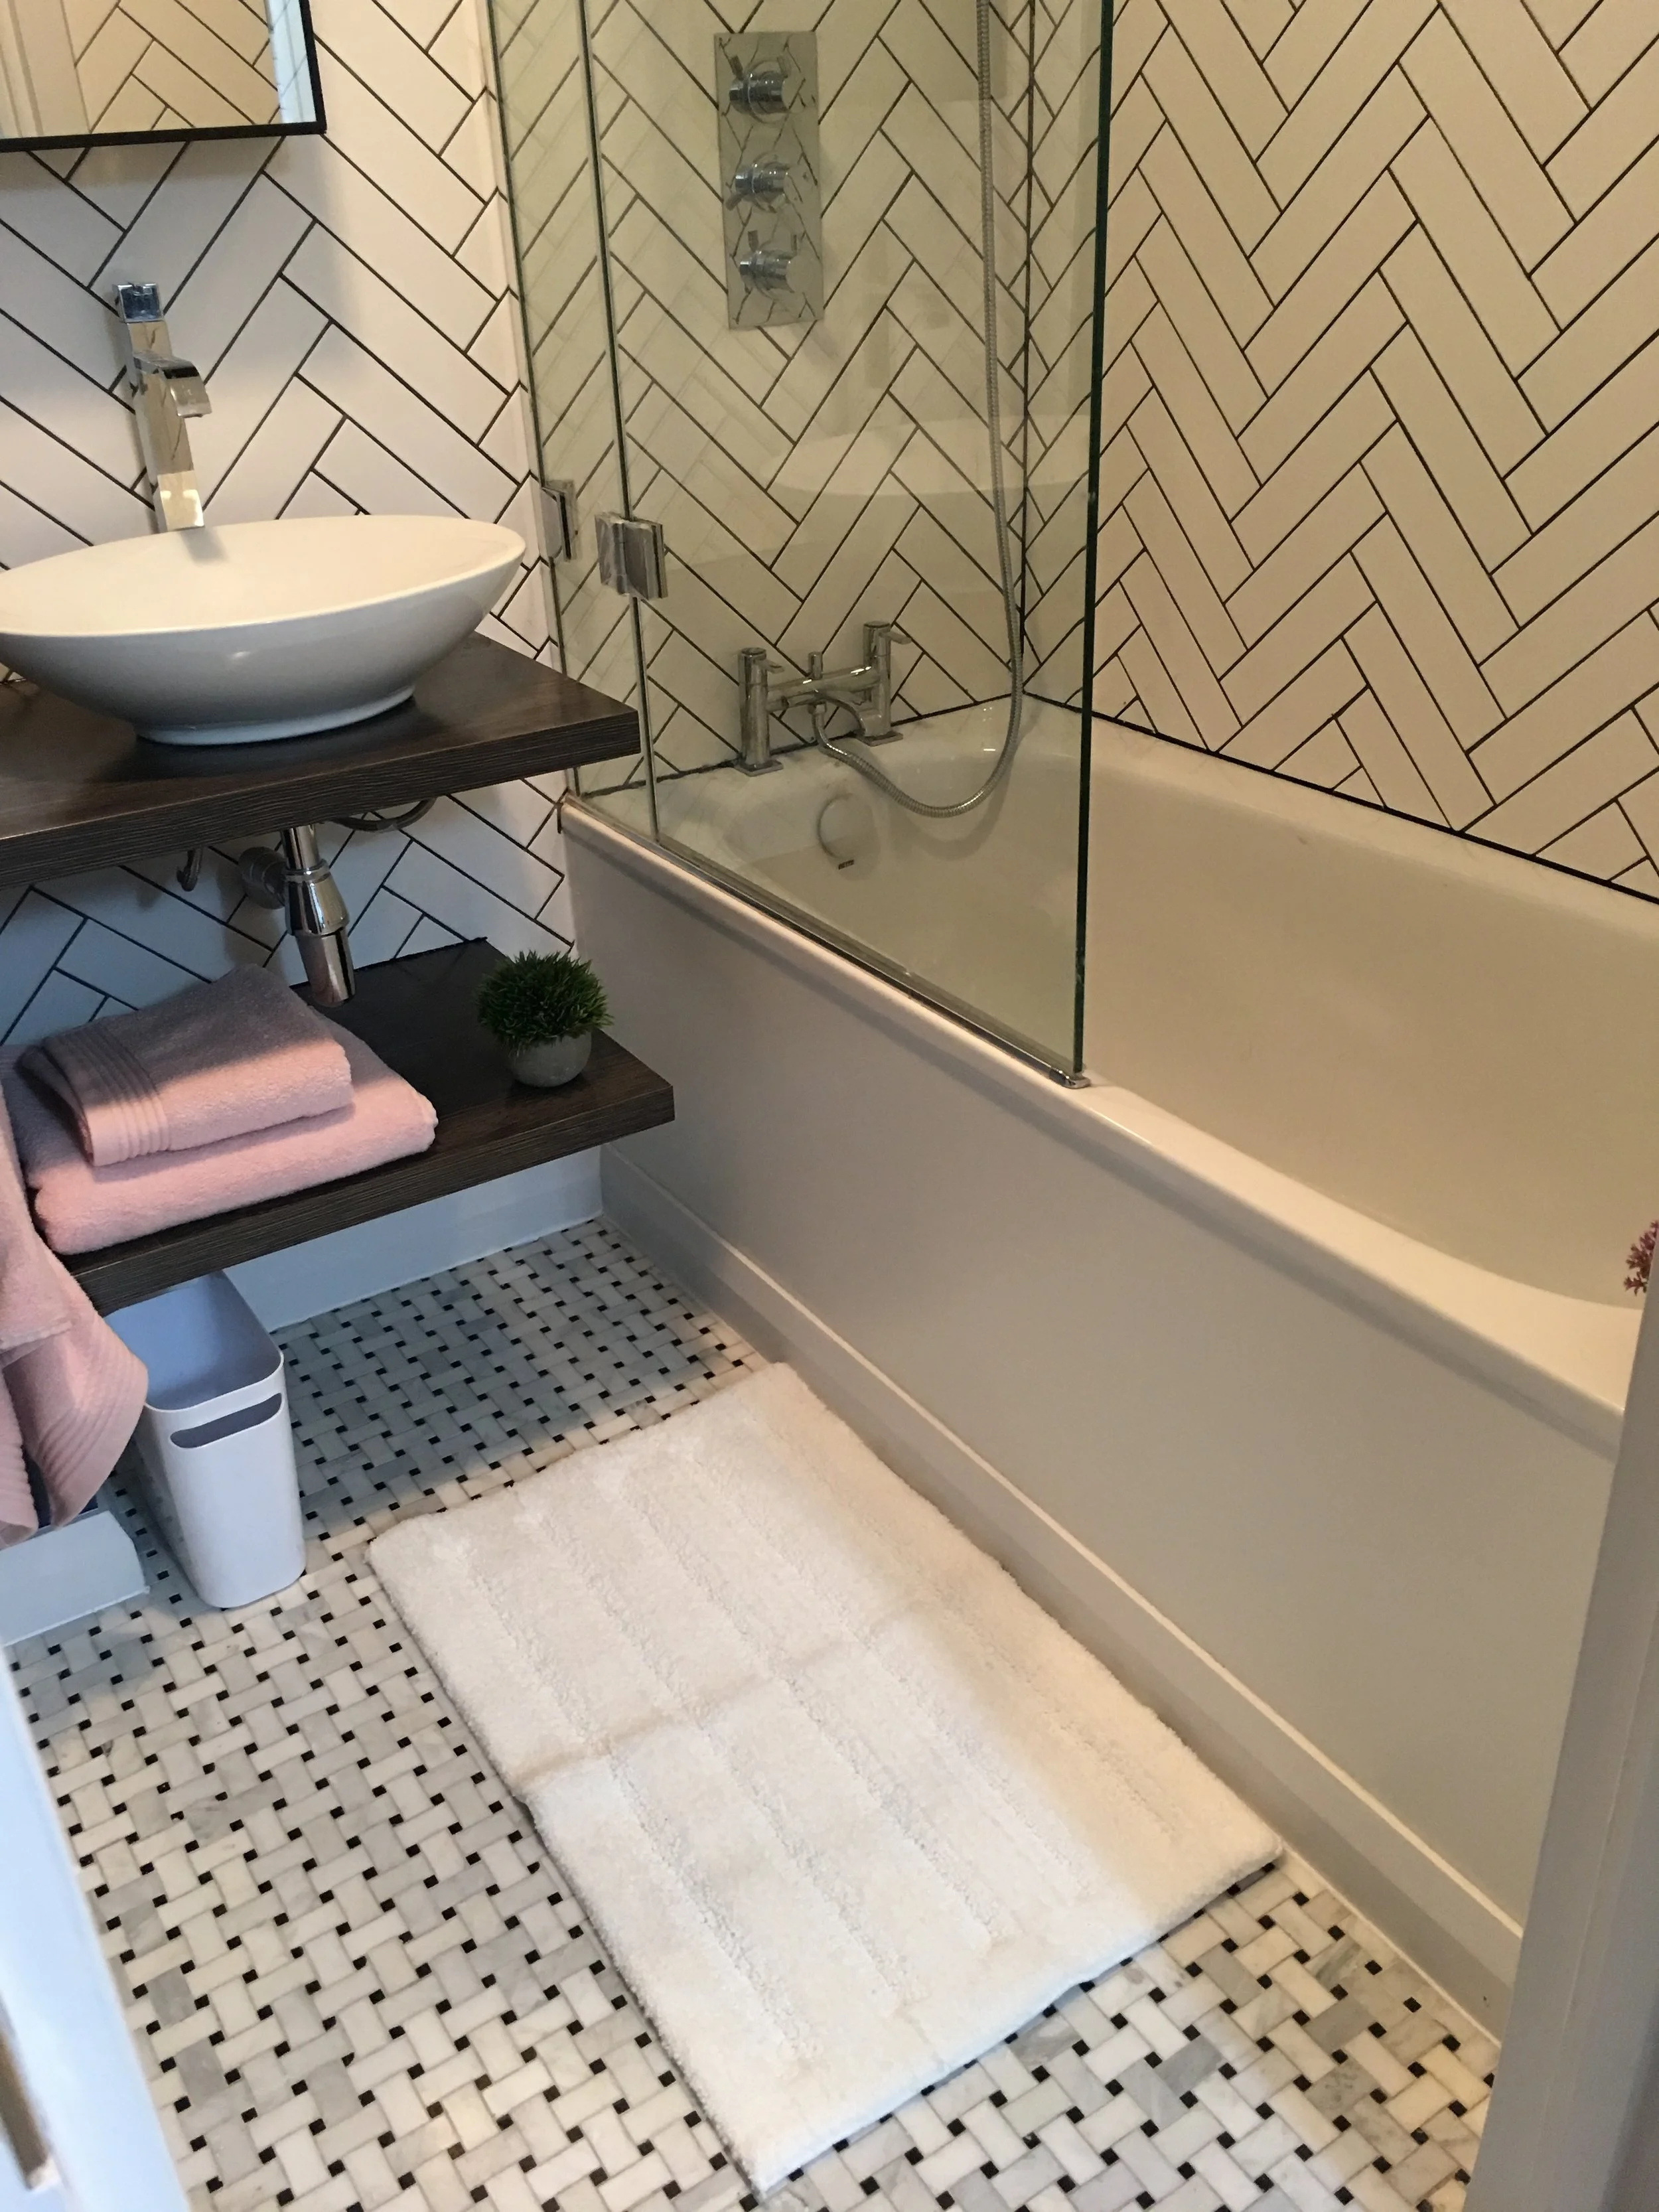
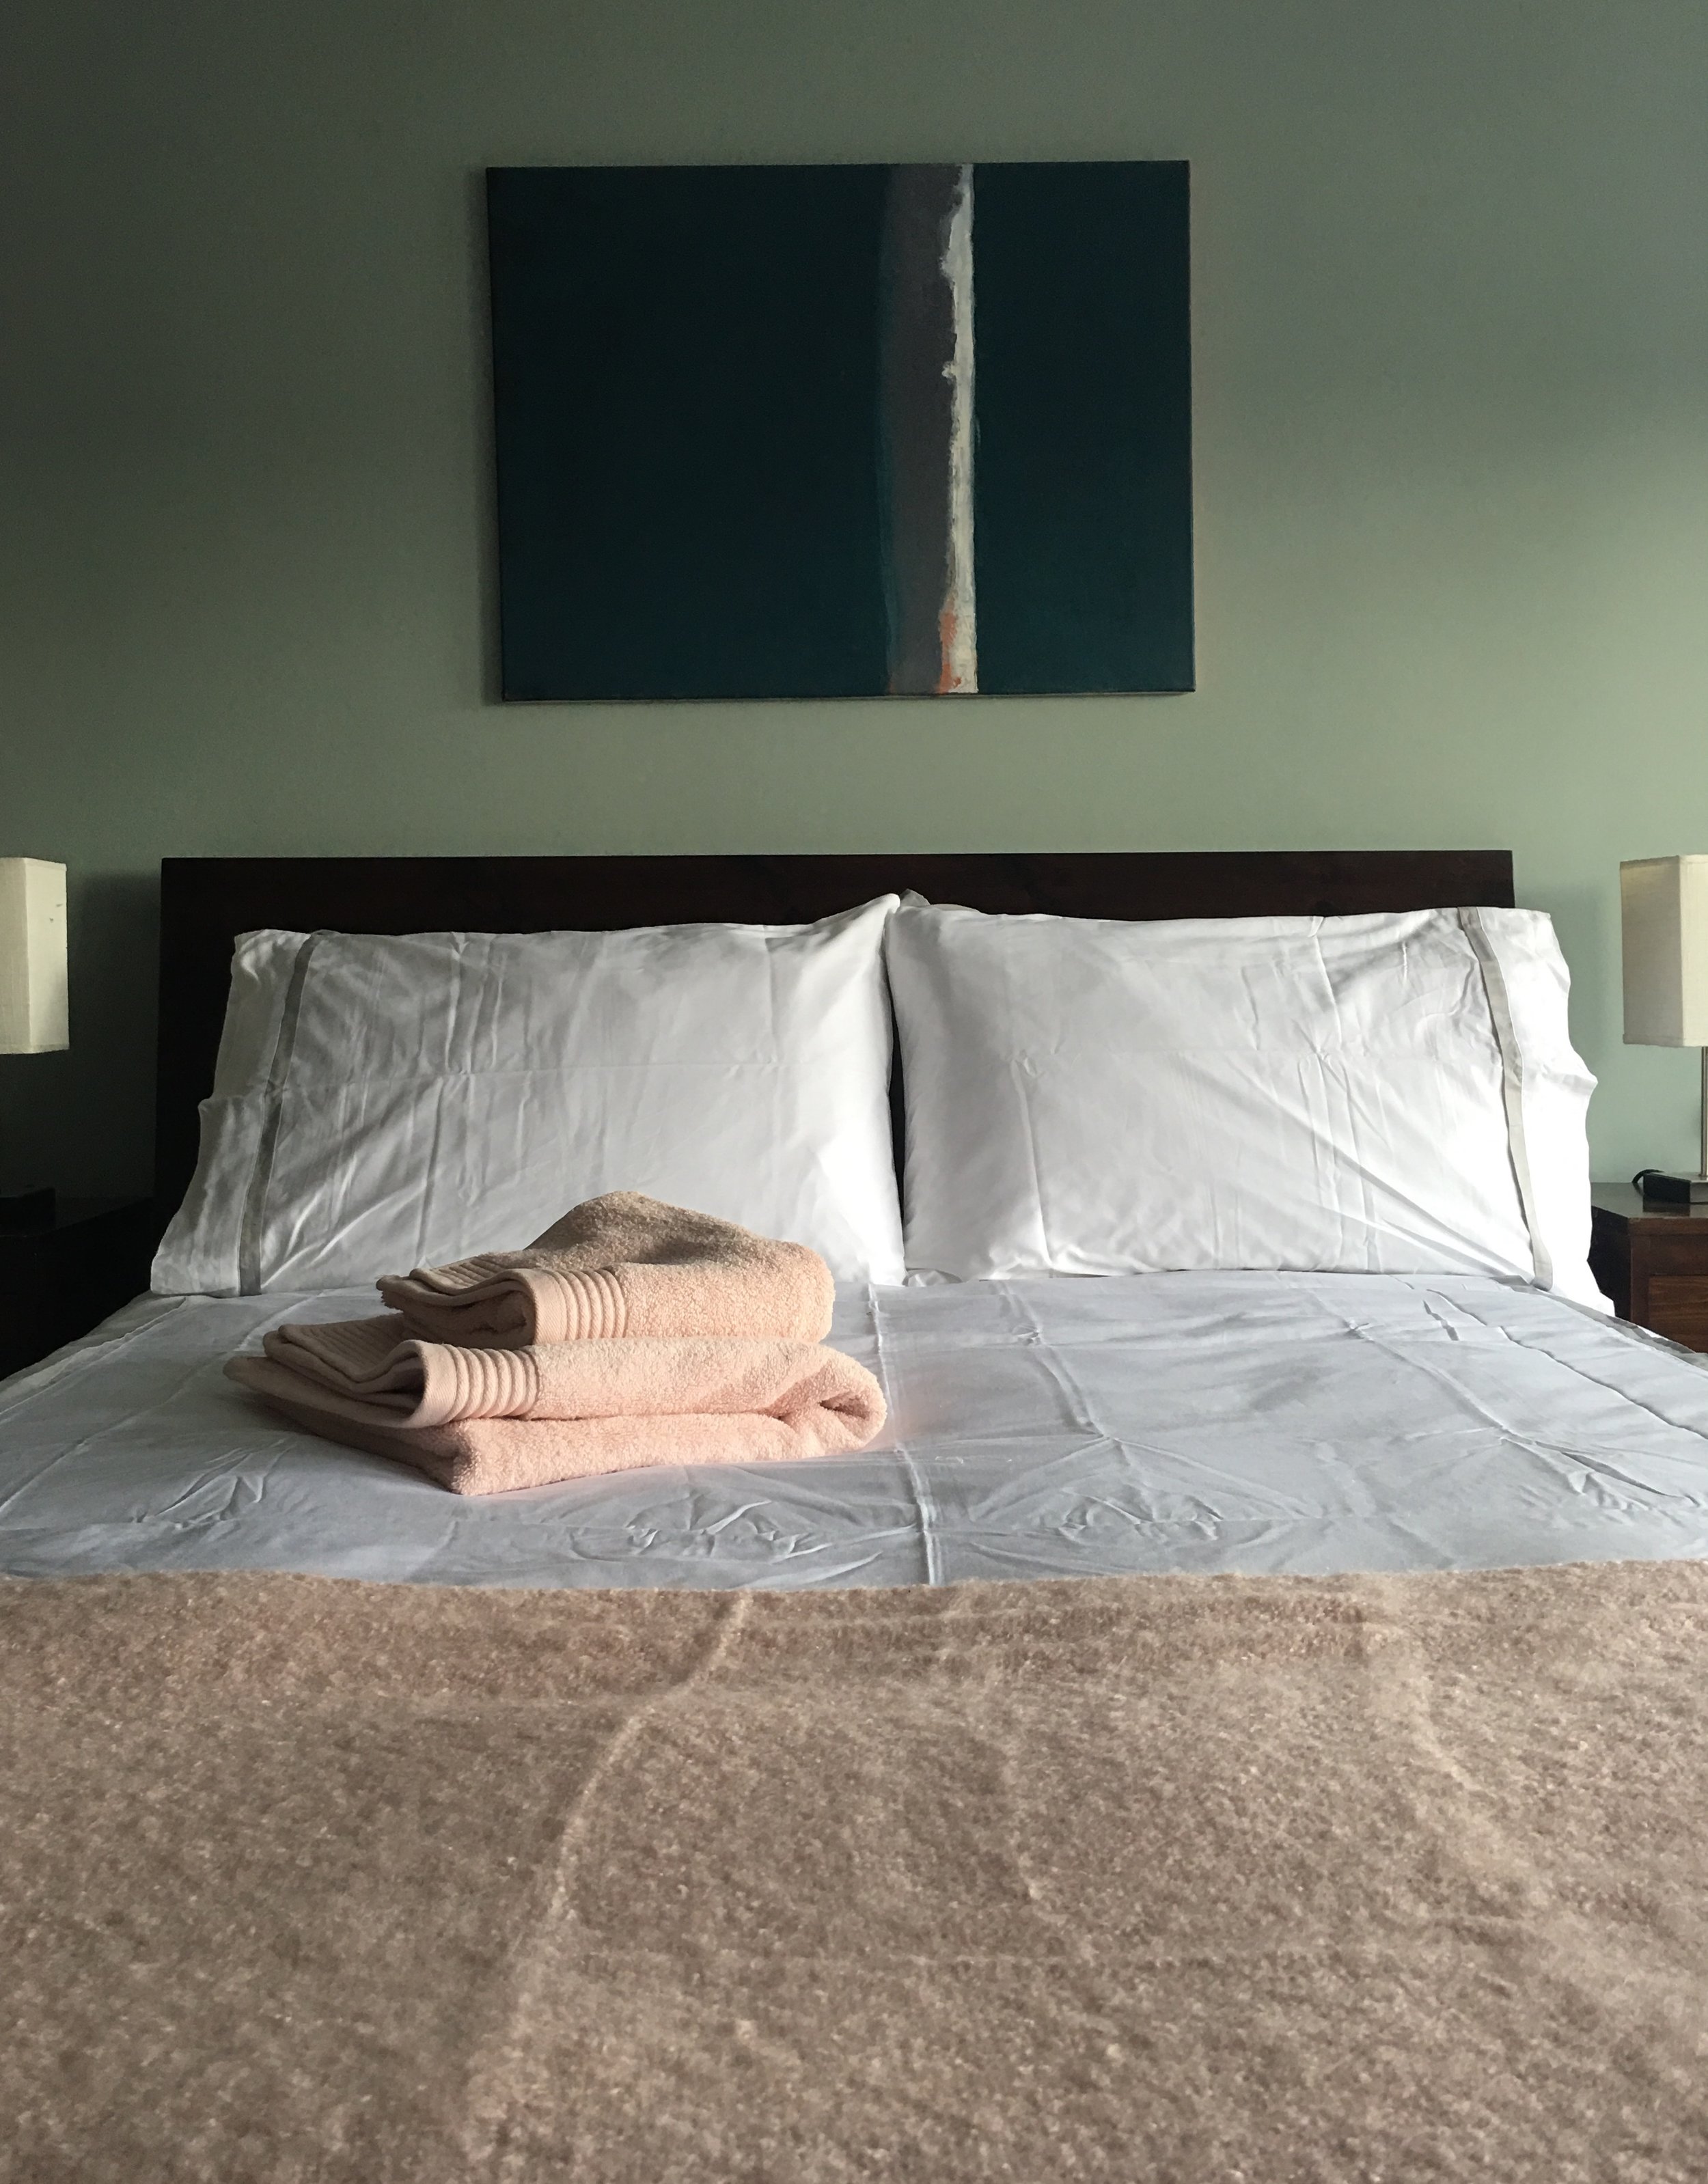
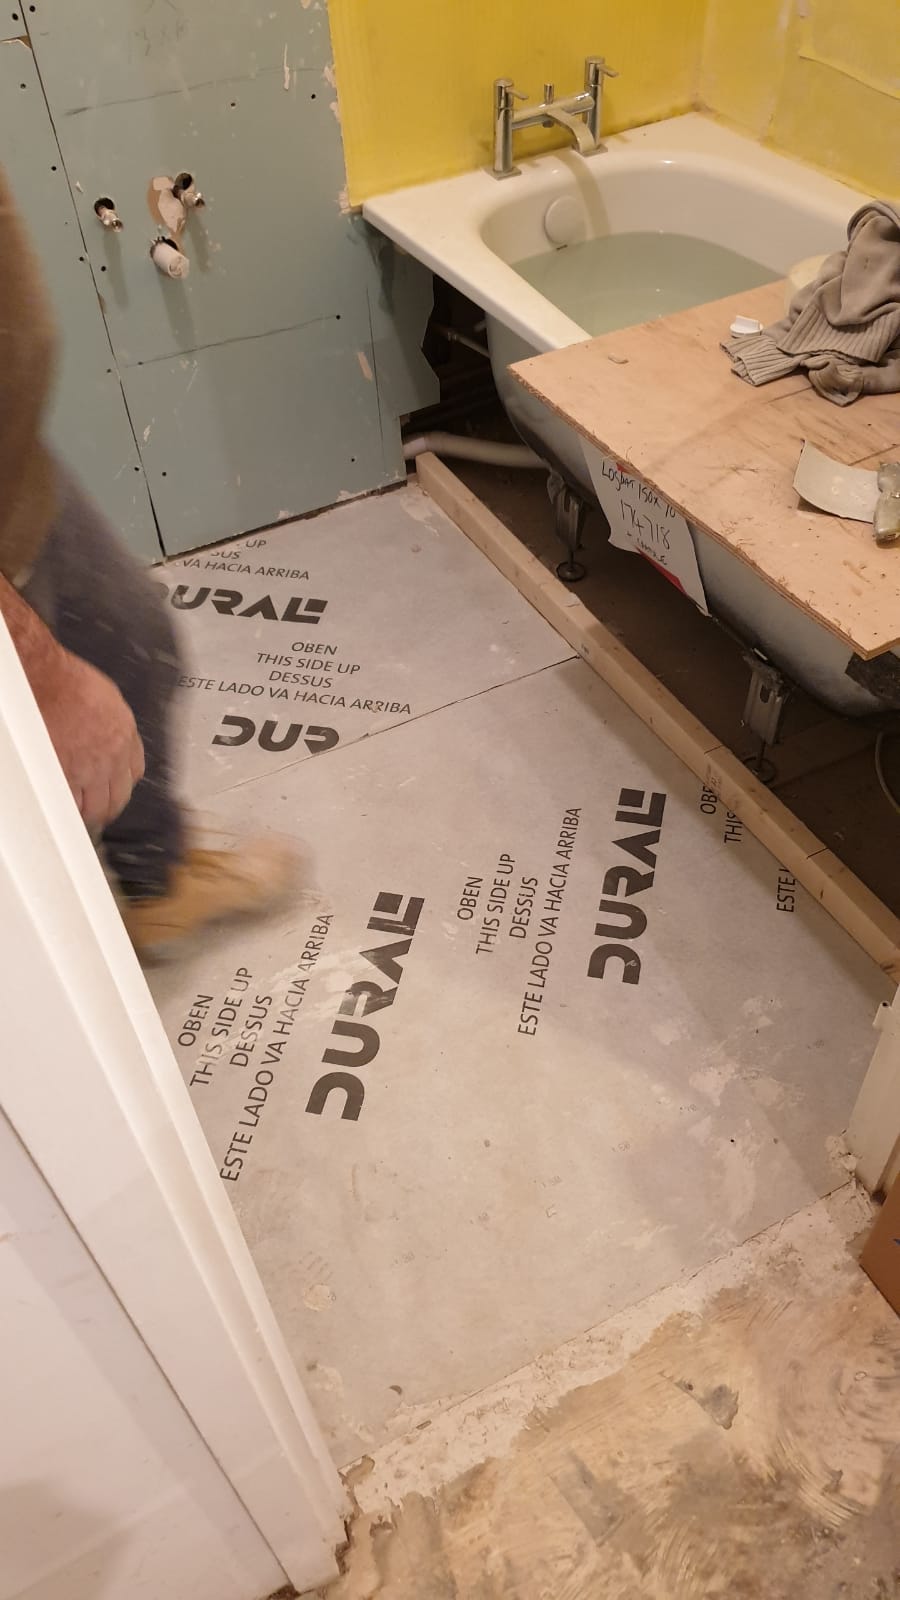
The bathroom was an ok size and I thought I could put a bath in and a shower over the bath, and the bedroom was of a very good size, it just needed updating. So the major changes would be to take out the walls between the kitchen and the living room and the kitchen and the hallway. This would then open this space right up and you would see through to the balcony as soon as you open the front door. You would also get the sun in the morning through the kitchen window and at night through the lounge room. The result would be dramatic.
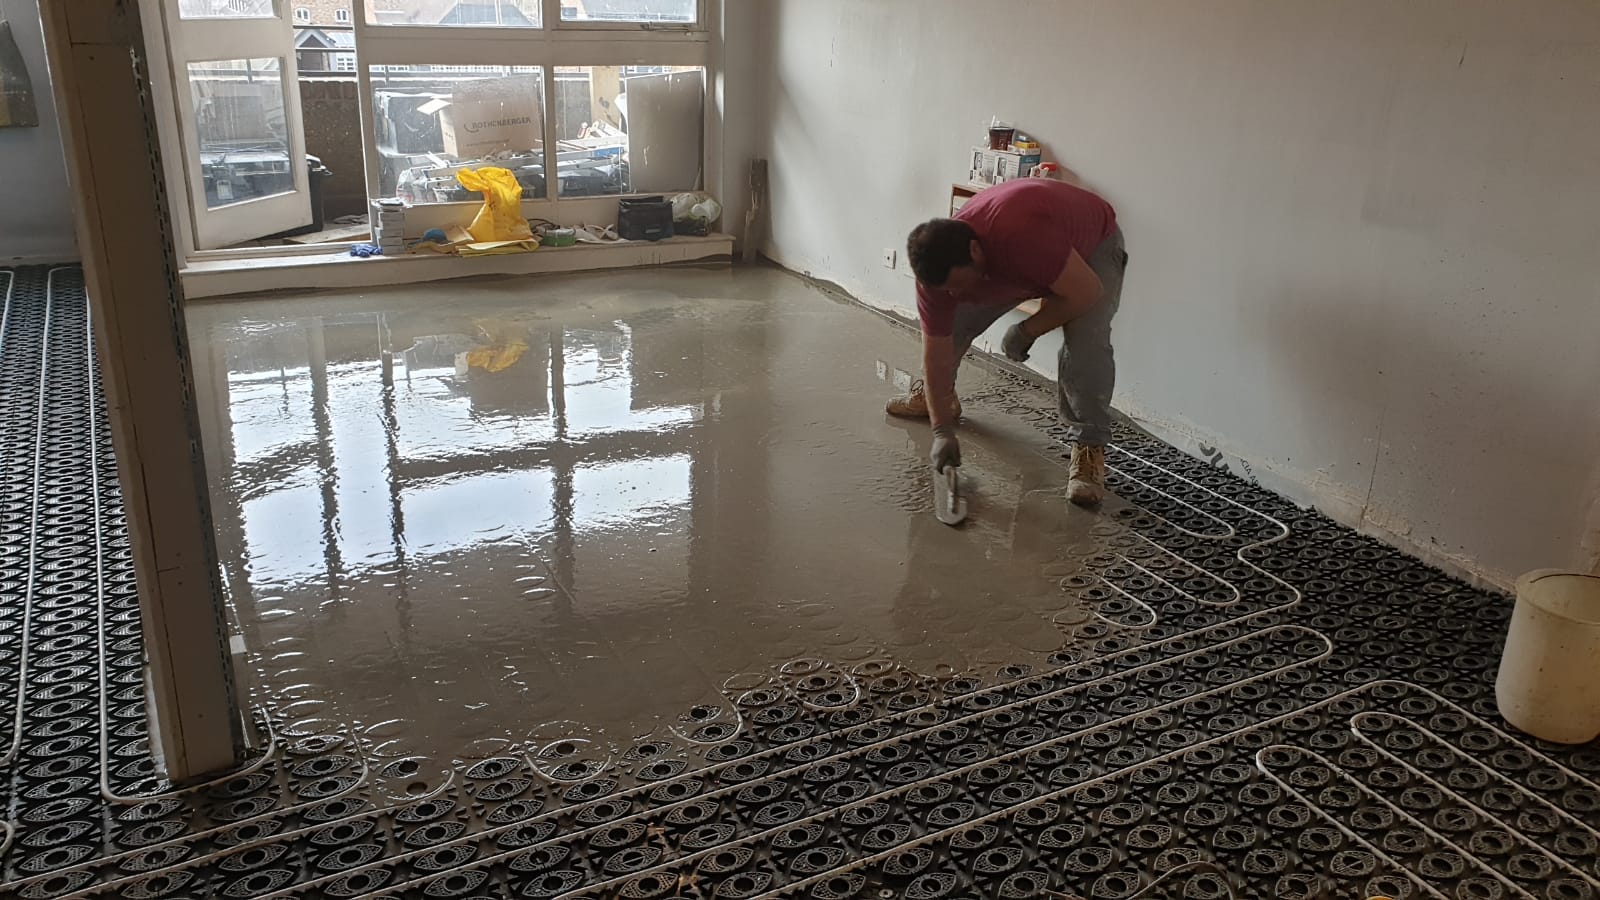
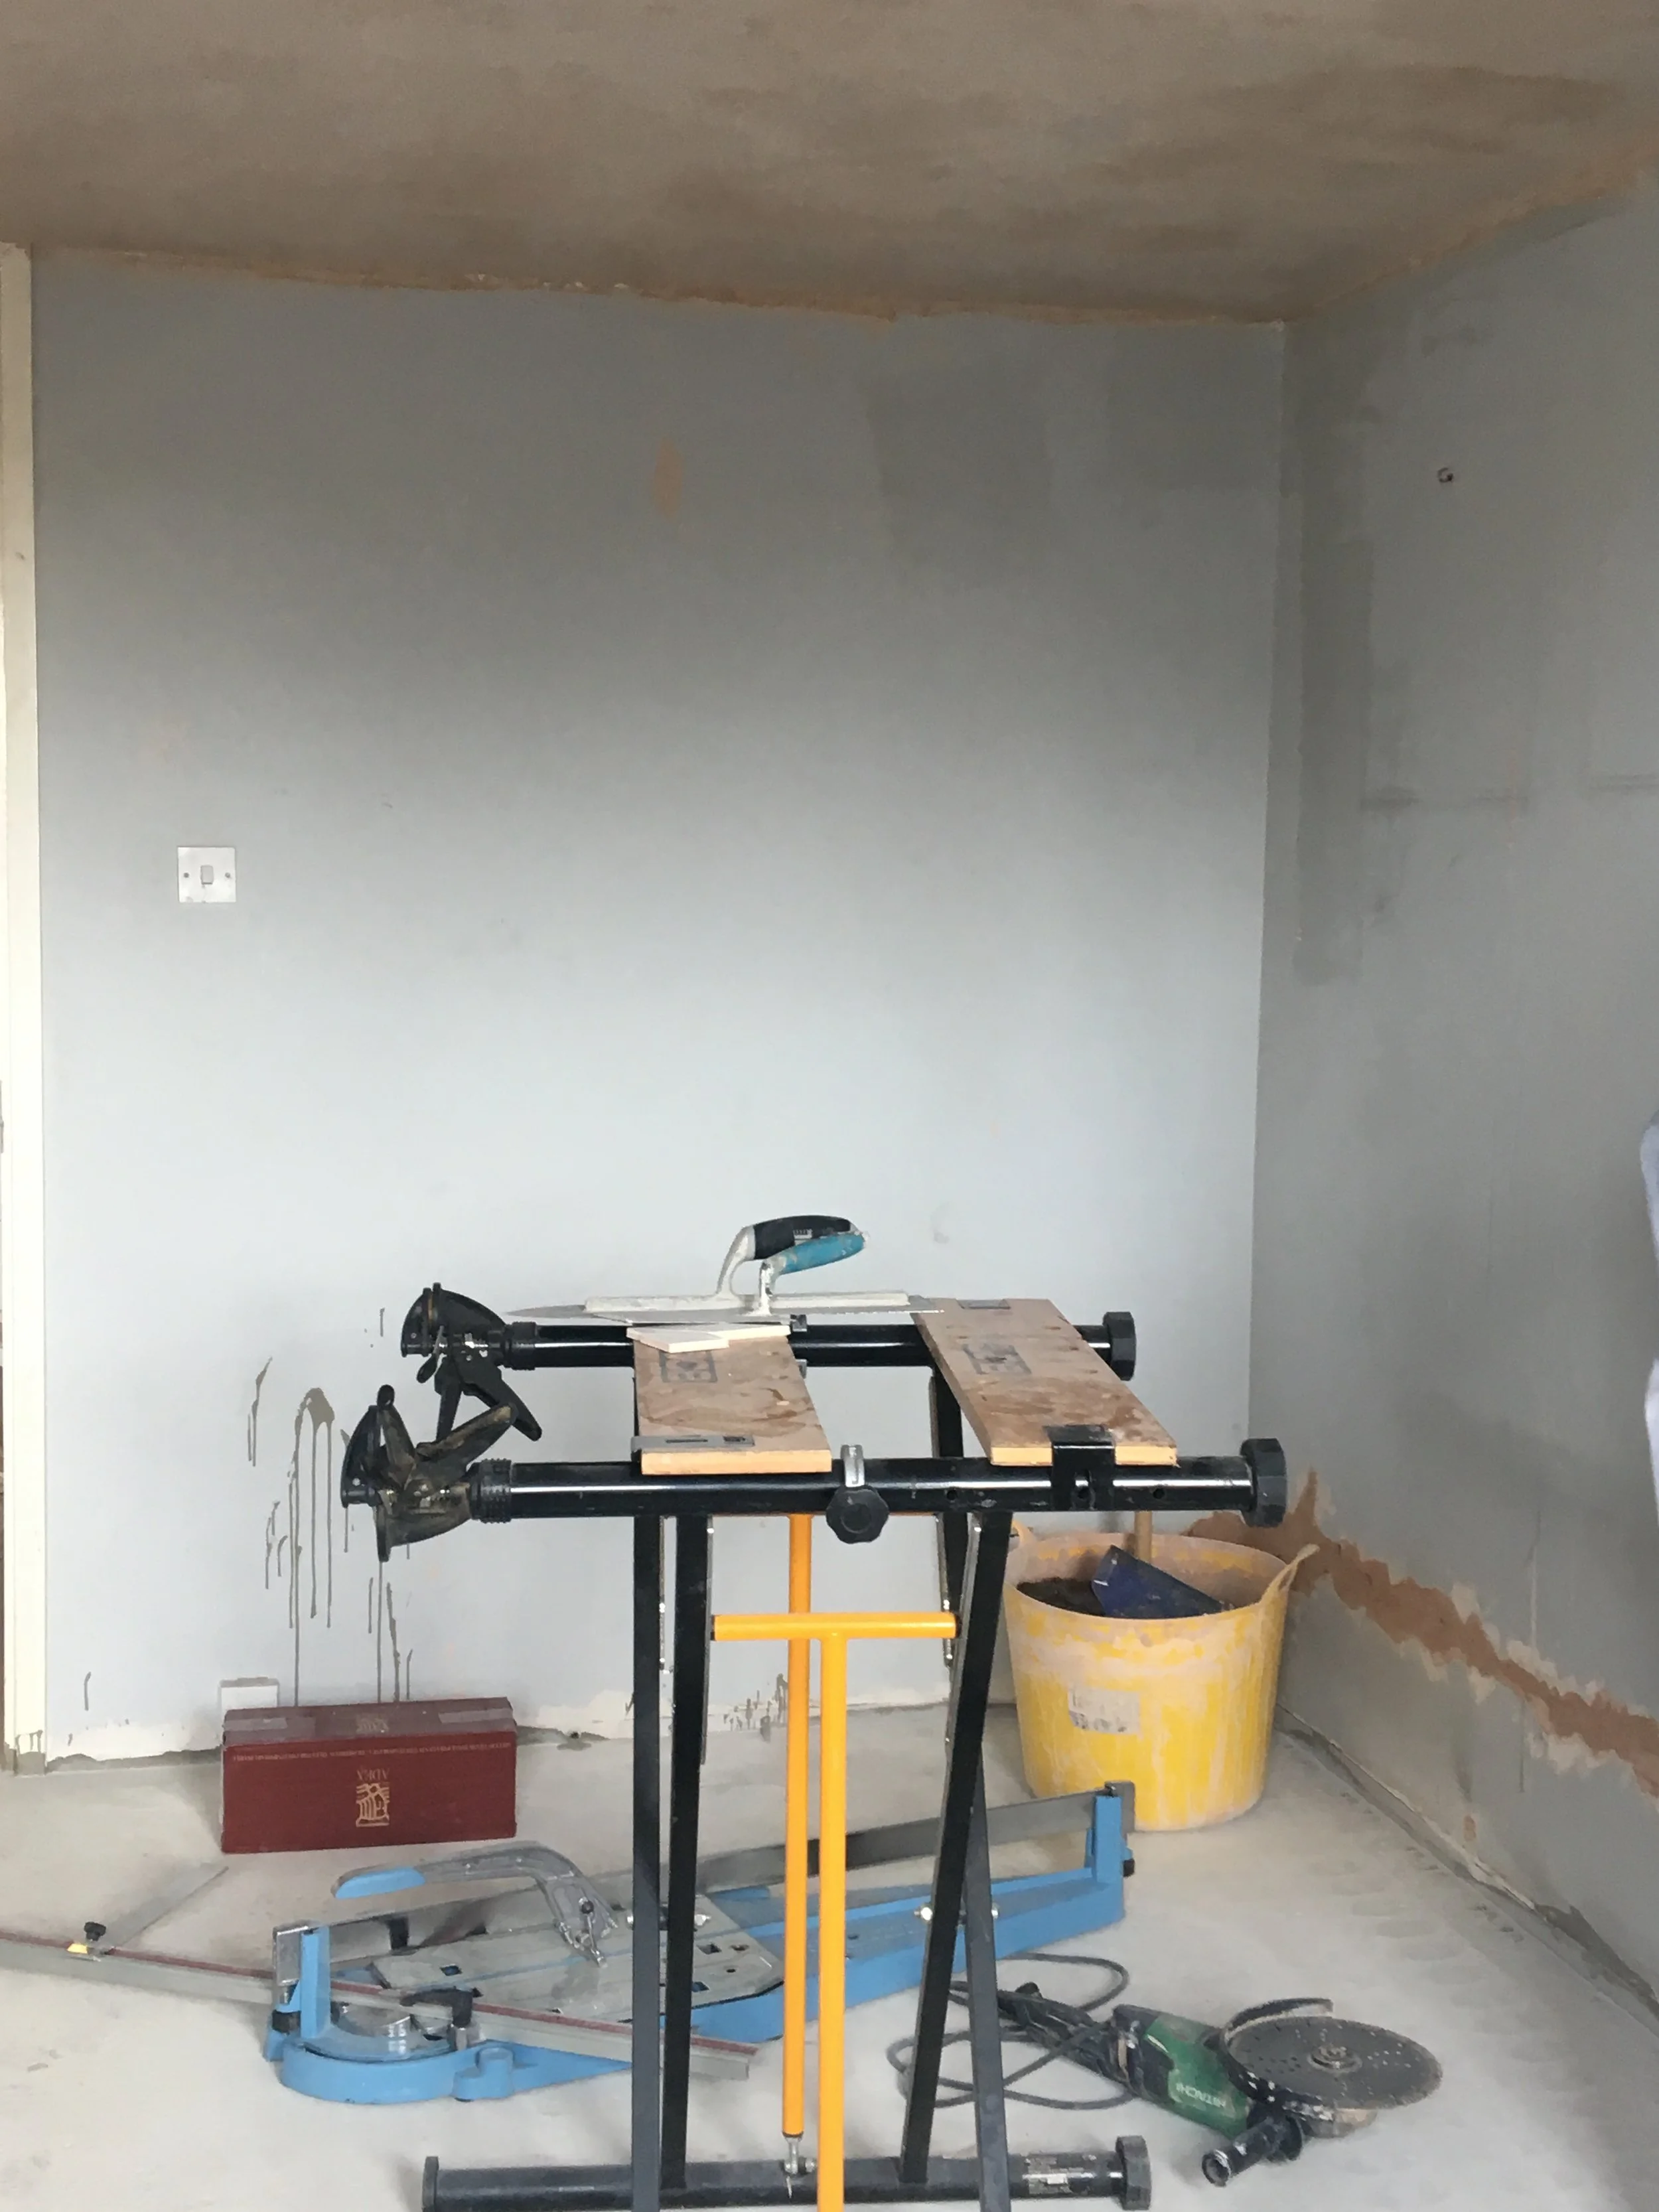
I would also add in water based underfloor heating to take advantage of the communal heating system, the flat was very warm in any case and update the safety features to bring it up to date. Work started in January to remove the walls and strip out EVERYTHING. The result made an instant difference.
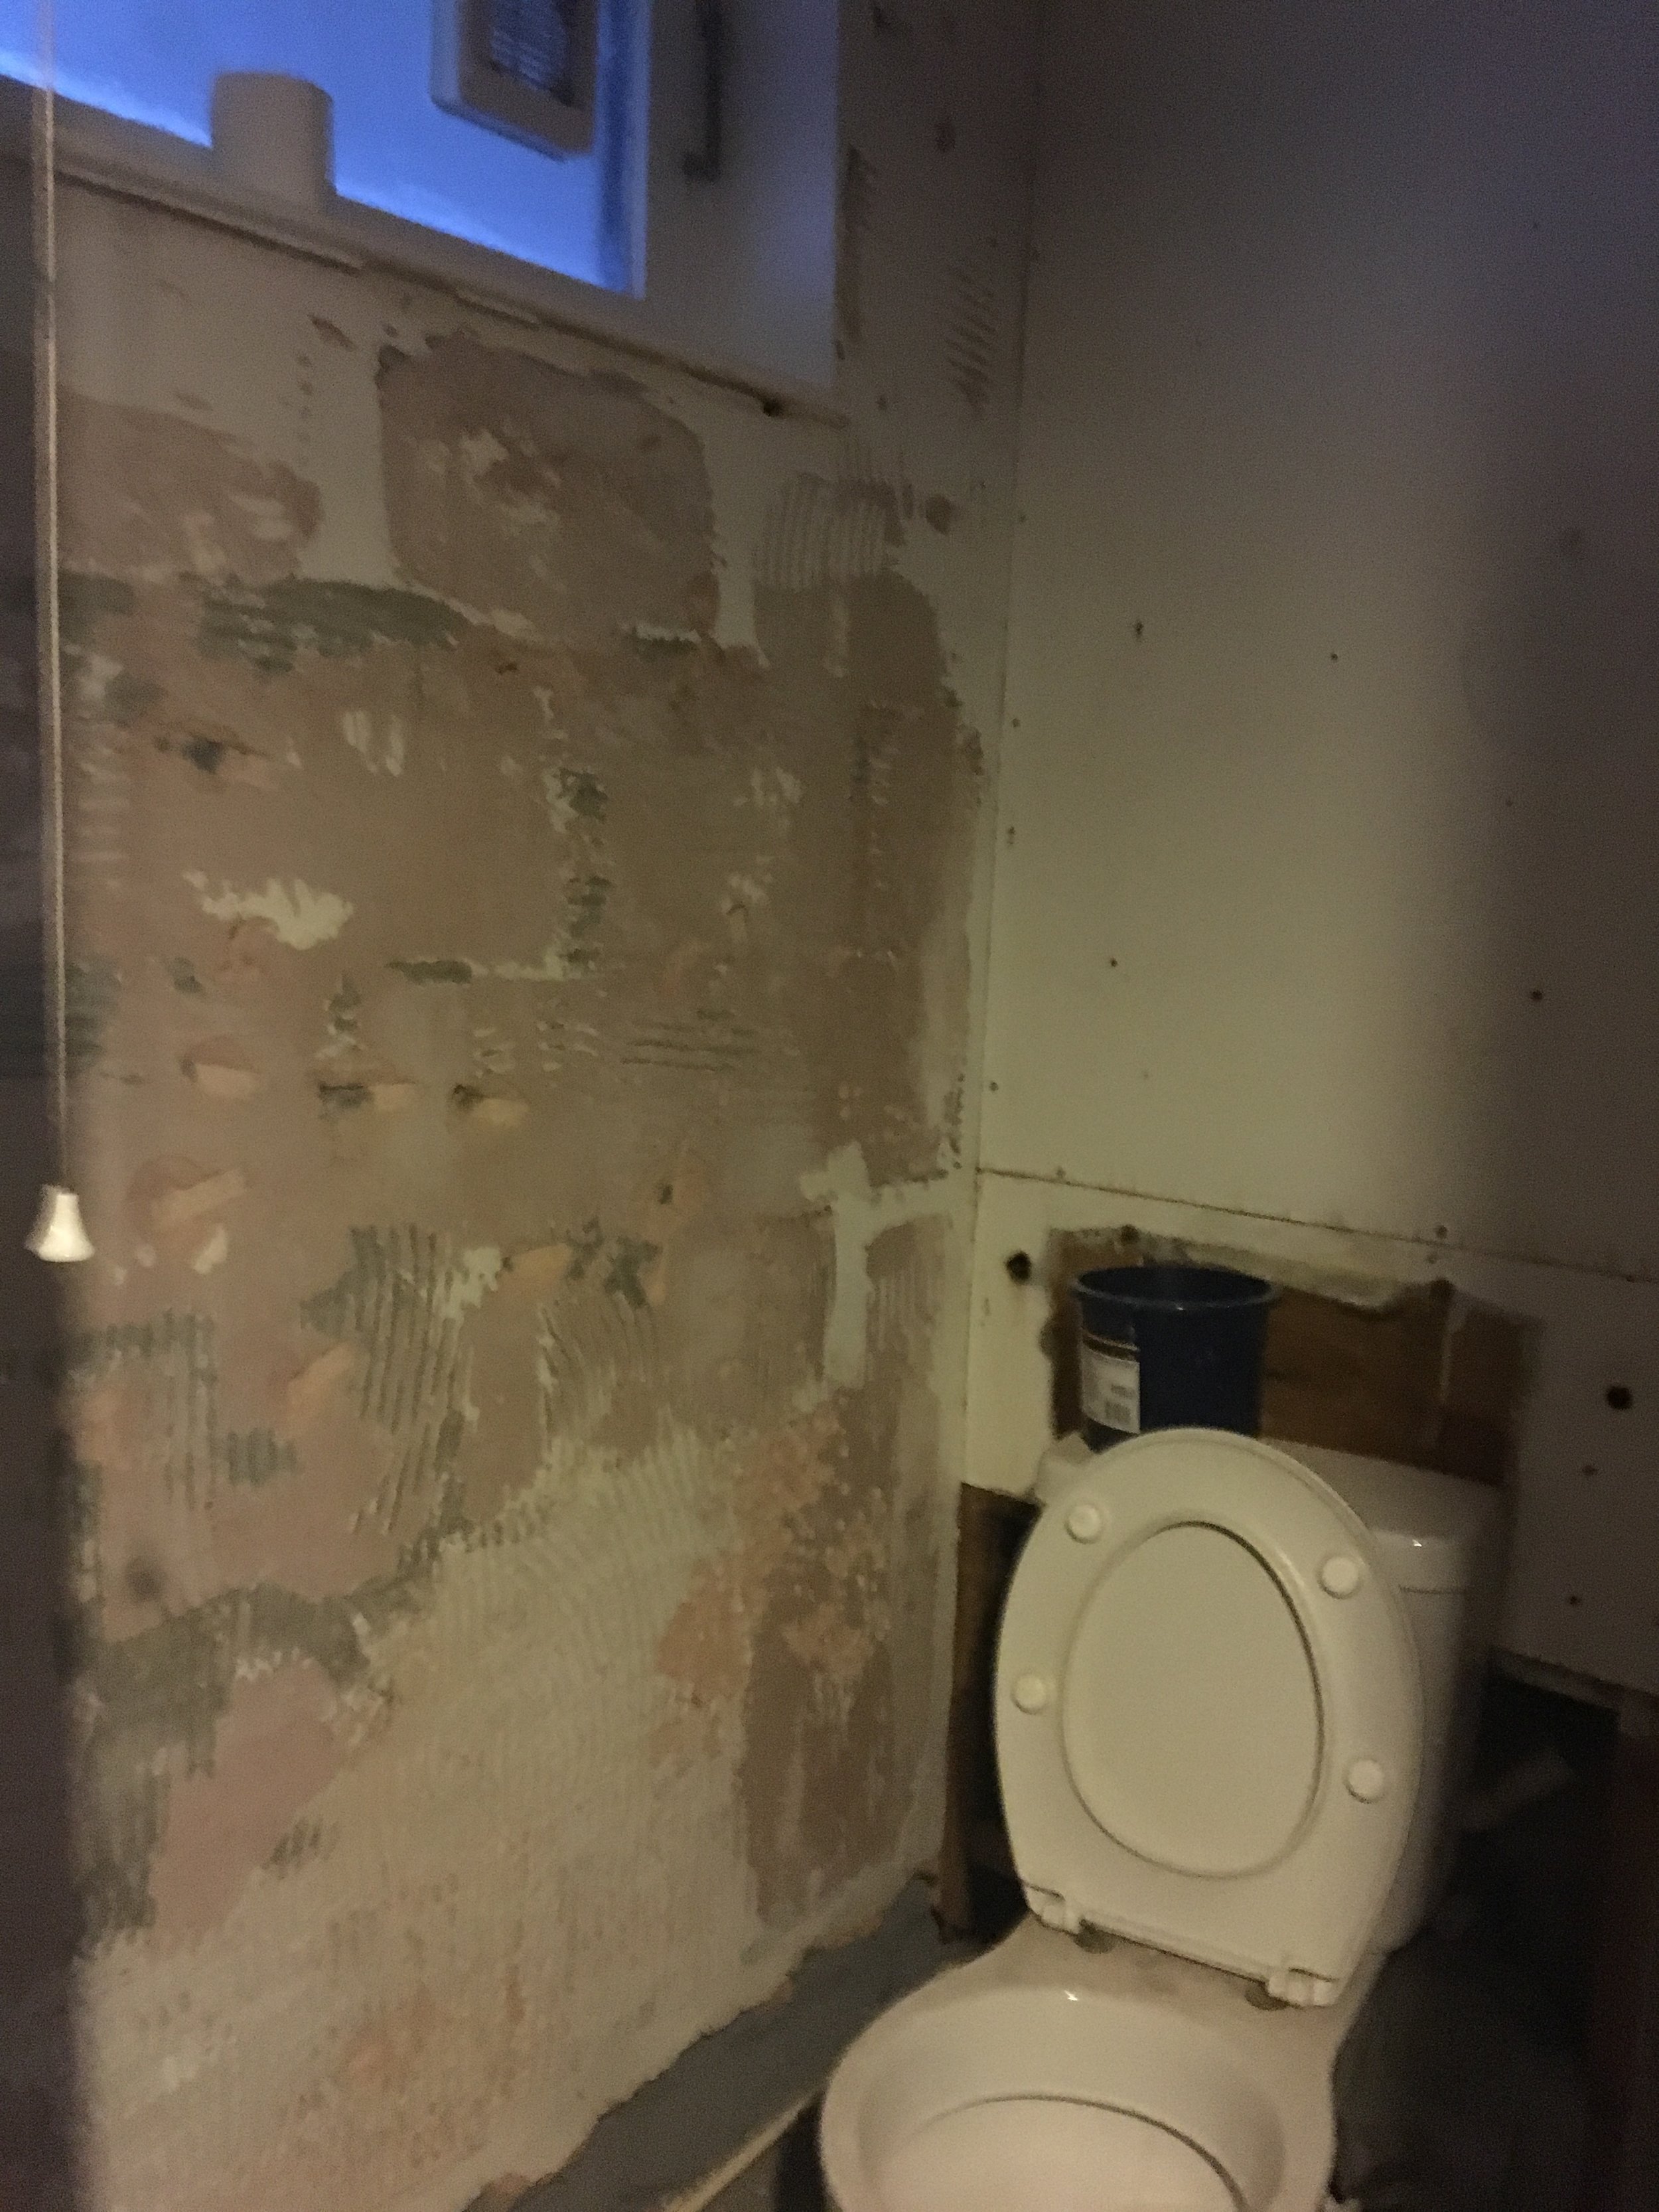
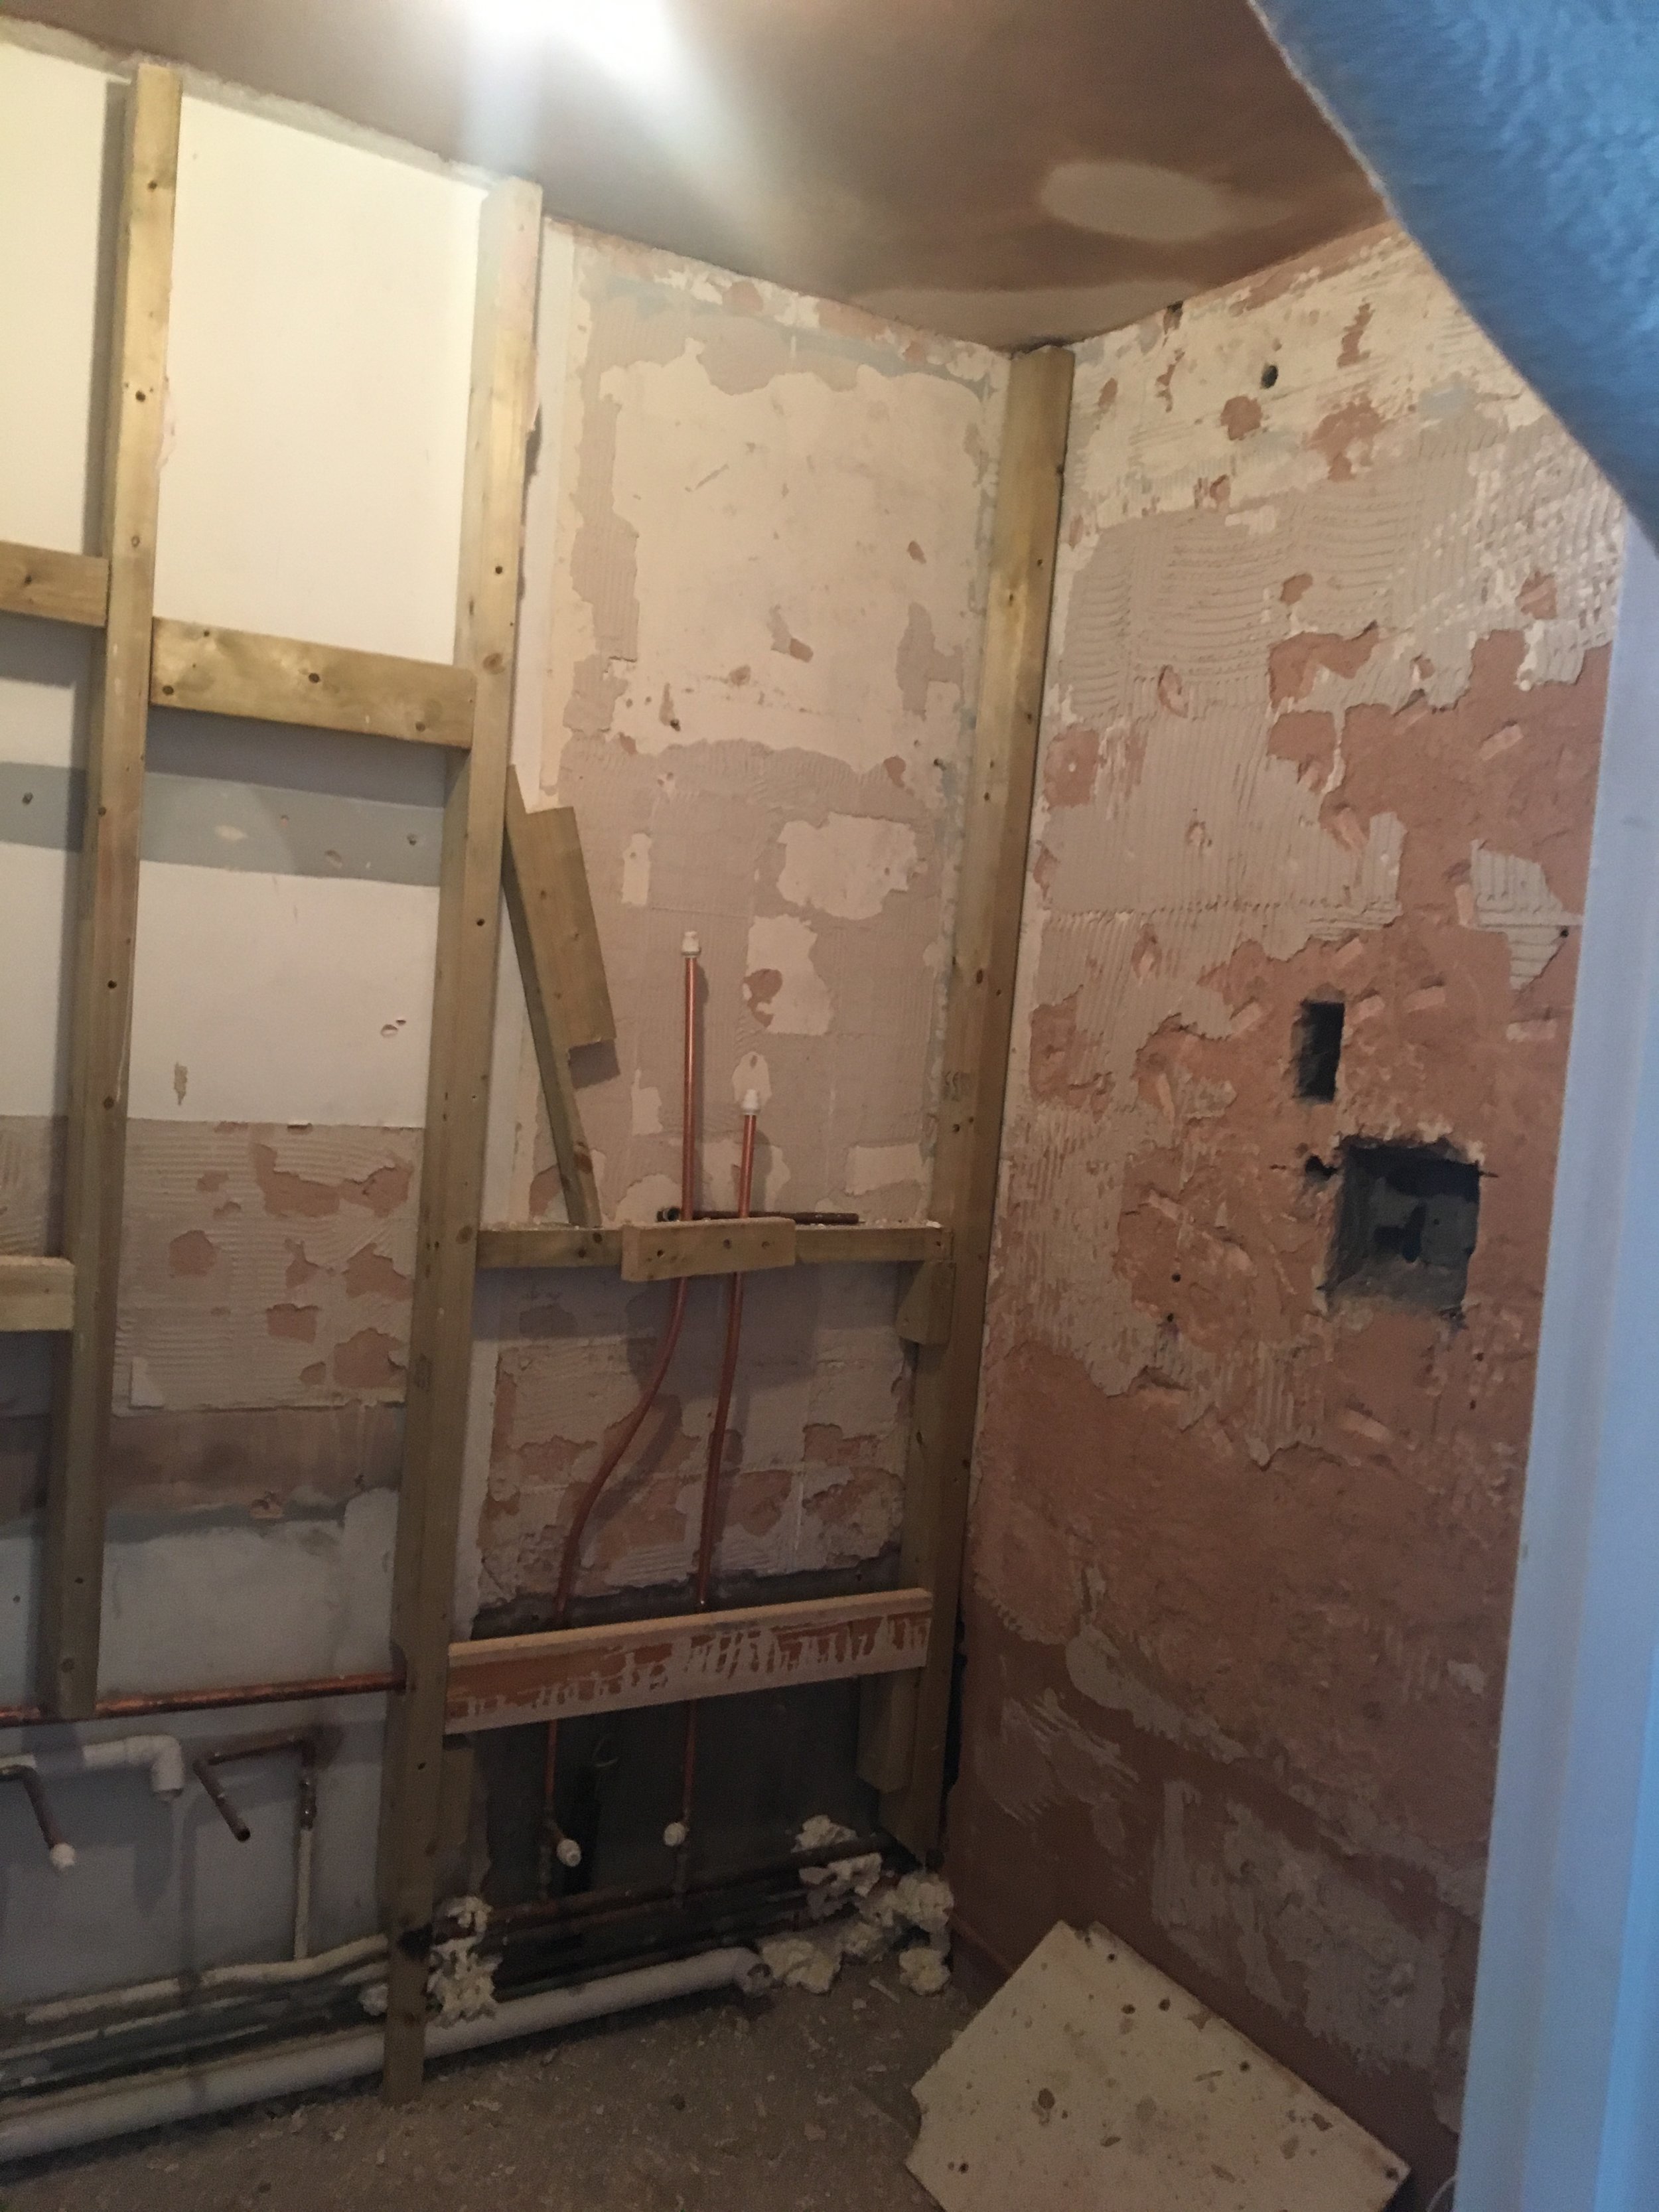
Once everything was stripped out, the re-build started. The Acoustic layer went down (to help reduce noise transferrence) along with the underfloor heating and a leveling compound. All ceilings were re-plastered and the plumbing redone for the shower and bath and kitchen. We added a few more walls sockets and eventually added a new RDC (fuseboard) as well as the other protective items. The space started to take shape. Next the fun part!
Interior Design
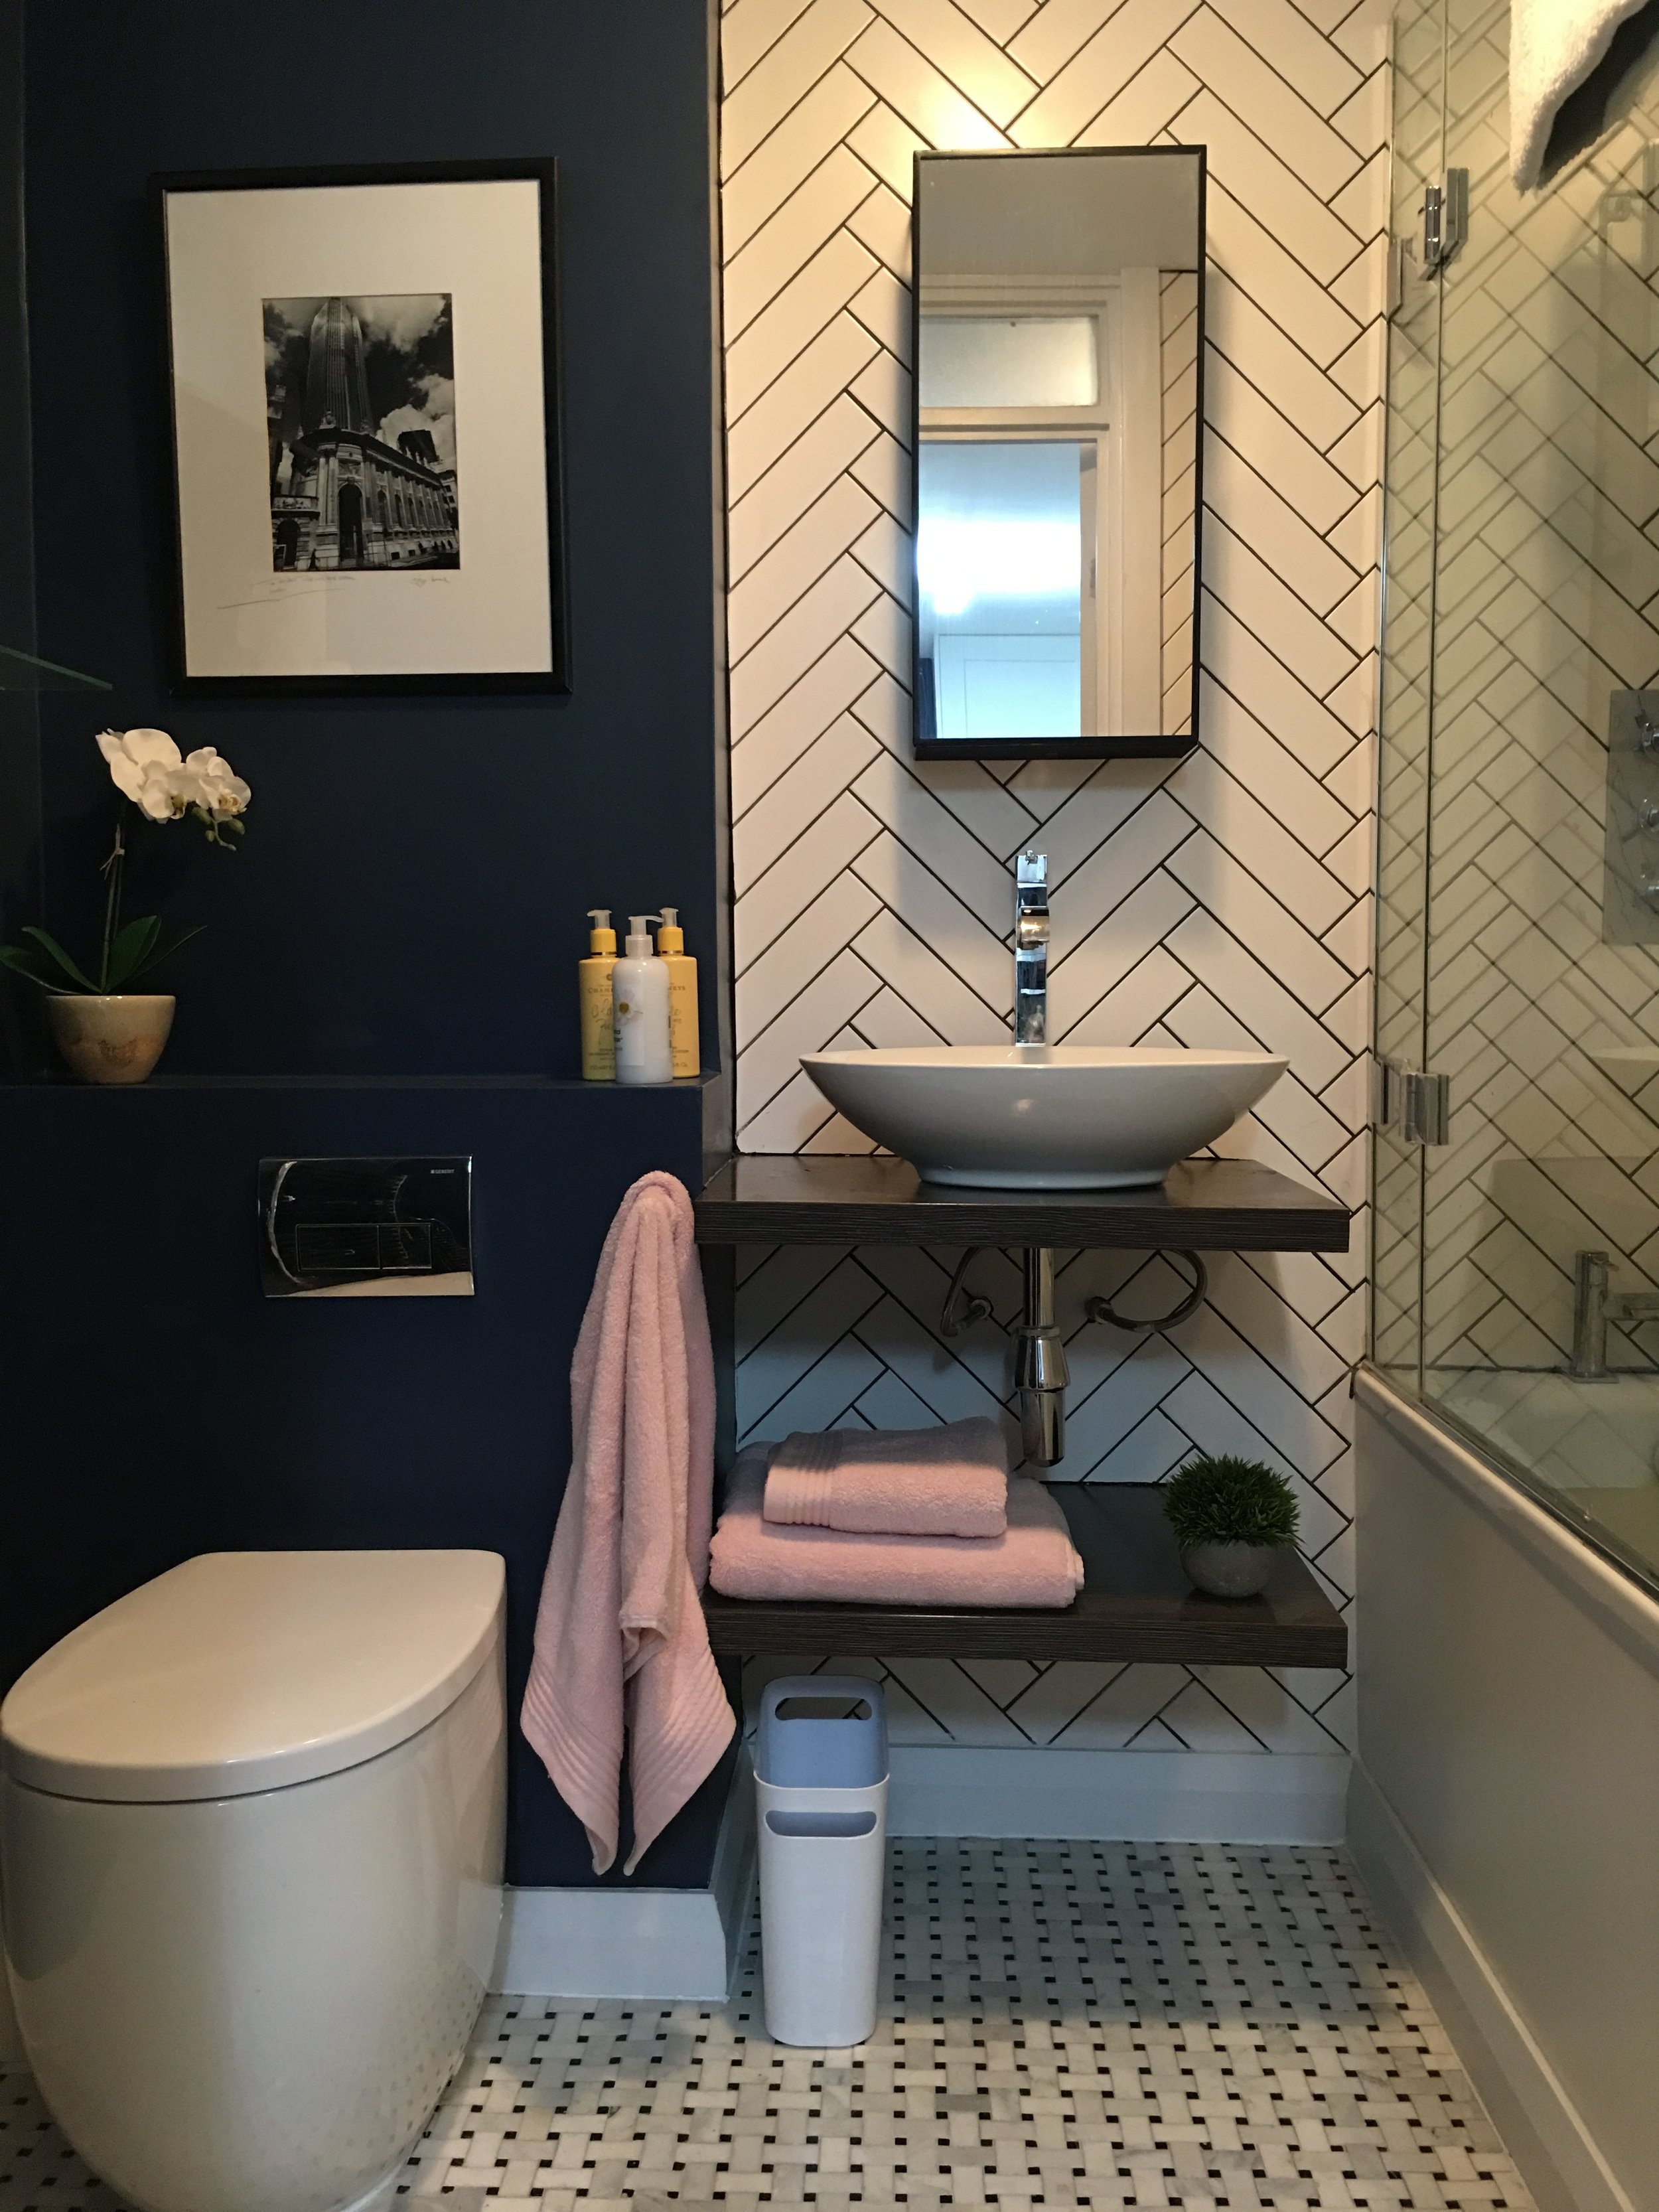
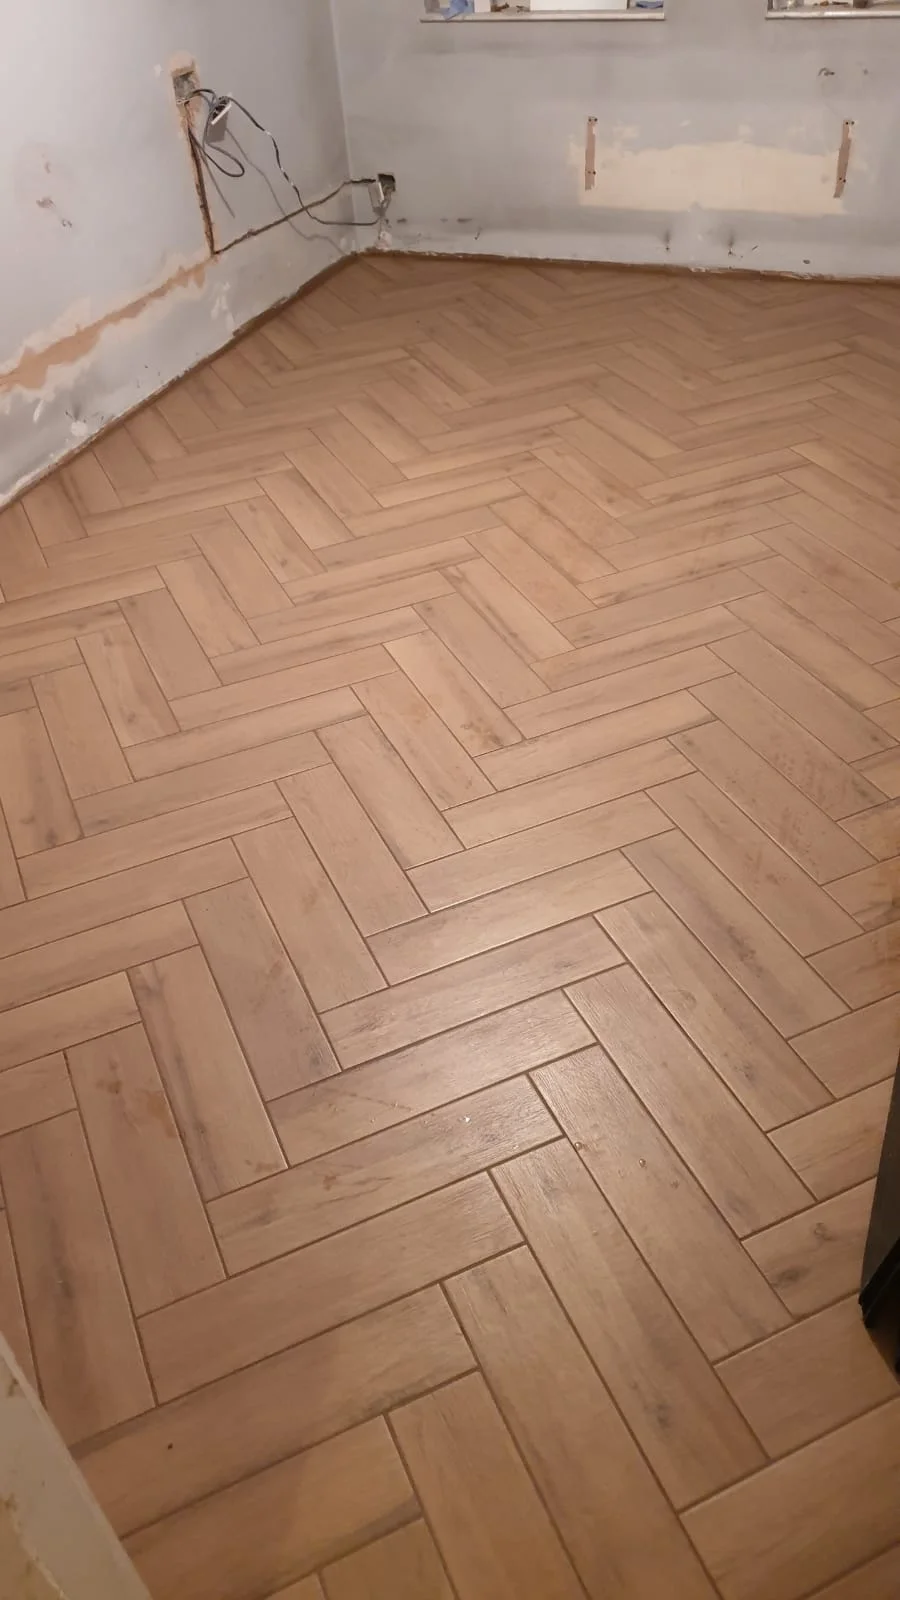
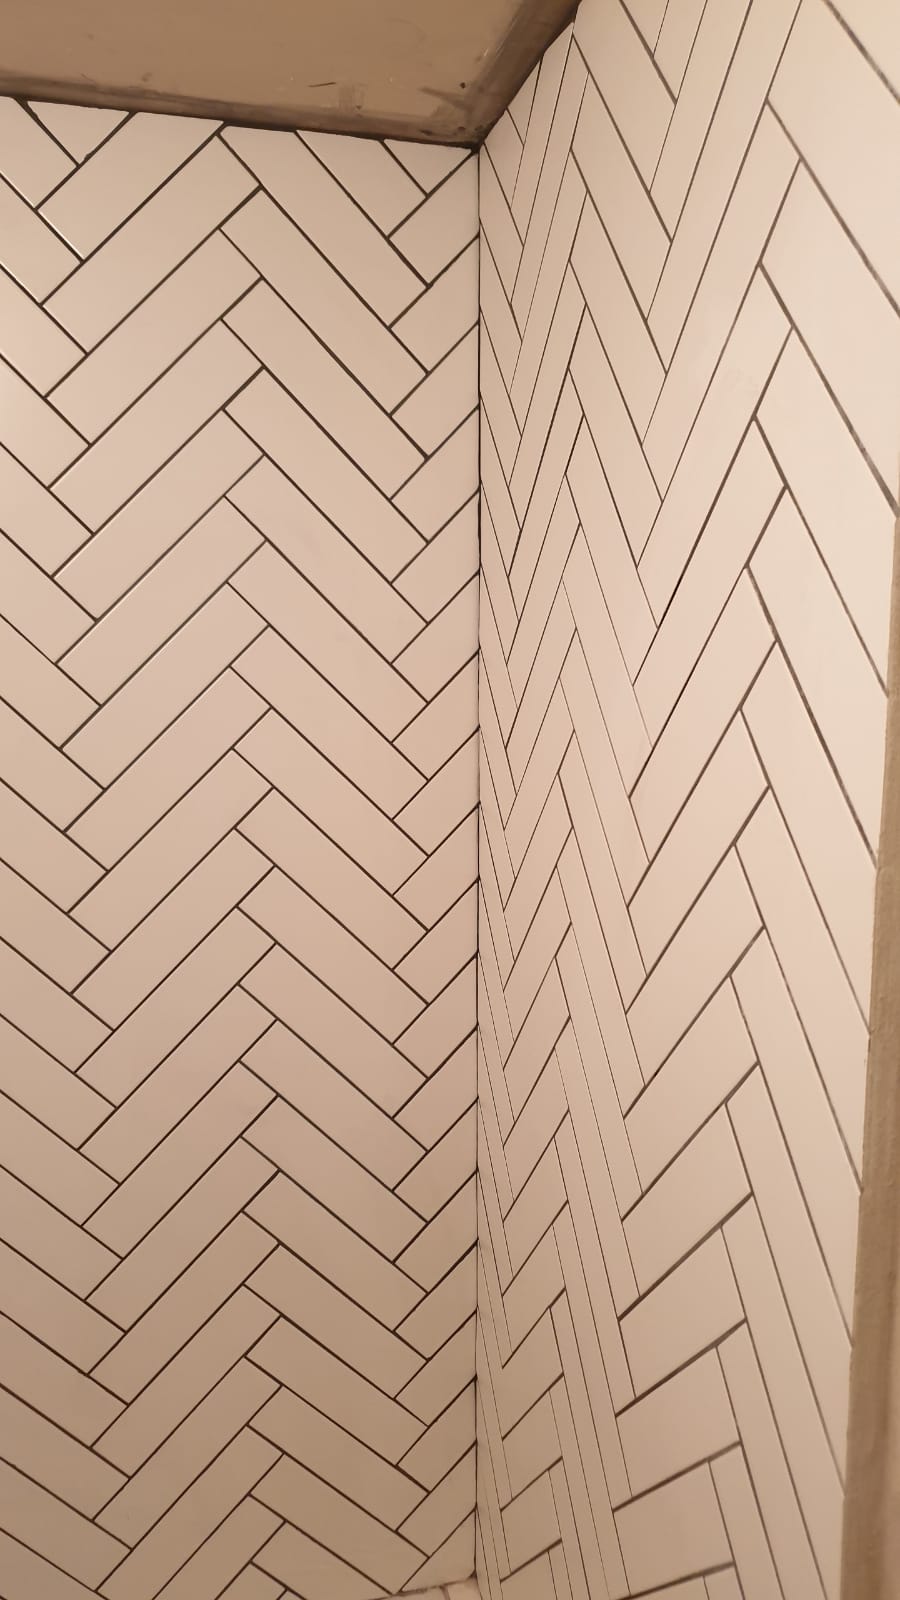
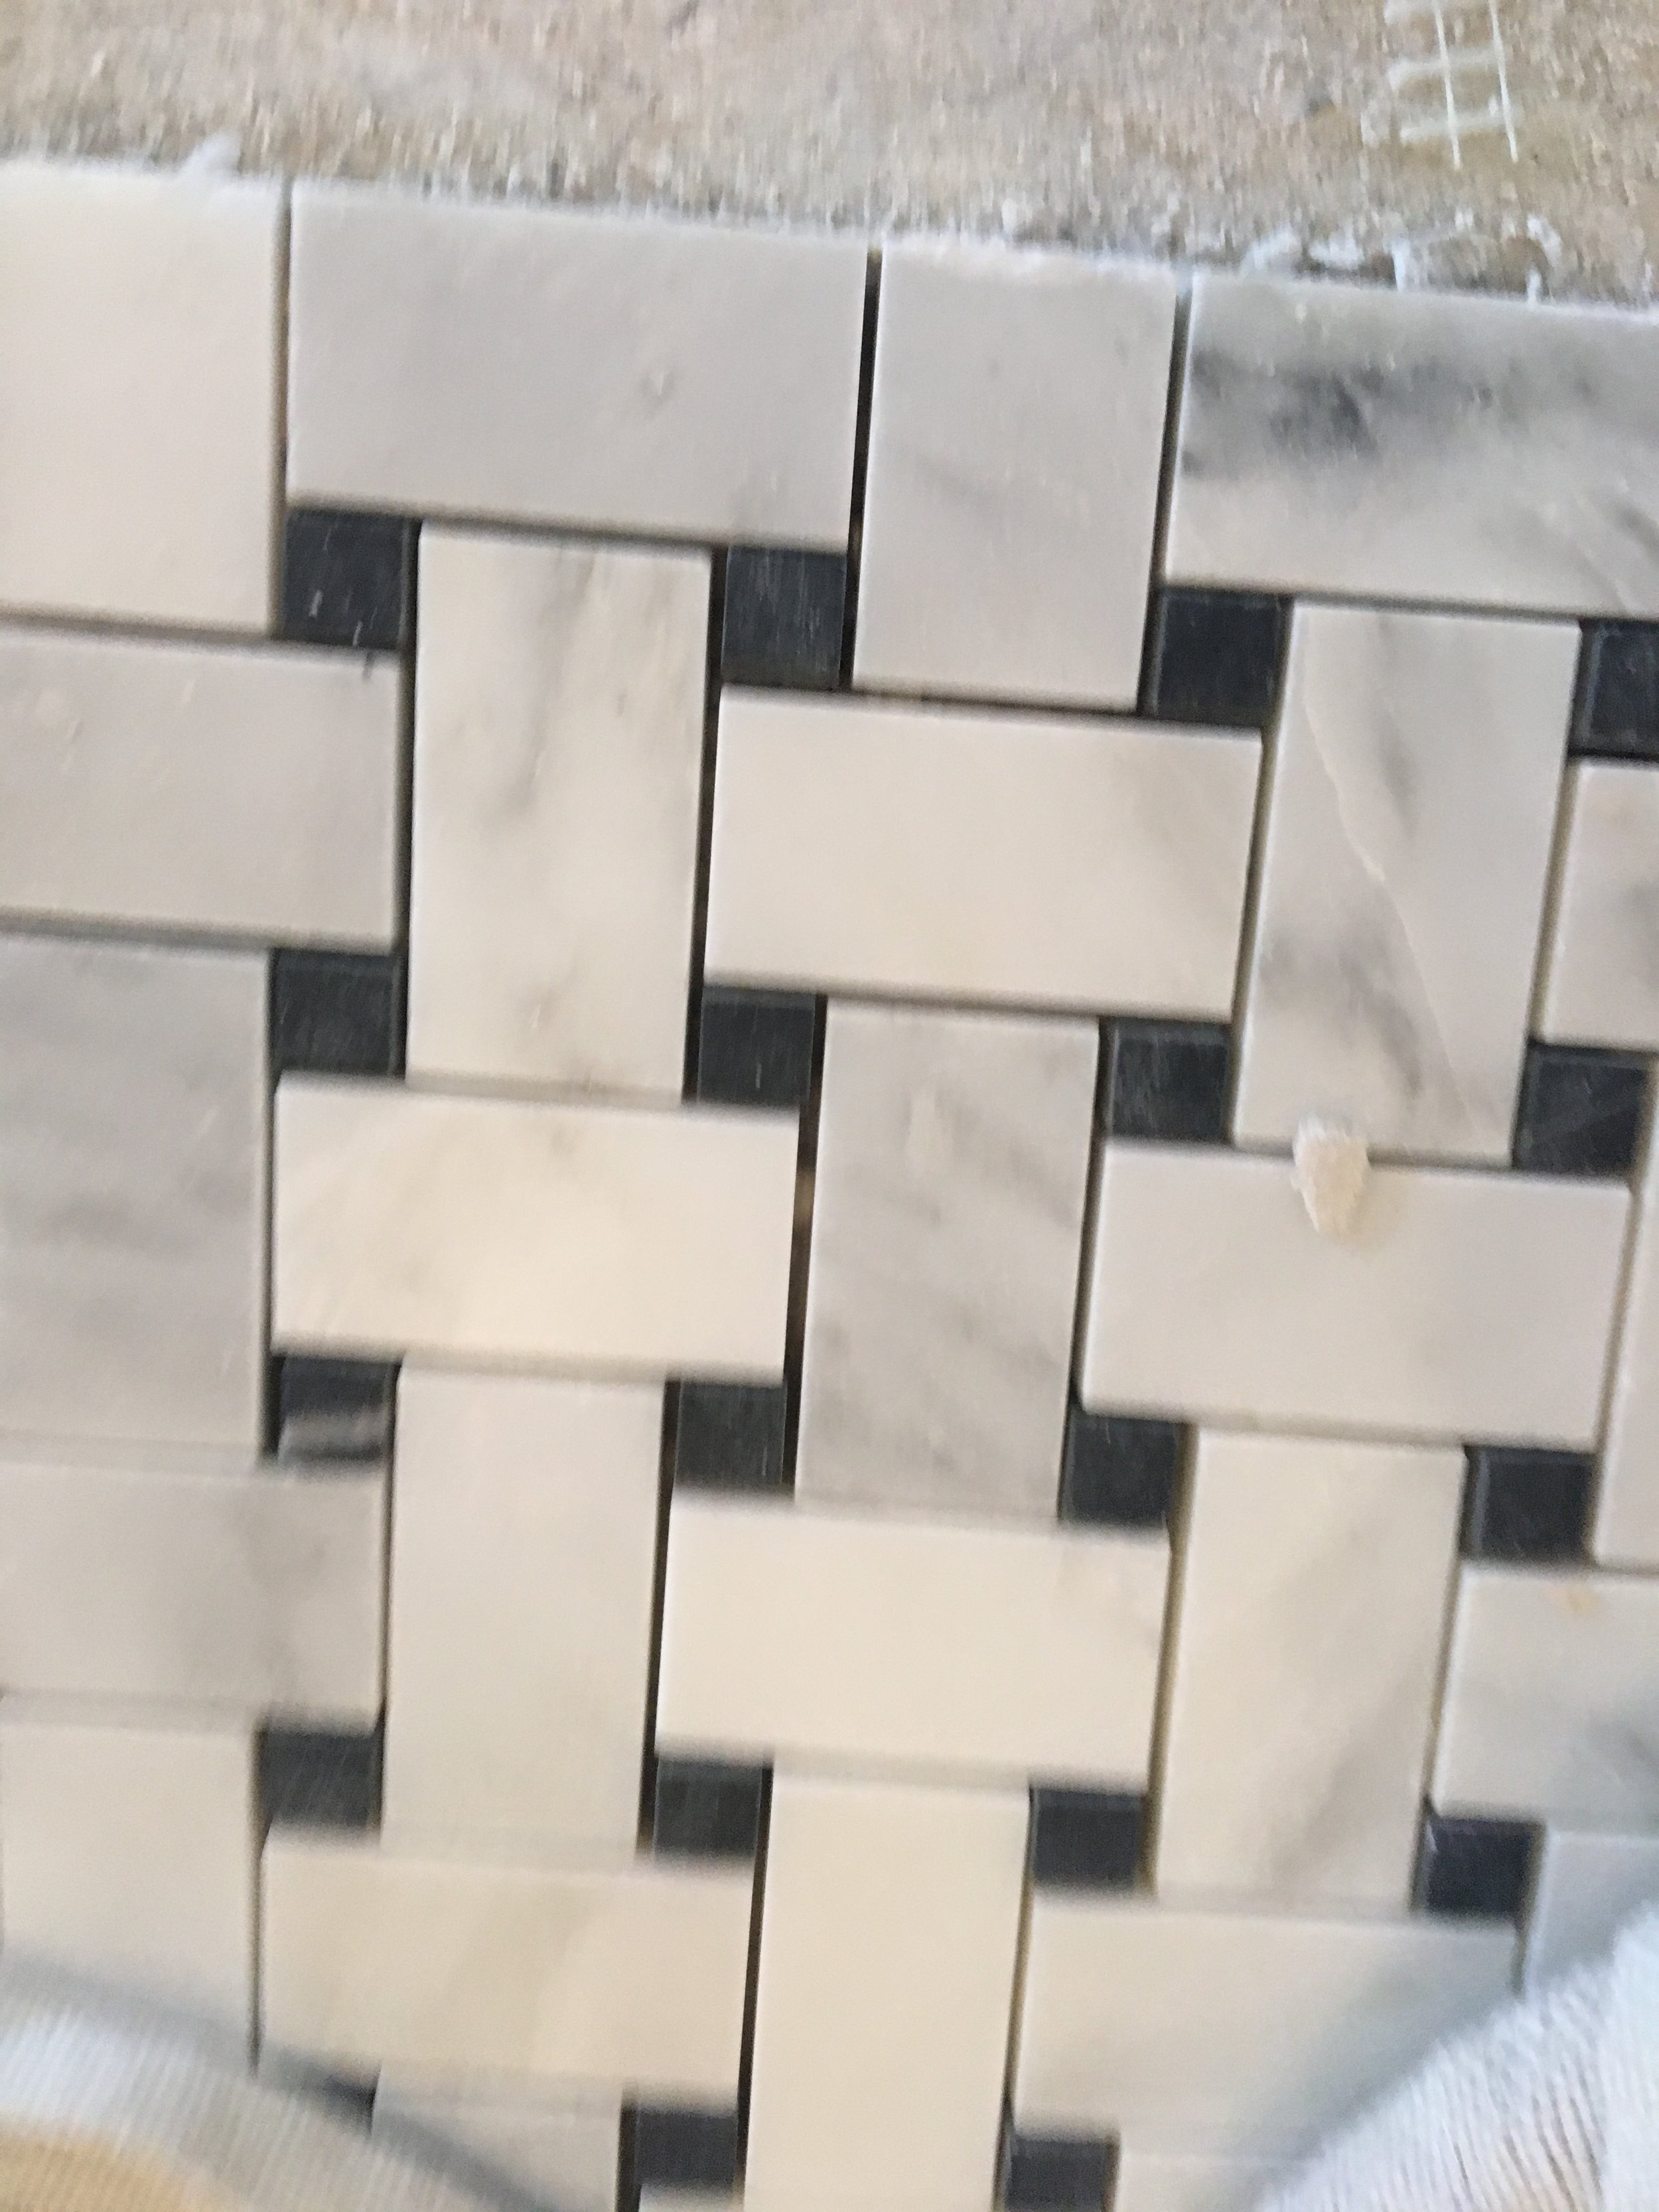
I had already decided upon a mainly blue hued design with an overall mid-century look, and simple white tiles for the bathroom and kitchen walls using black grout to add a contrast. The flooring was to be the same throughout - porcelain wood effect tiles in a parquet design and the bathroom to have a touch of luxury with marble mosaic. I tried to mix some touches of luxury along with some more basic elements to meet the budget.
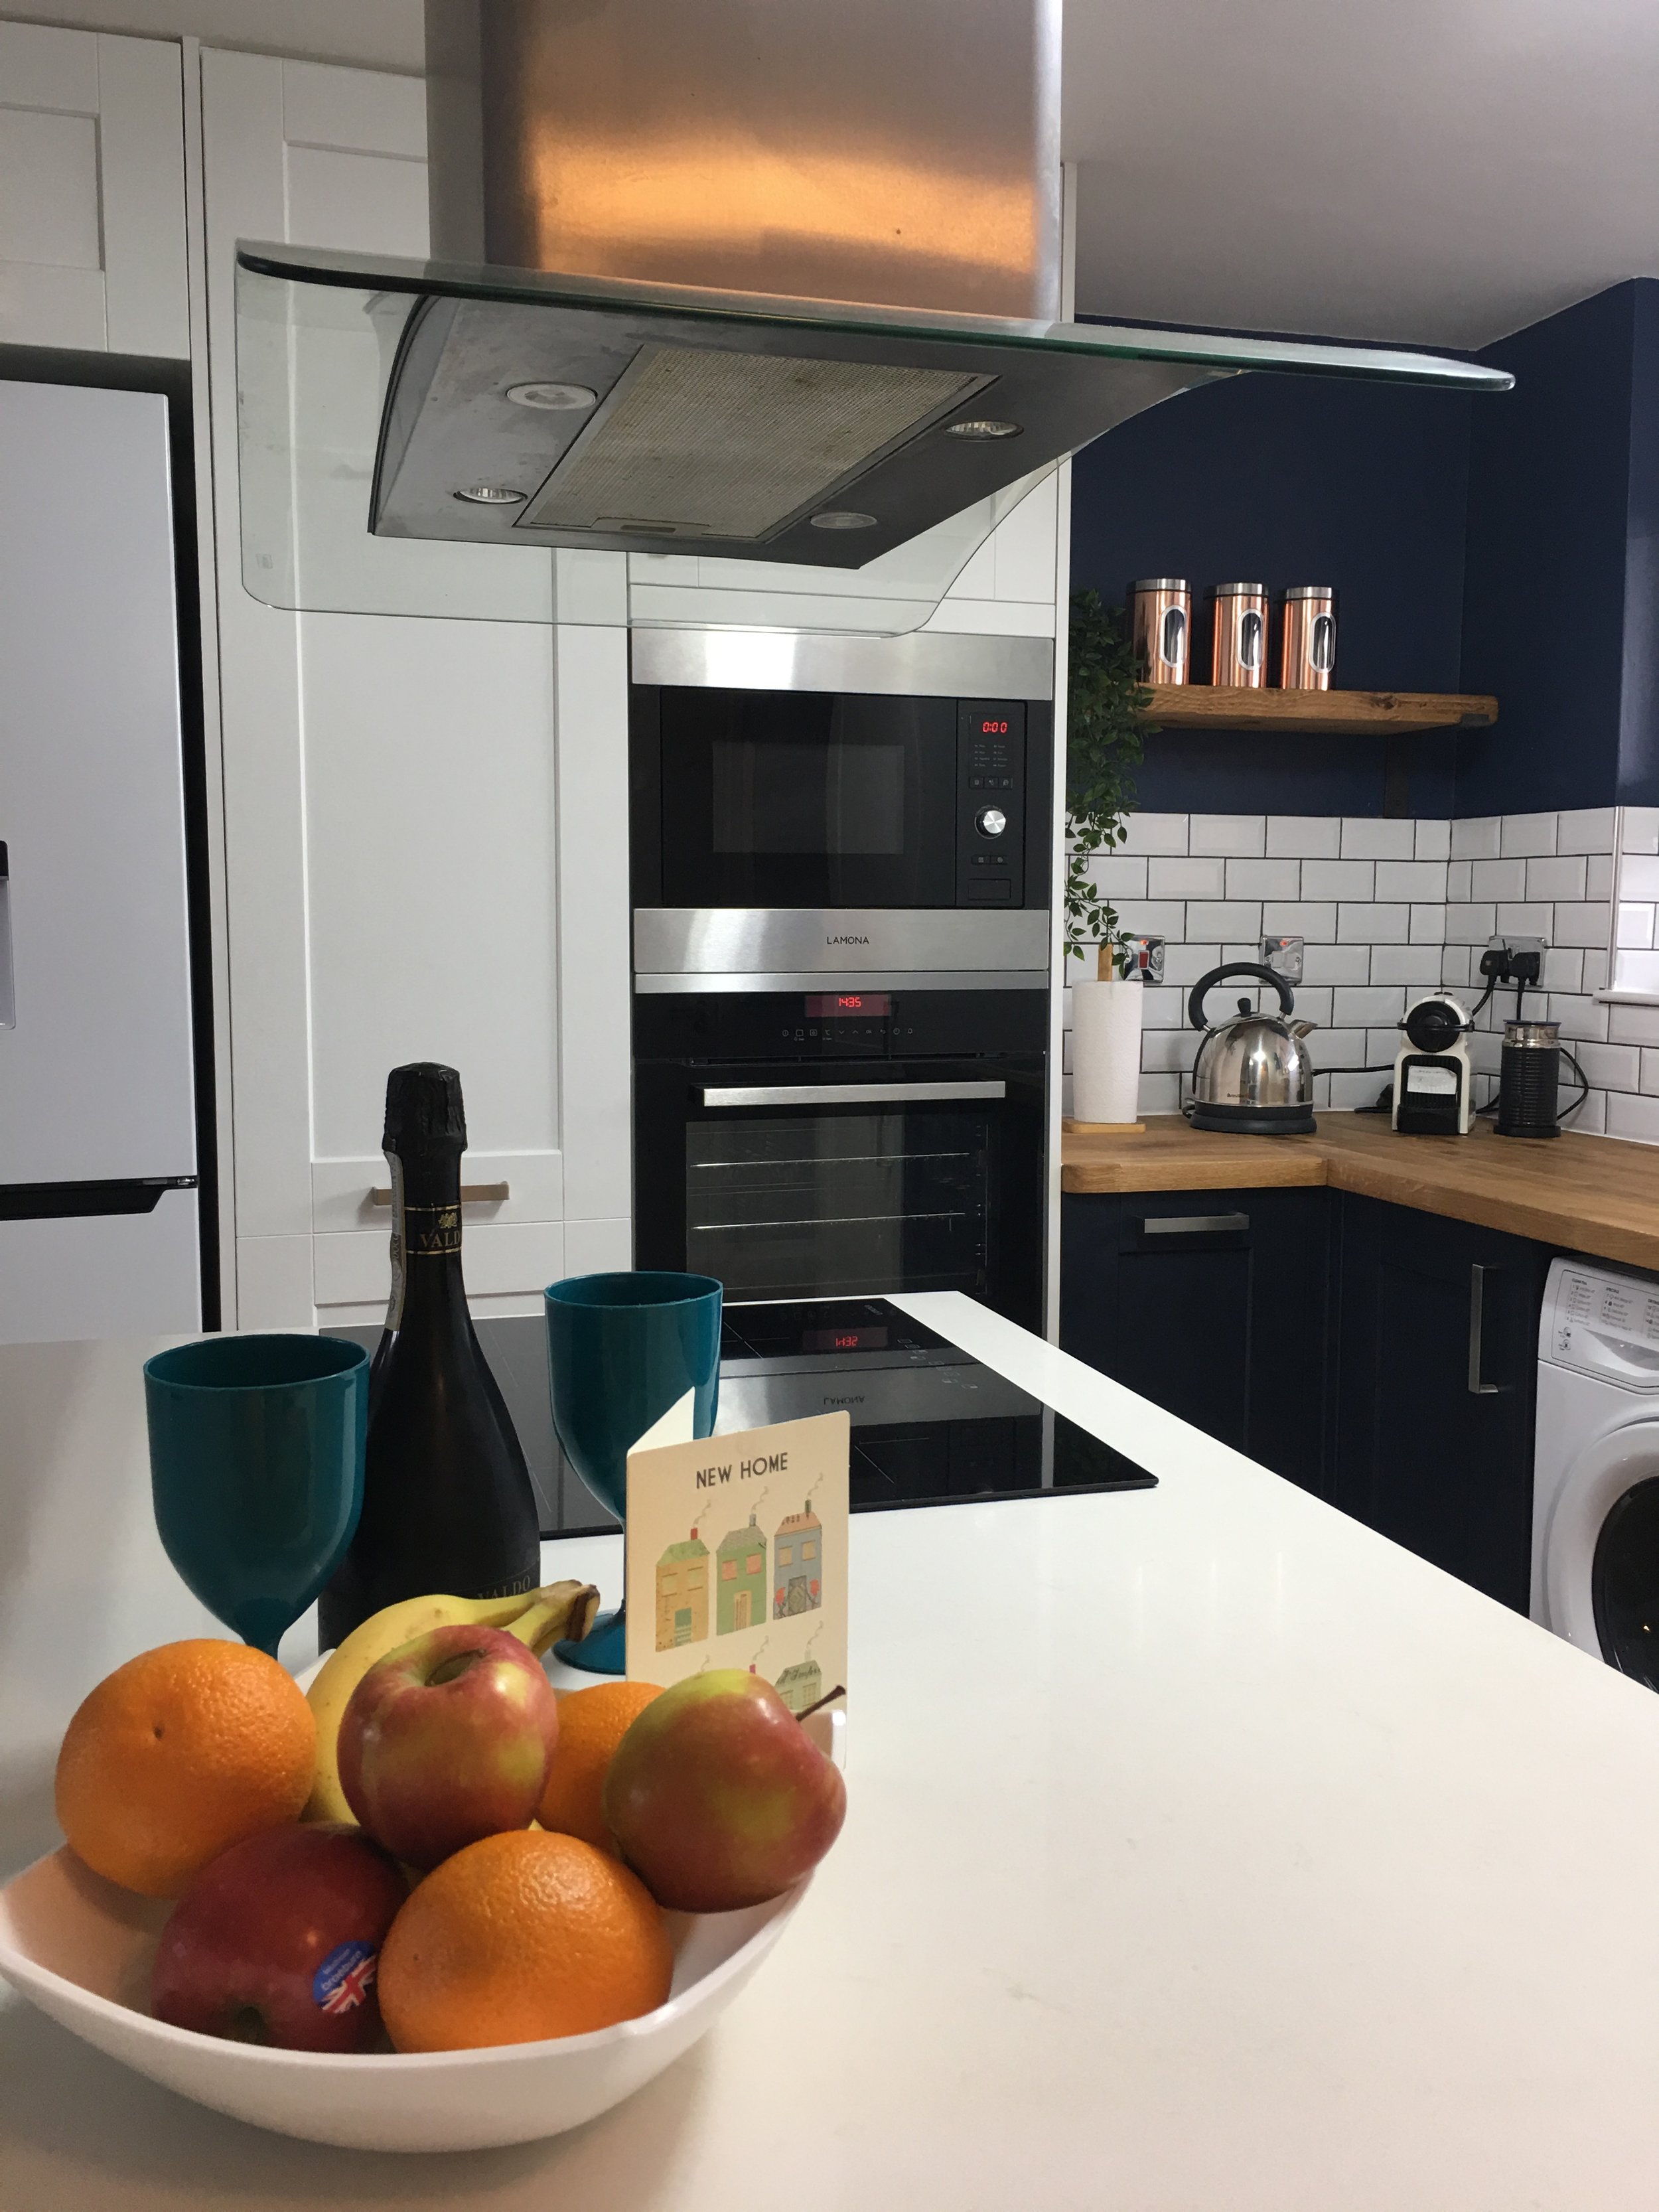
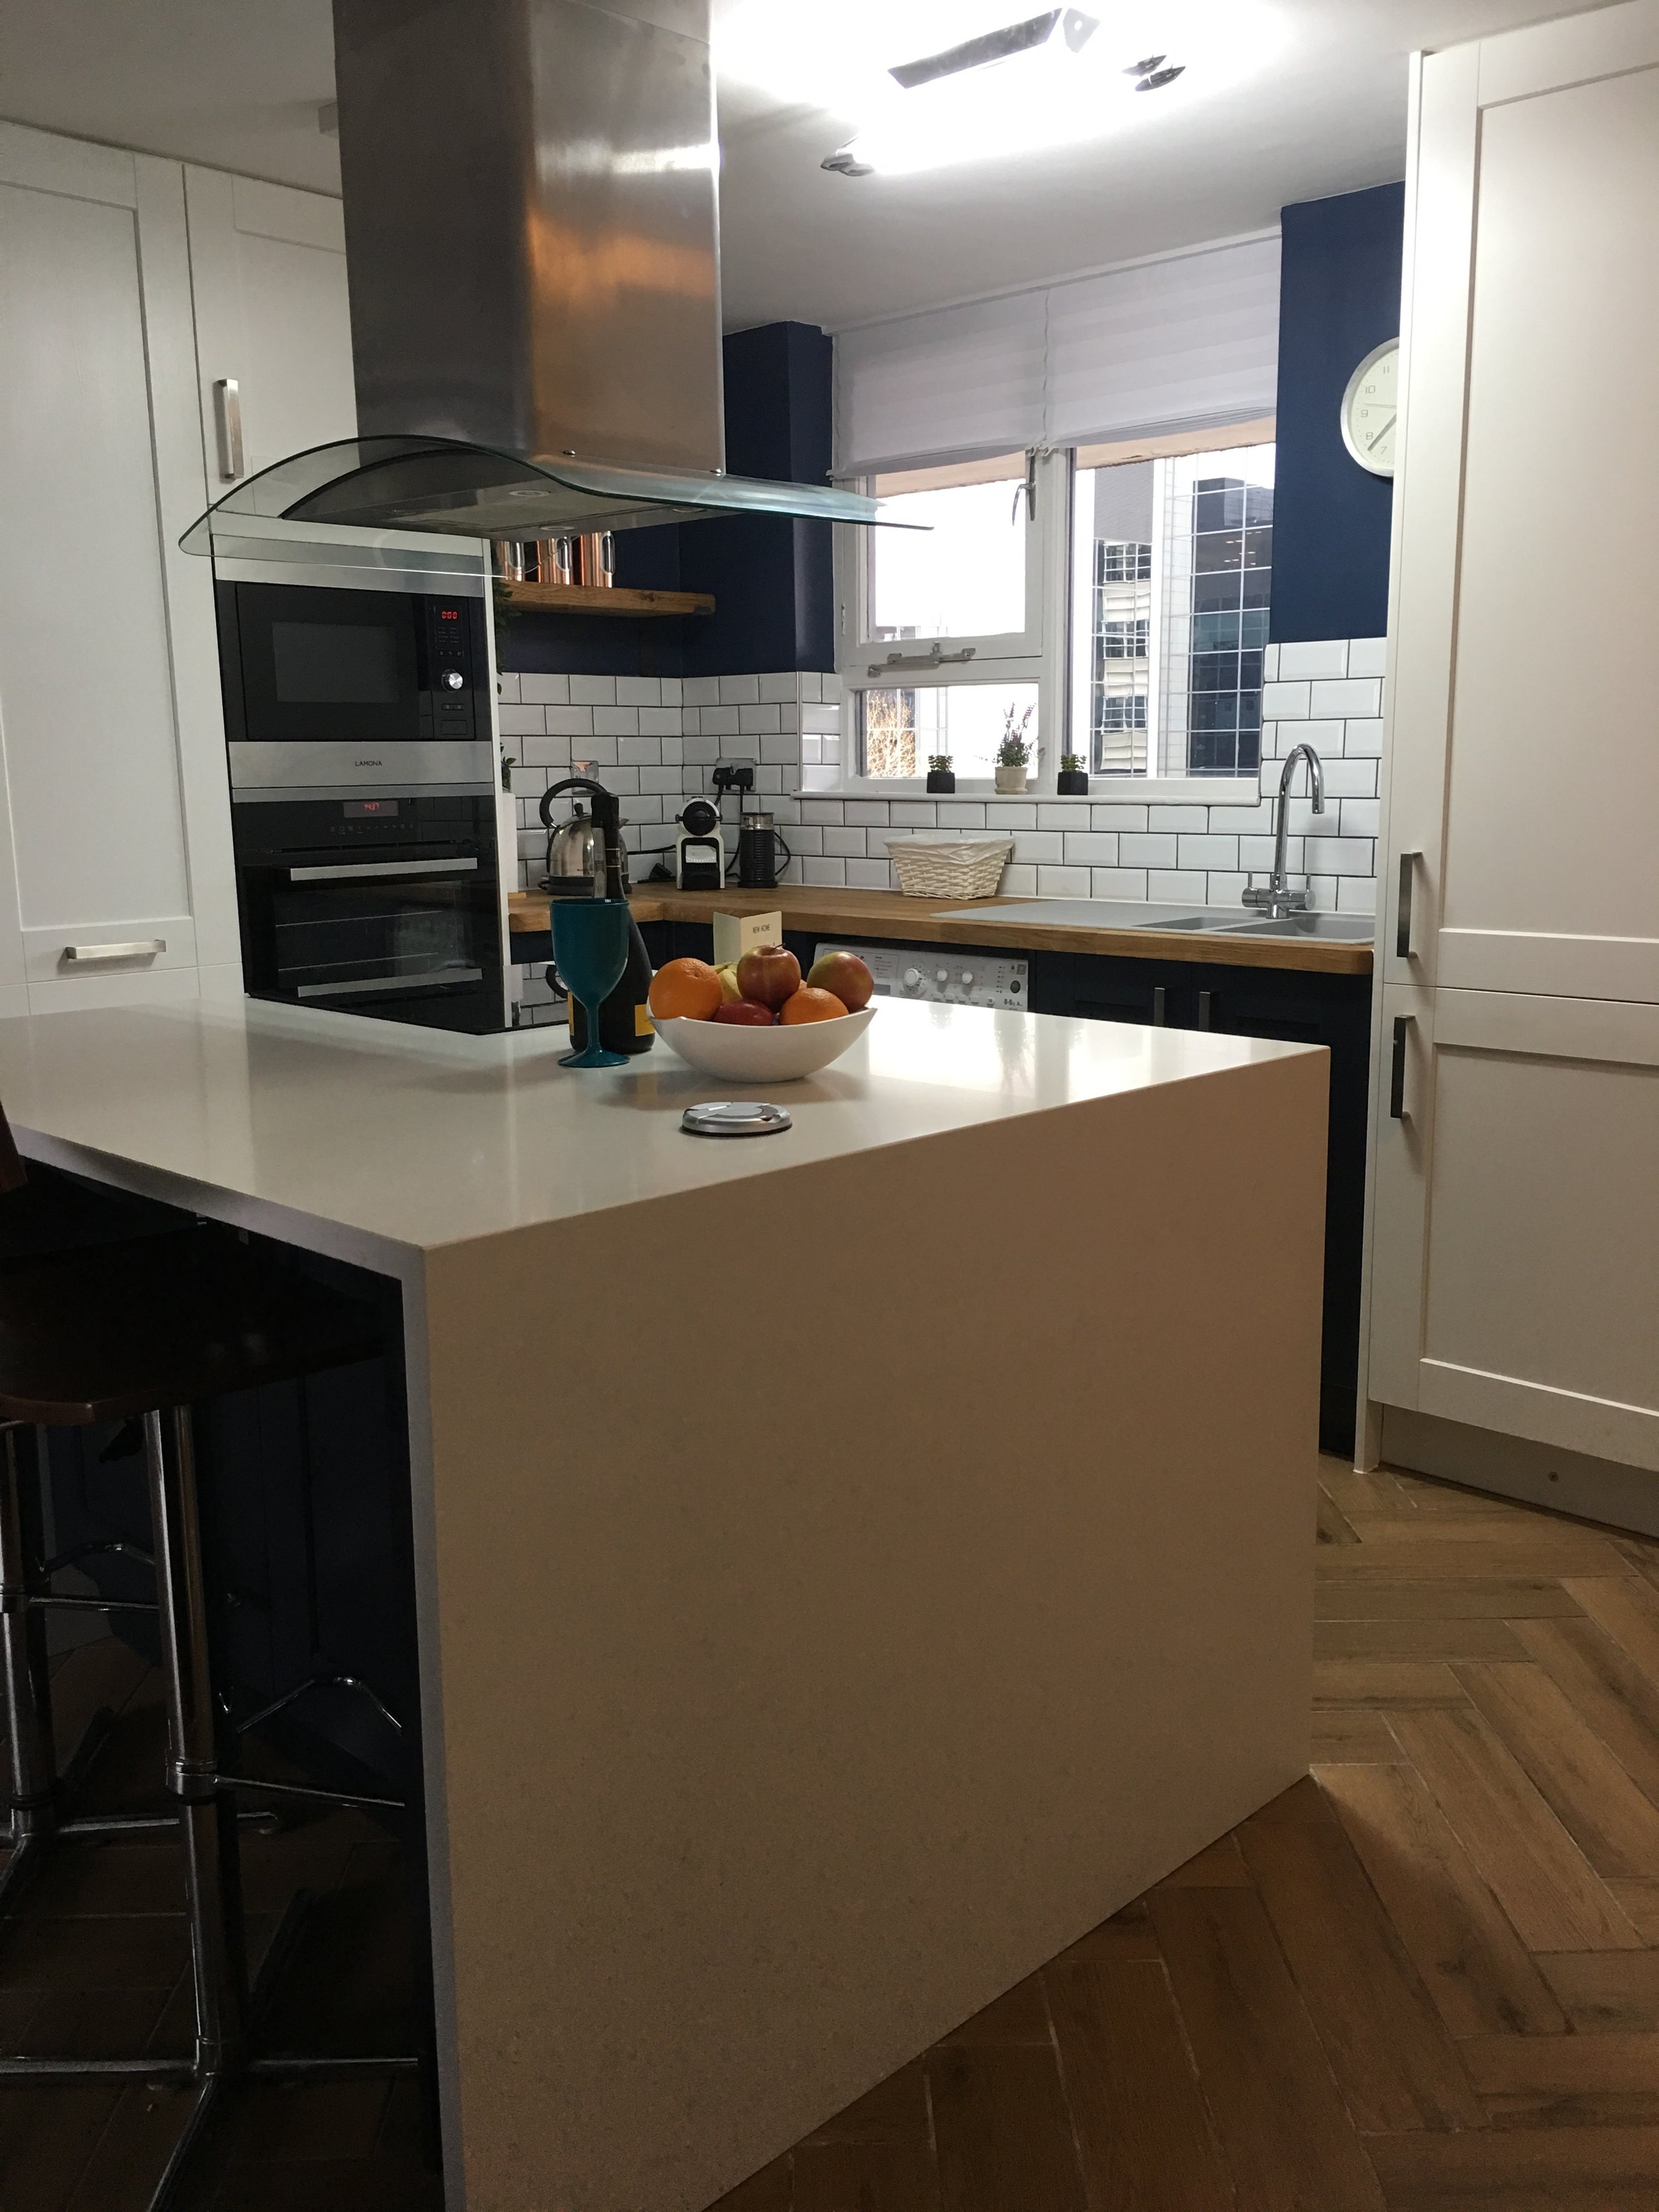
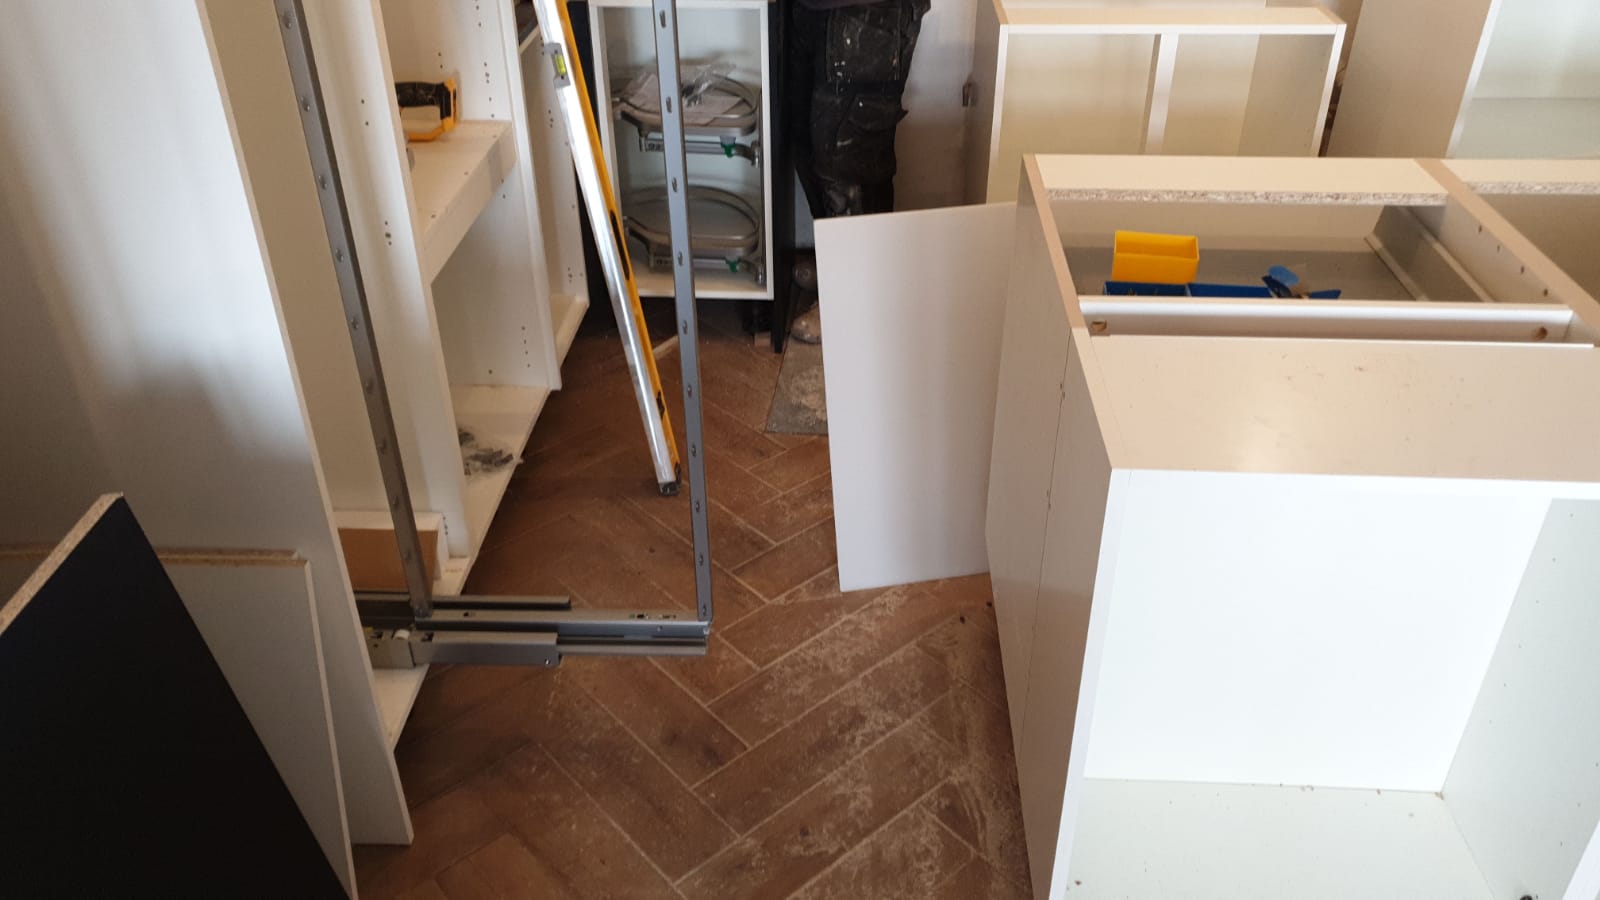
The tiles, paint and bathroom fixtures & fittings were from Fired Earth (list at end) and the kitchen from Howdens. Here I decided up on white floor to ceiling storage along the side wall, low level cabinets along the window wall (with the sink taking the view out of the window) and a central Island in contrasting dark Navy. For work-surfaces I settled on wood for the worktop by the sink and a composite material with waterfall effect on the Island, with one side having a breakfast bar to eat at. This keps the palette simple and (I hoped) would create a consistent look.
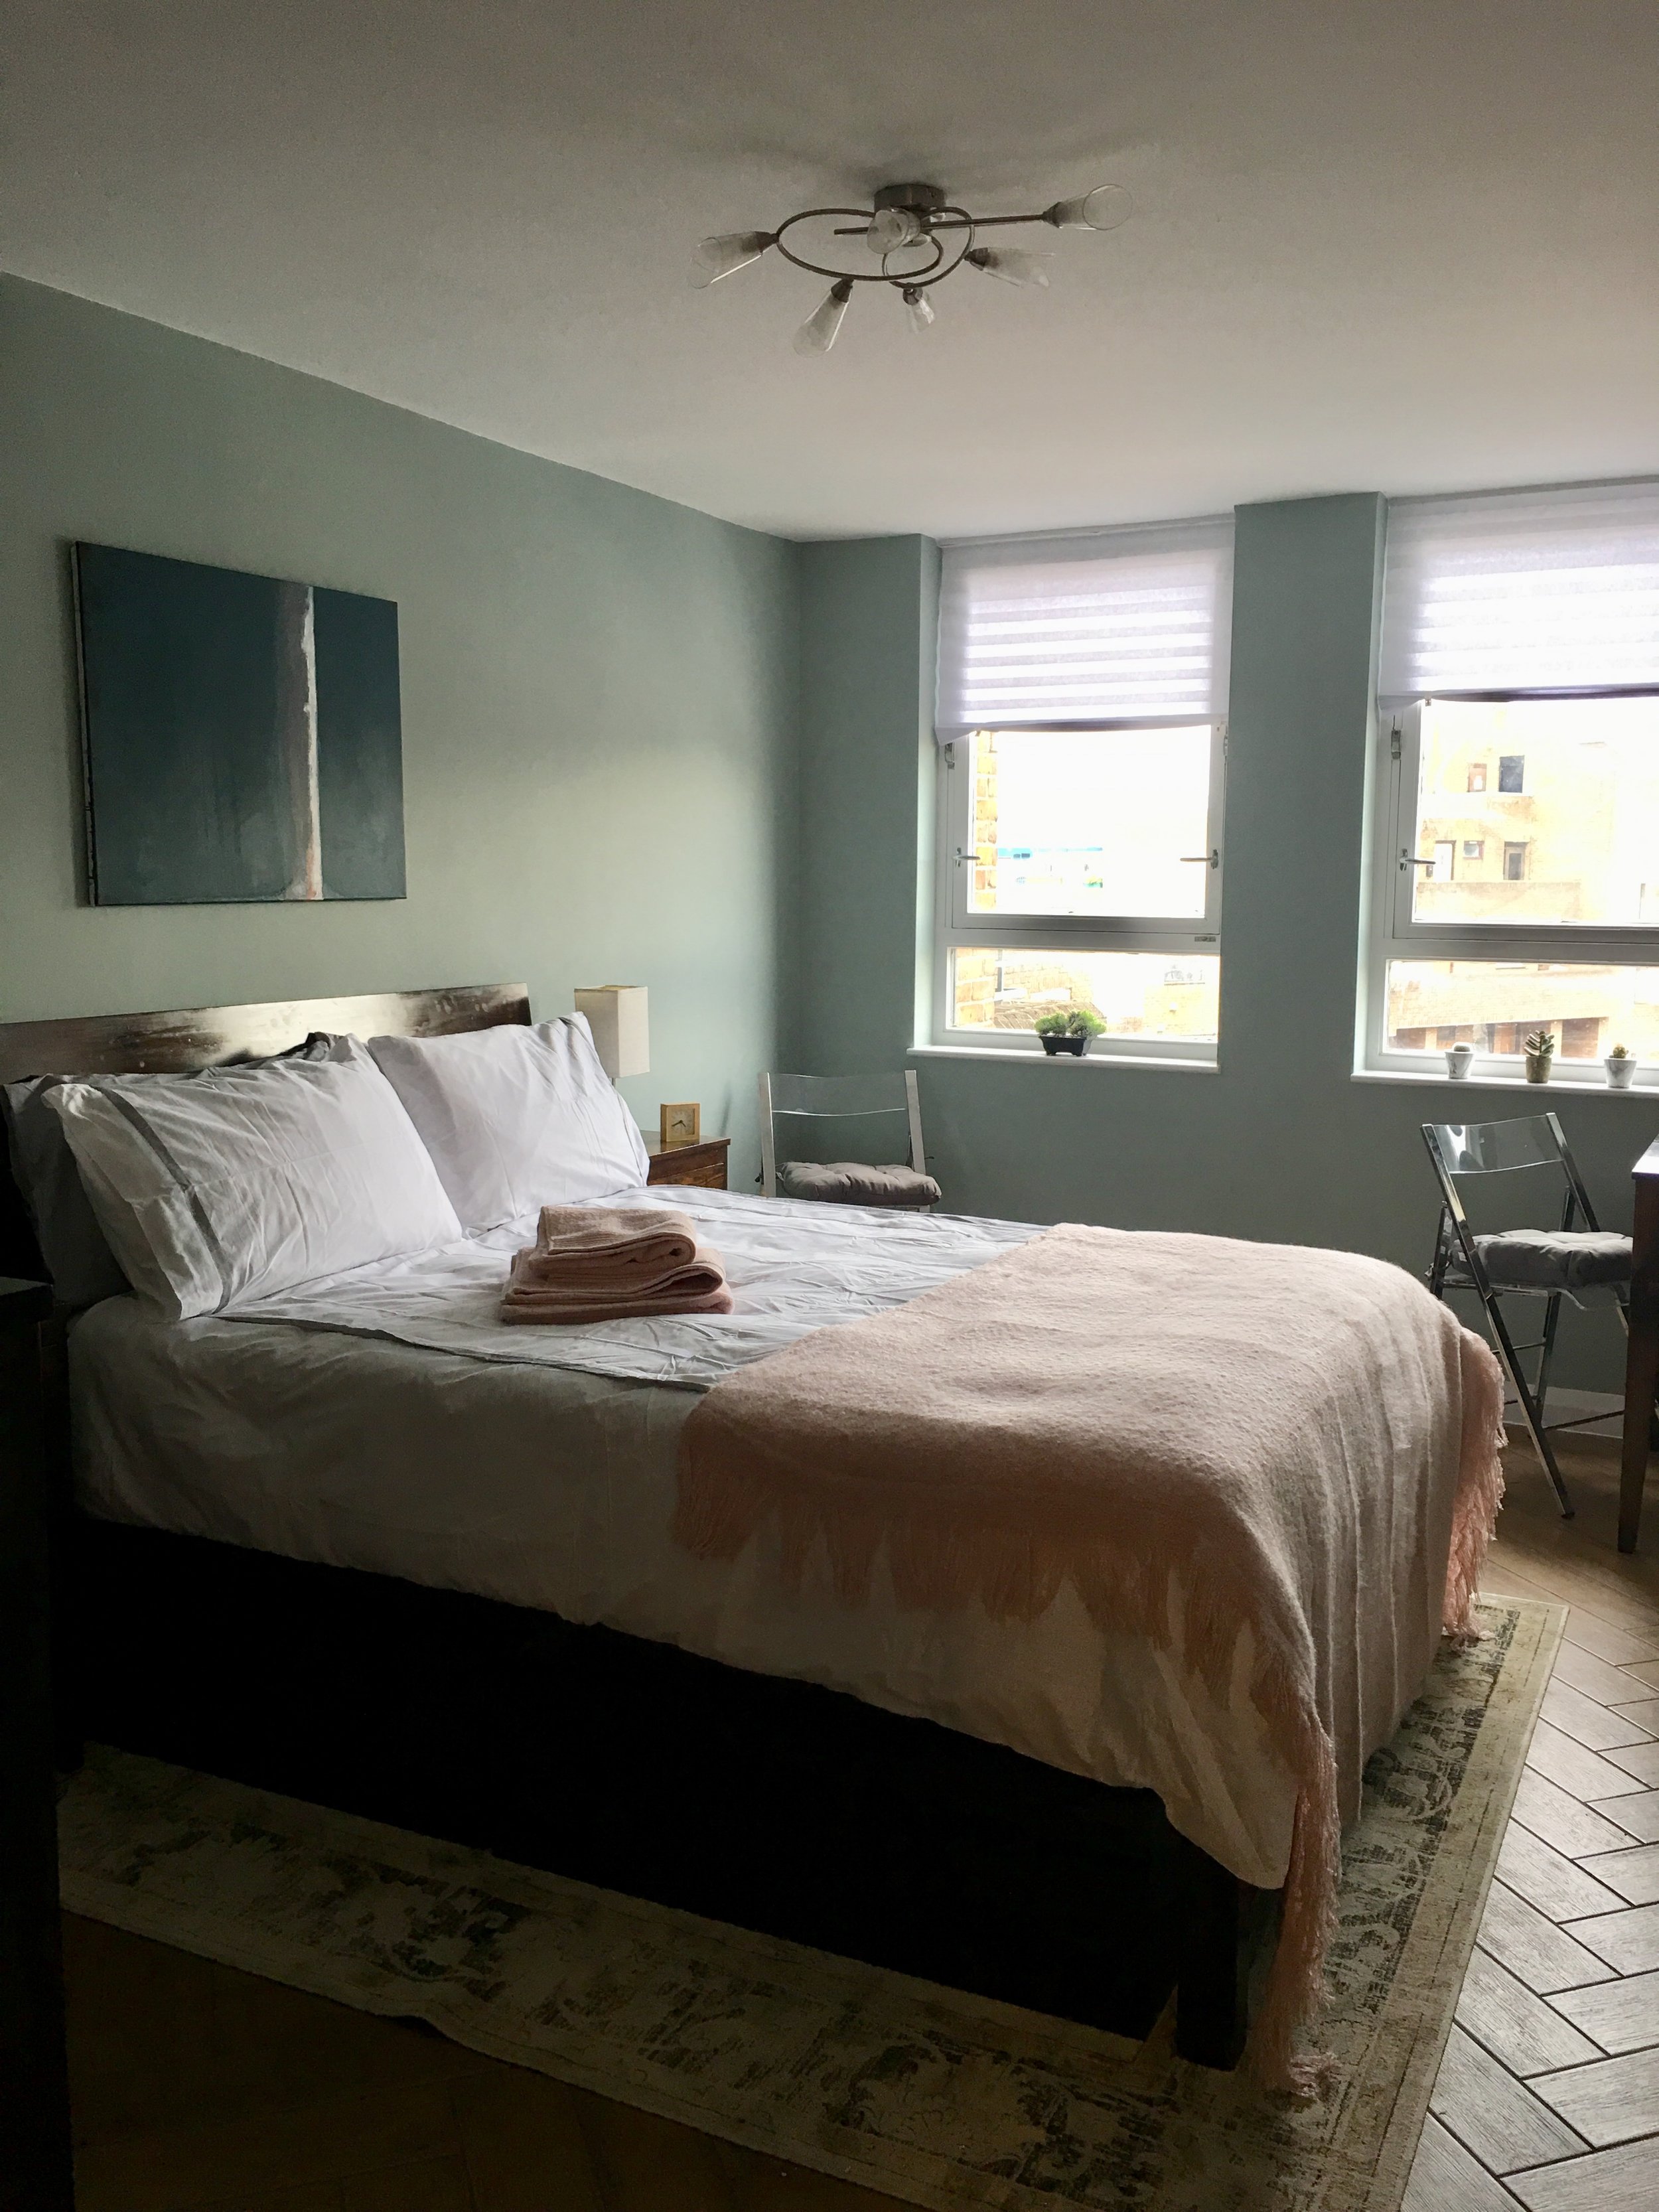
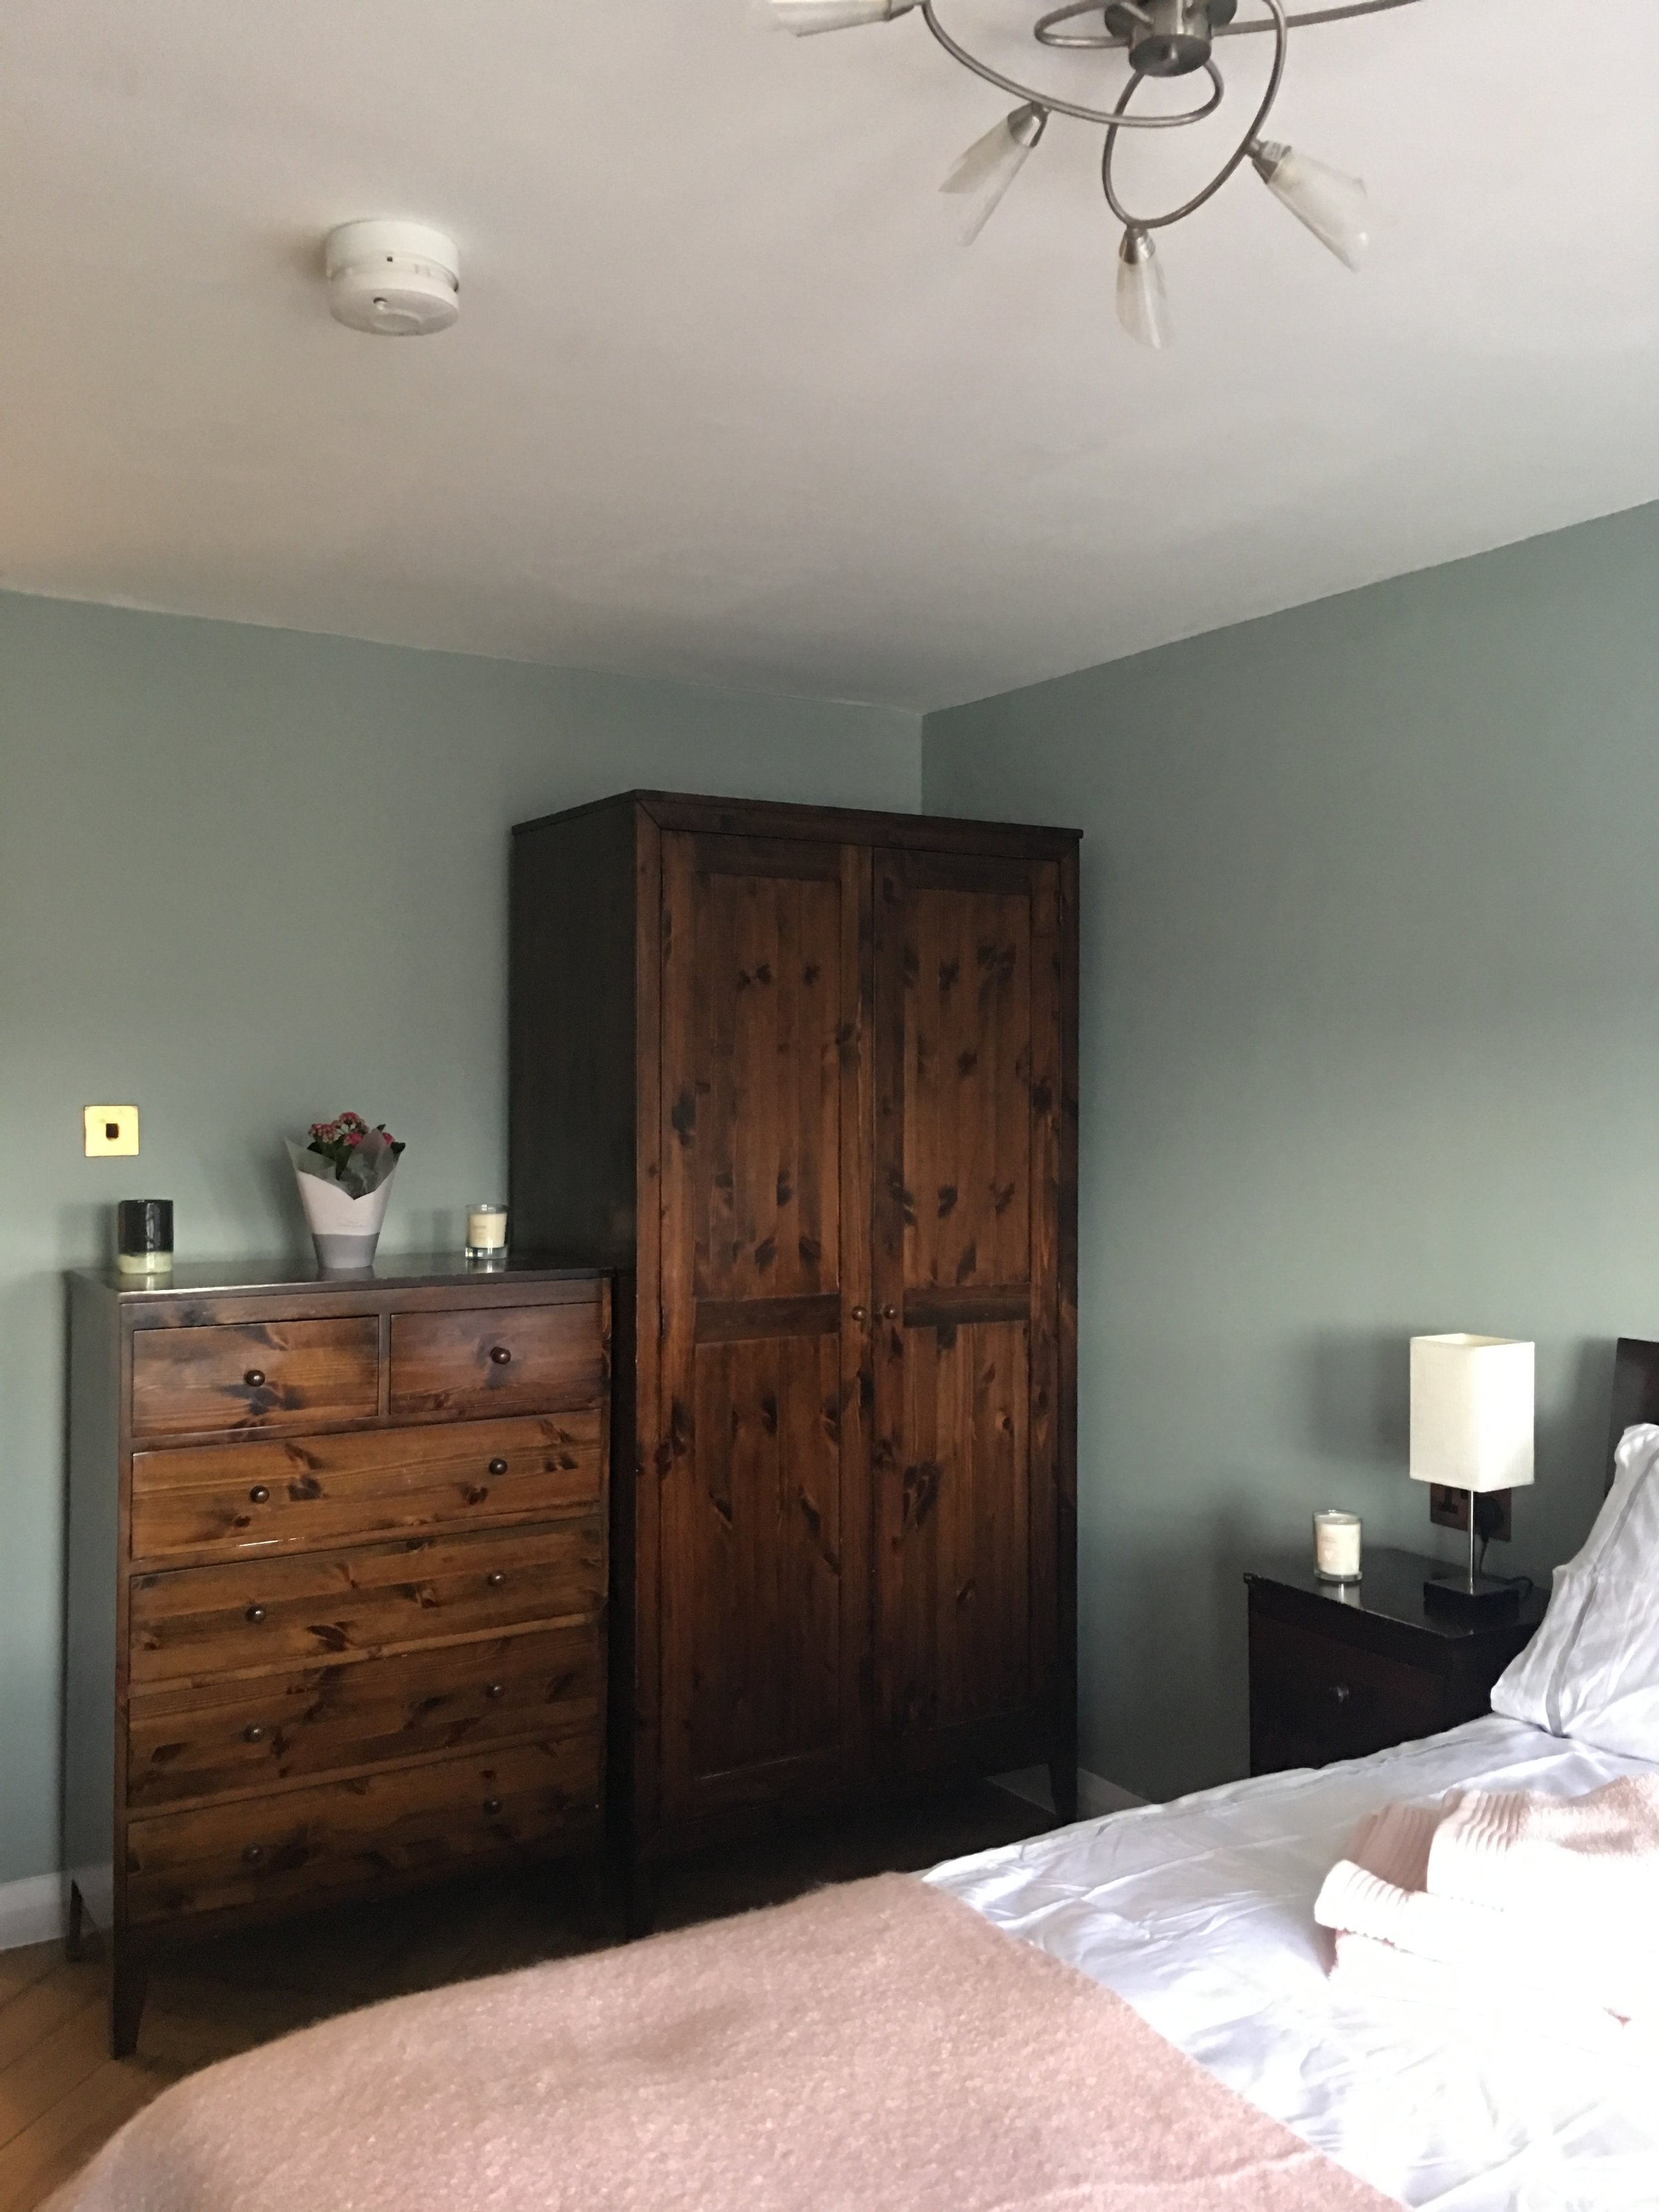
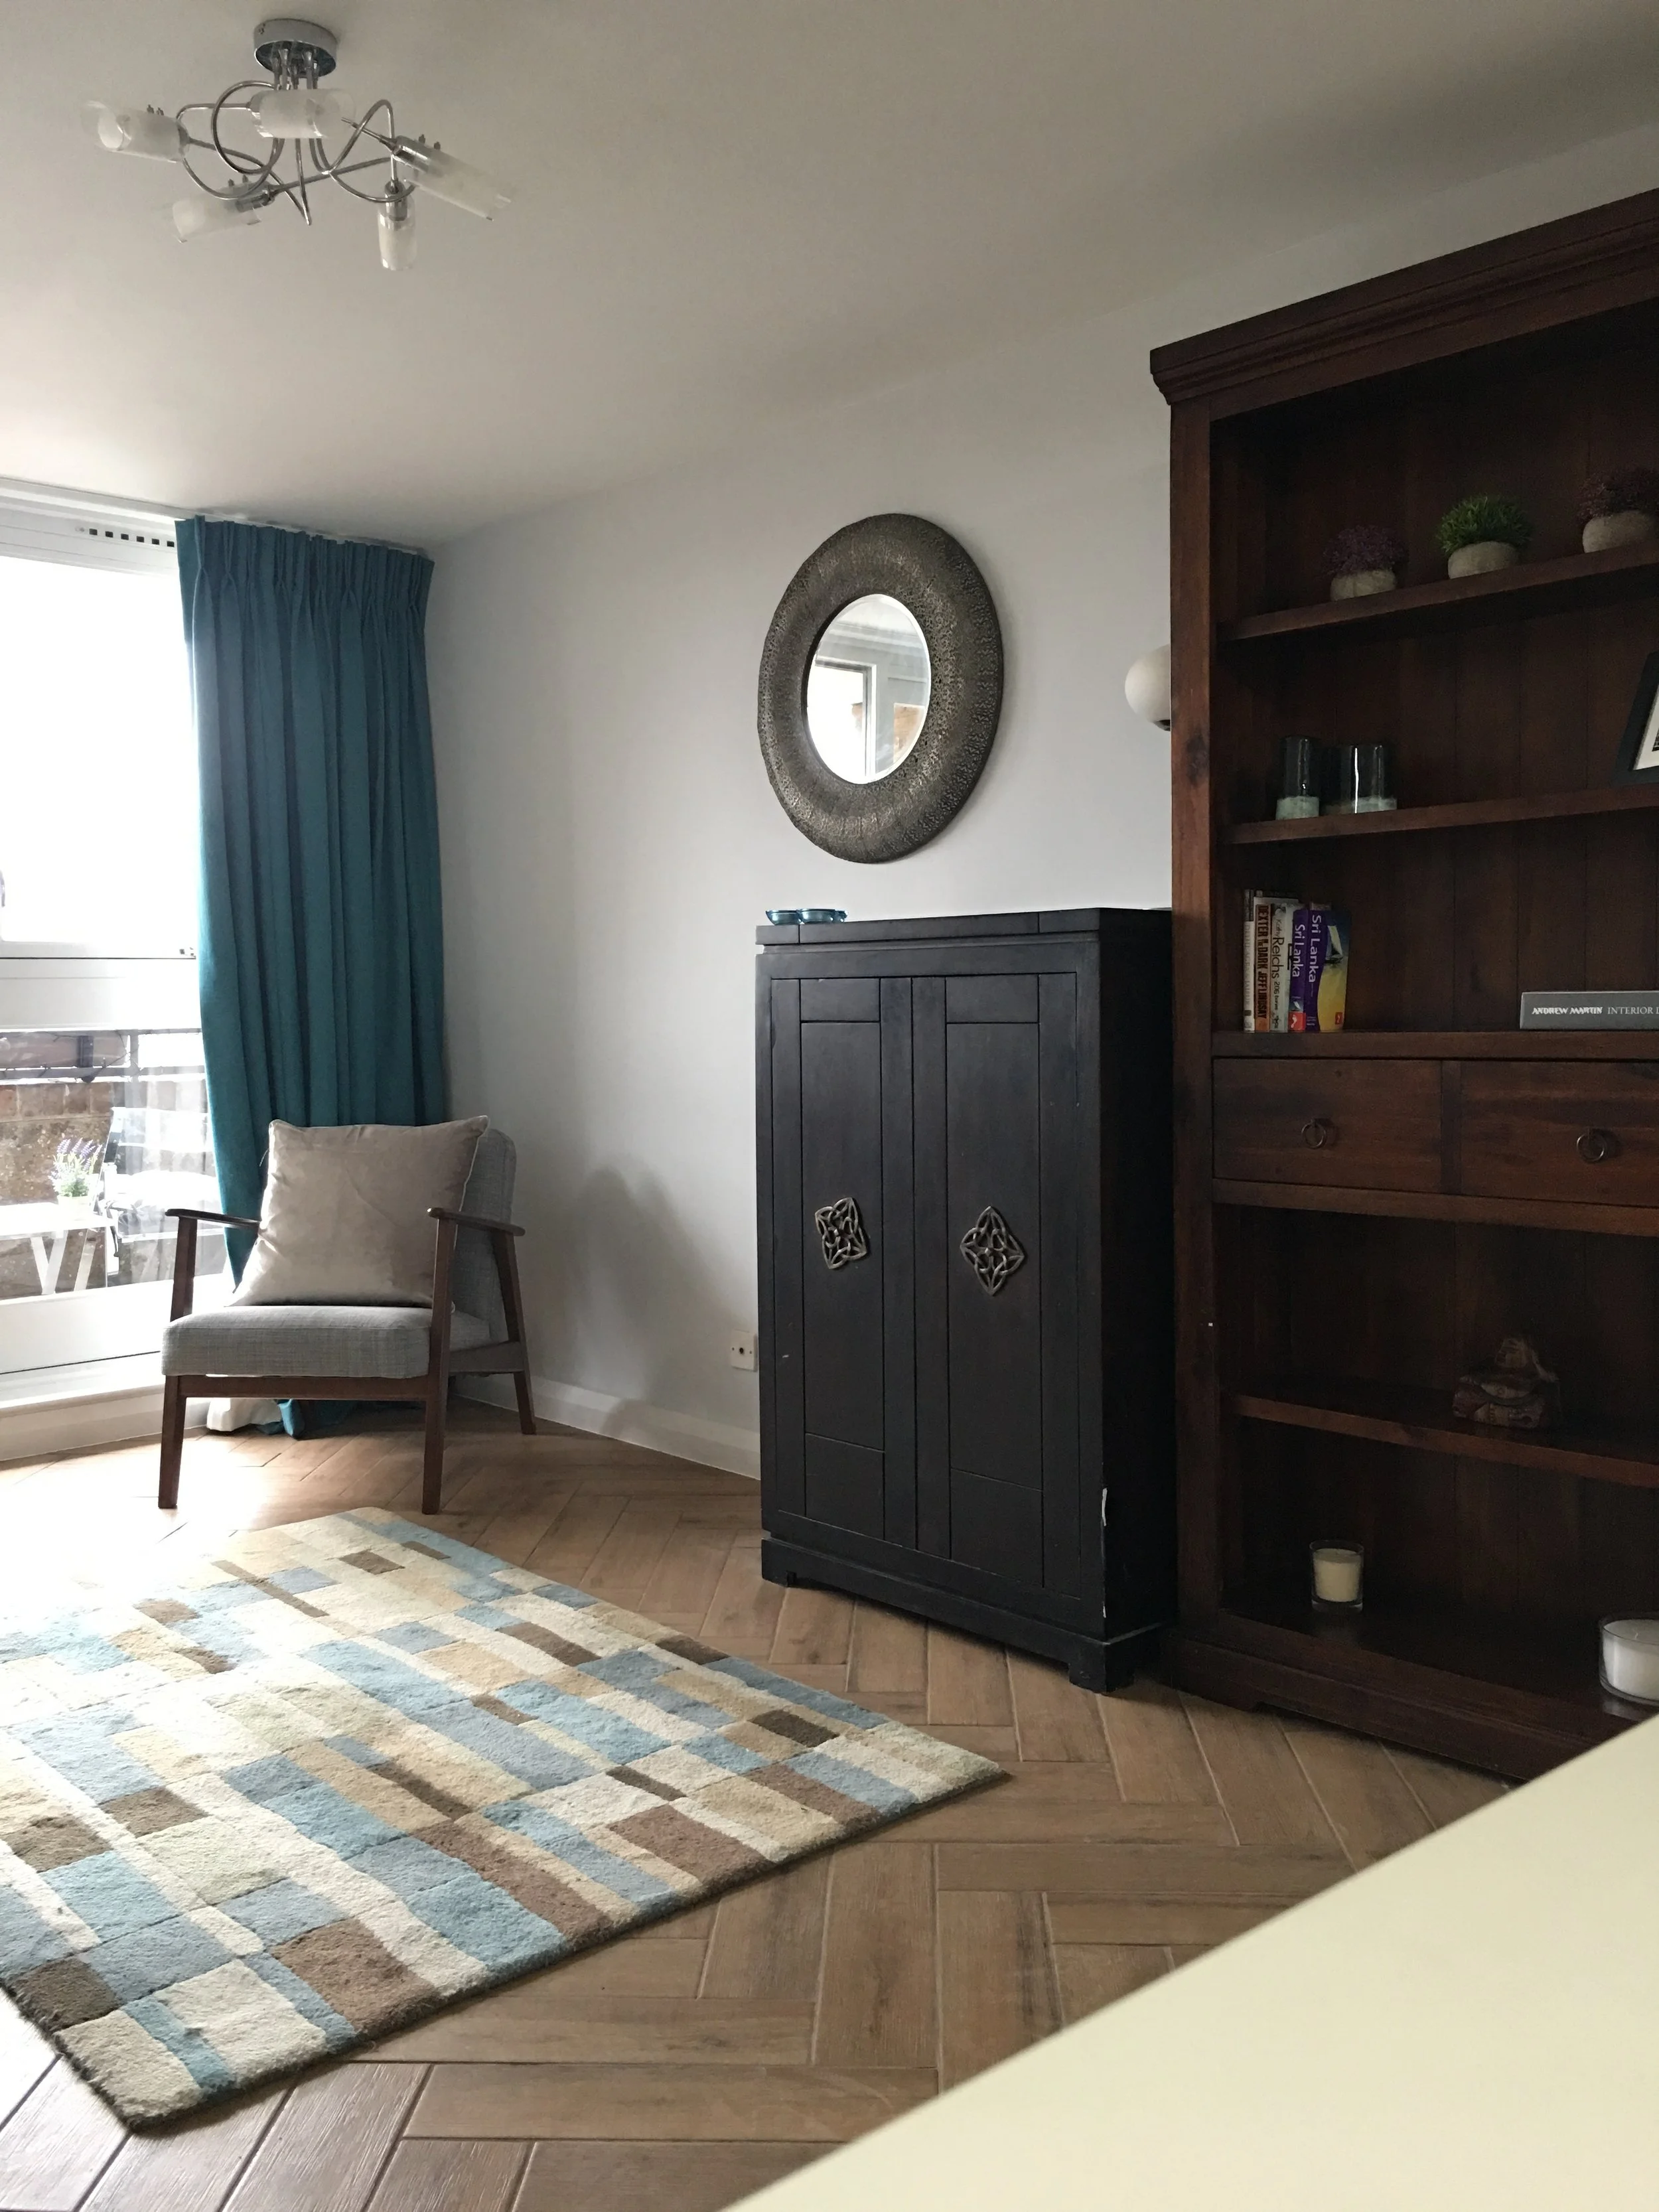
I went for a pale colour on the walls in the lounge and hall area (Fired Earth Platinum Pale), a lightly darker colour in the bedroom (Fired Earth Ultramarine Ashes) to make it more cosy, and a deep blue (Fired Earth Carbon Blue) on the bathroom and kitchen walls where they were not tiled. Ceilings would be white as well as the woodwork (Fired Earth Yes Your Honour) apart from the front door which I wanted a deep green (Fired Earth Malachite). The outside window frames would be grey (Fired Earth Mercury).
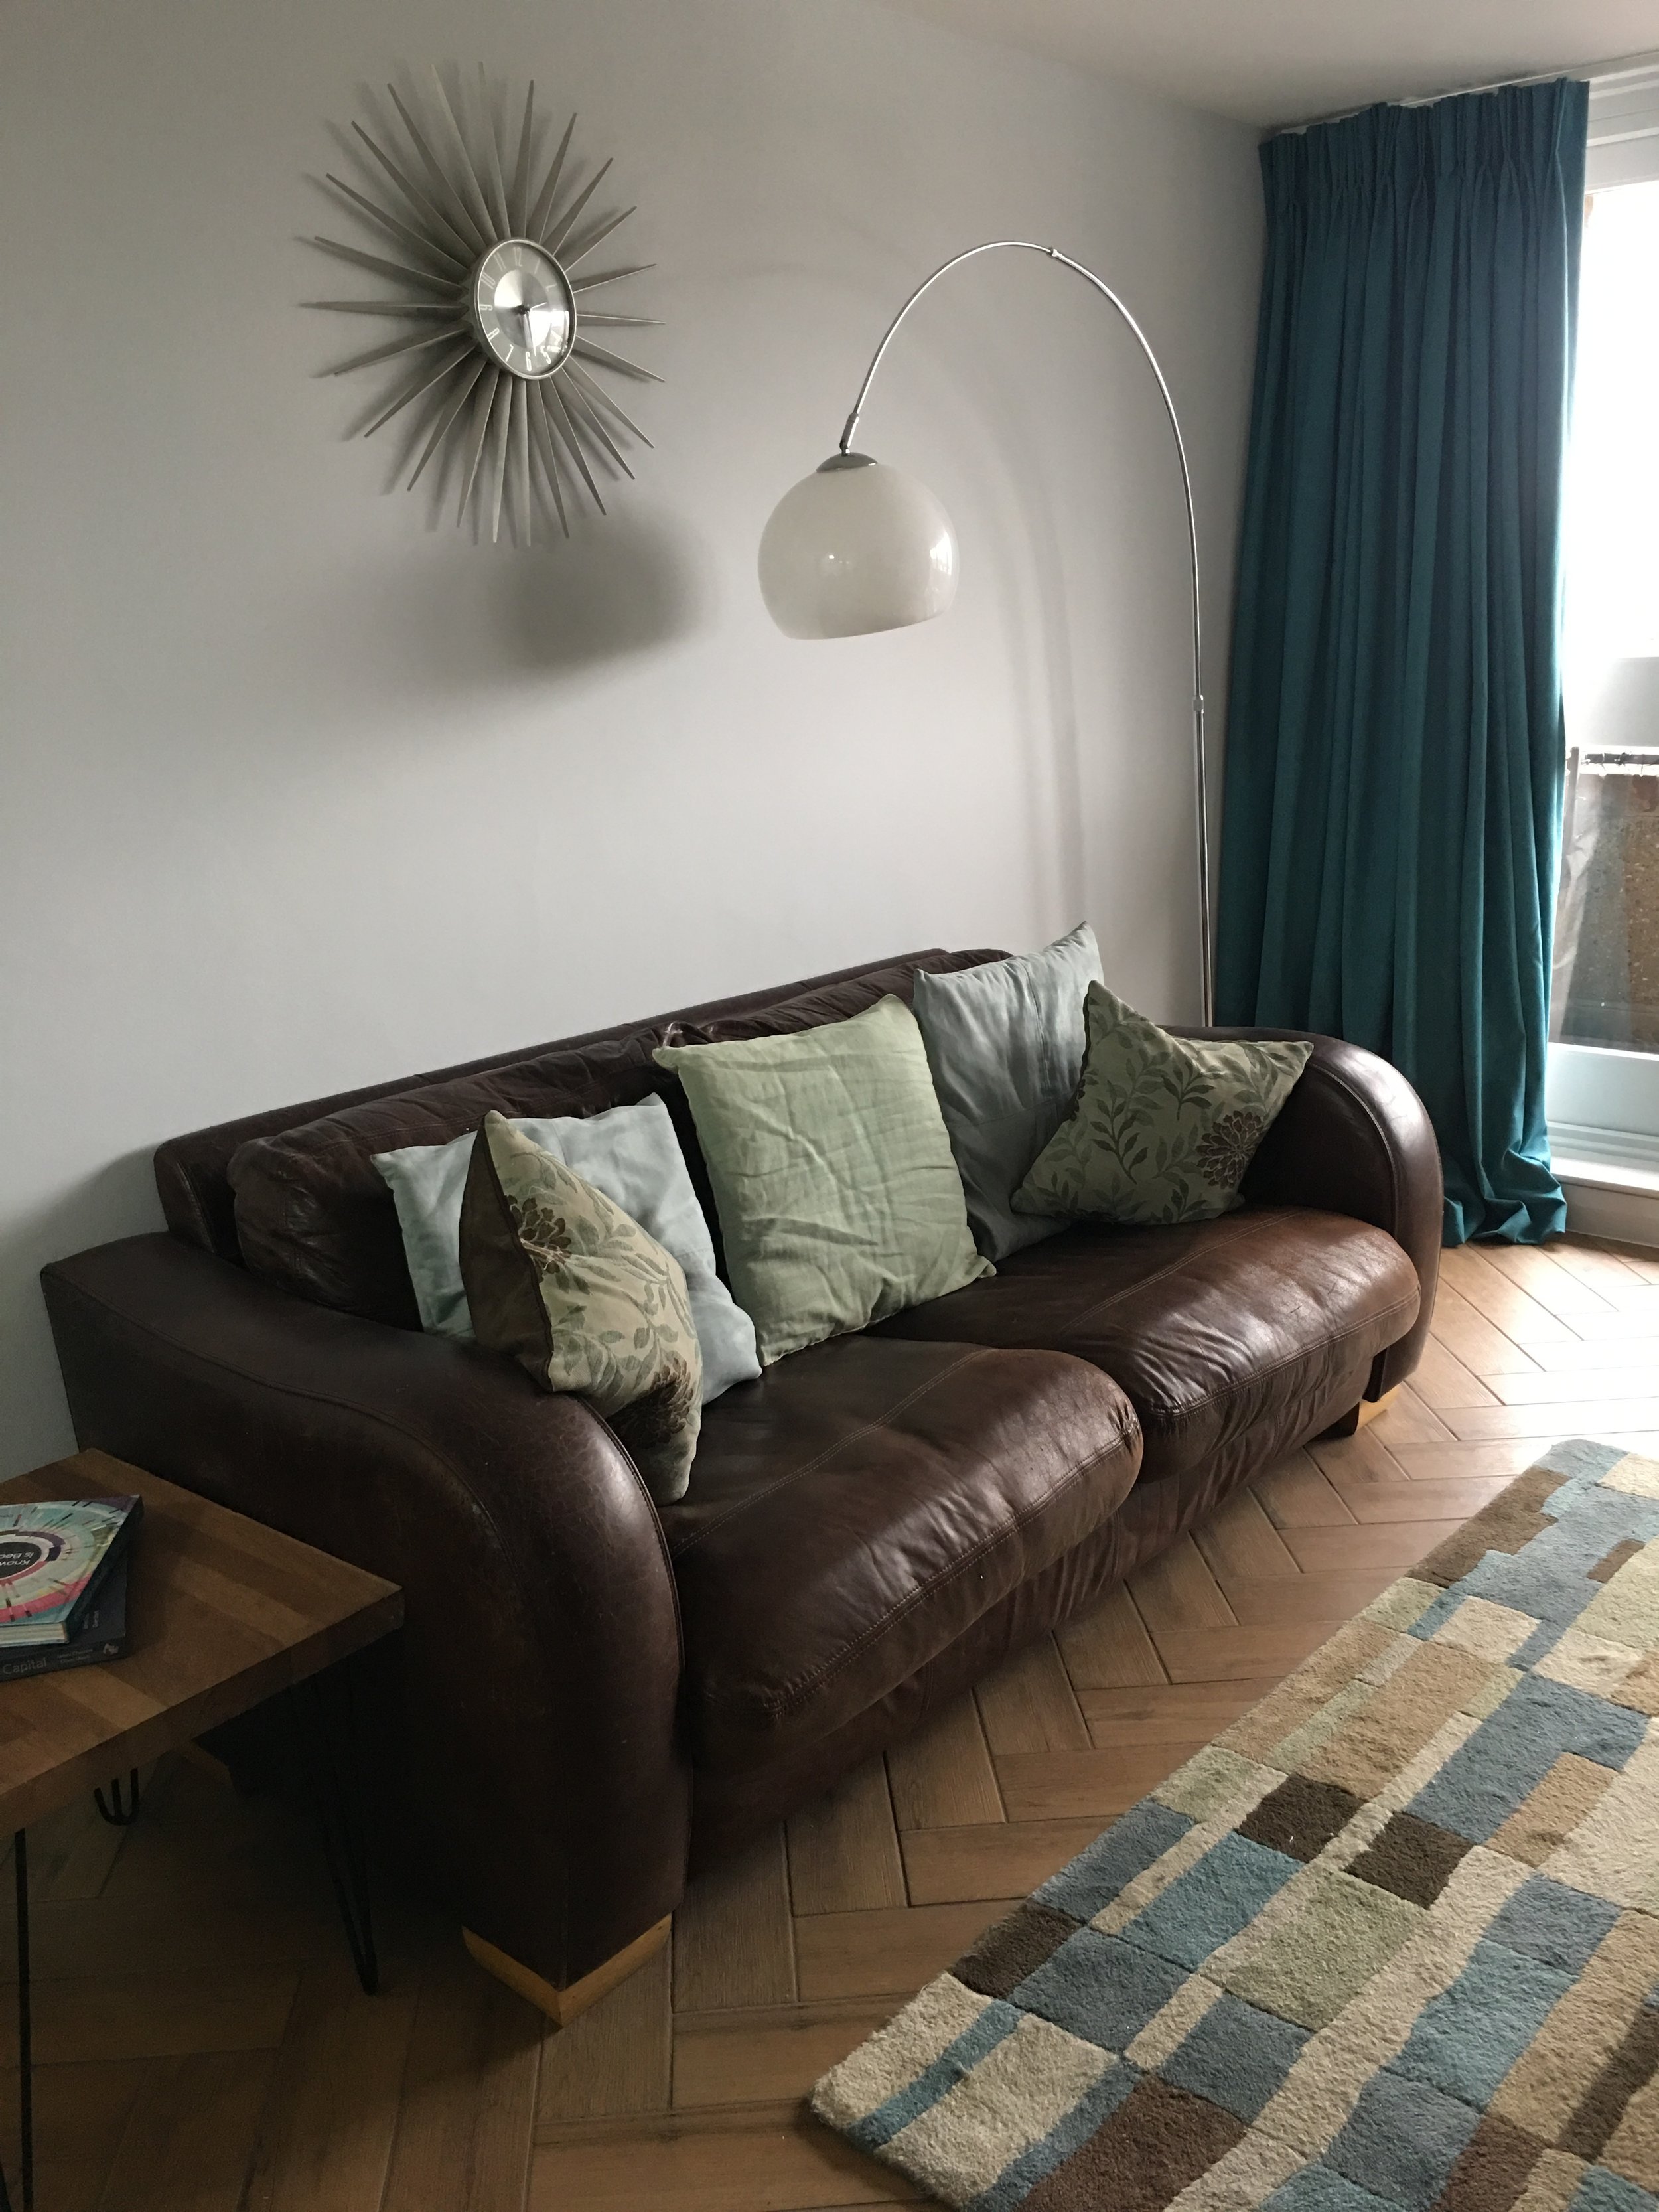
I was excited to see how this would look with the wood & leather furniture I had chosen.
Putting back together.
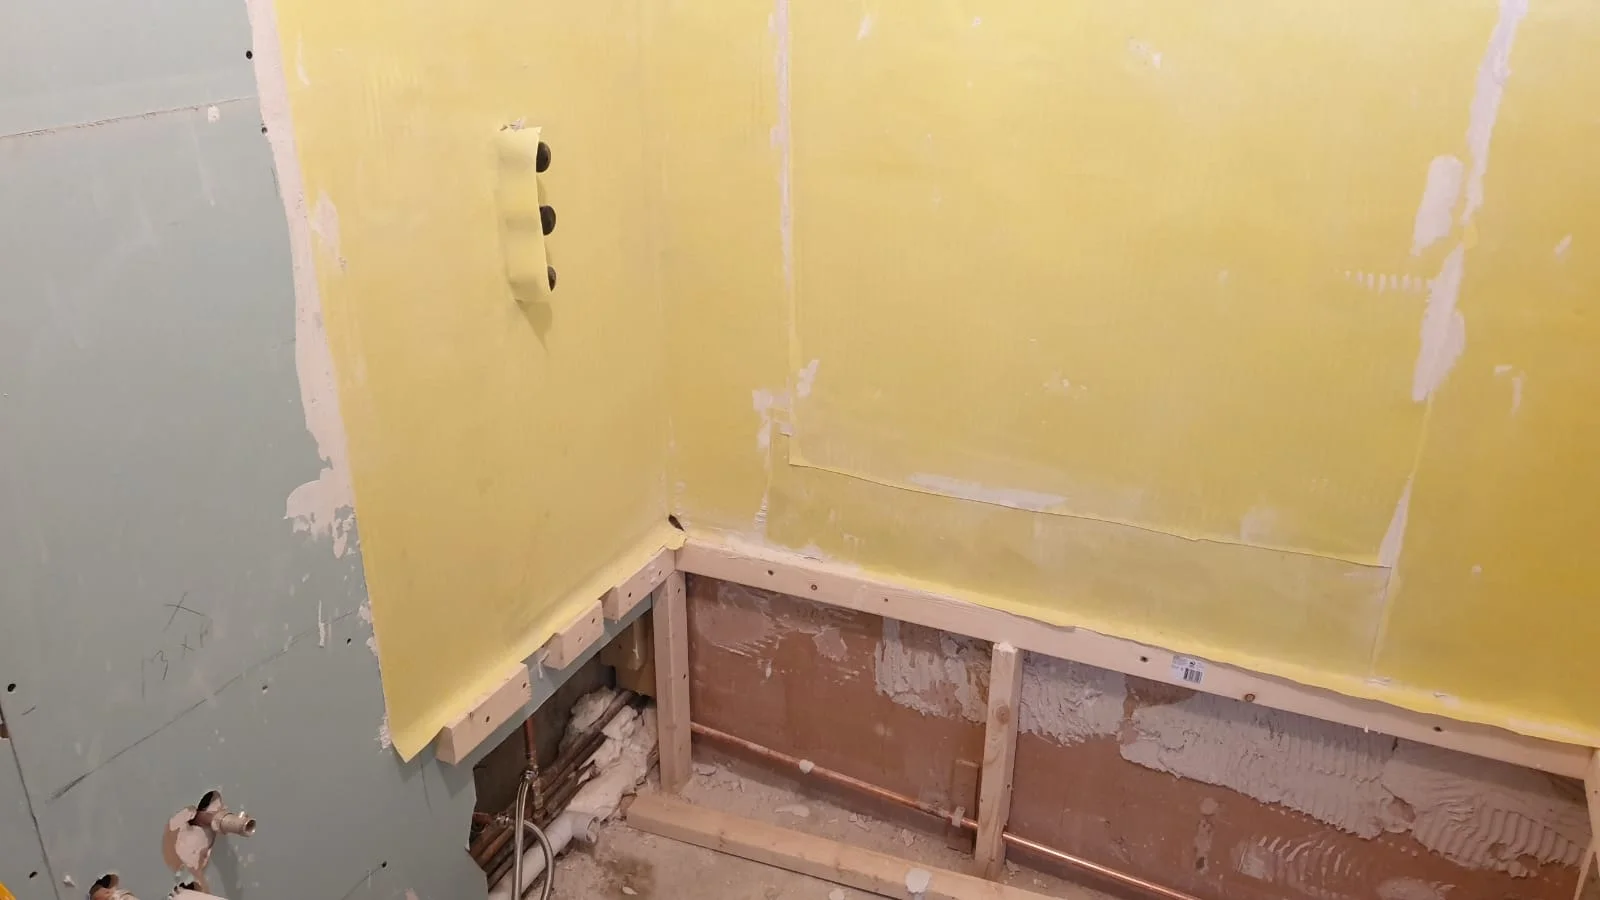
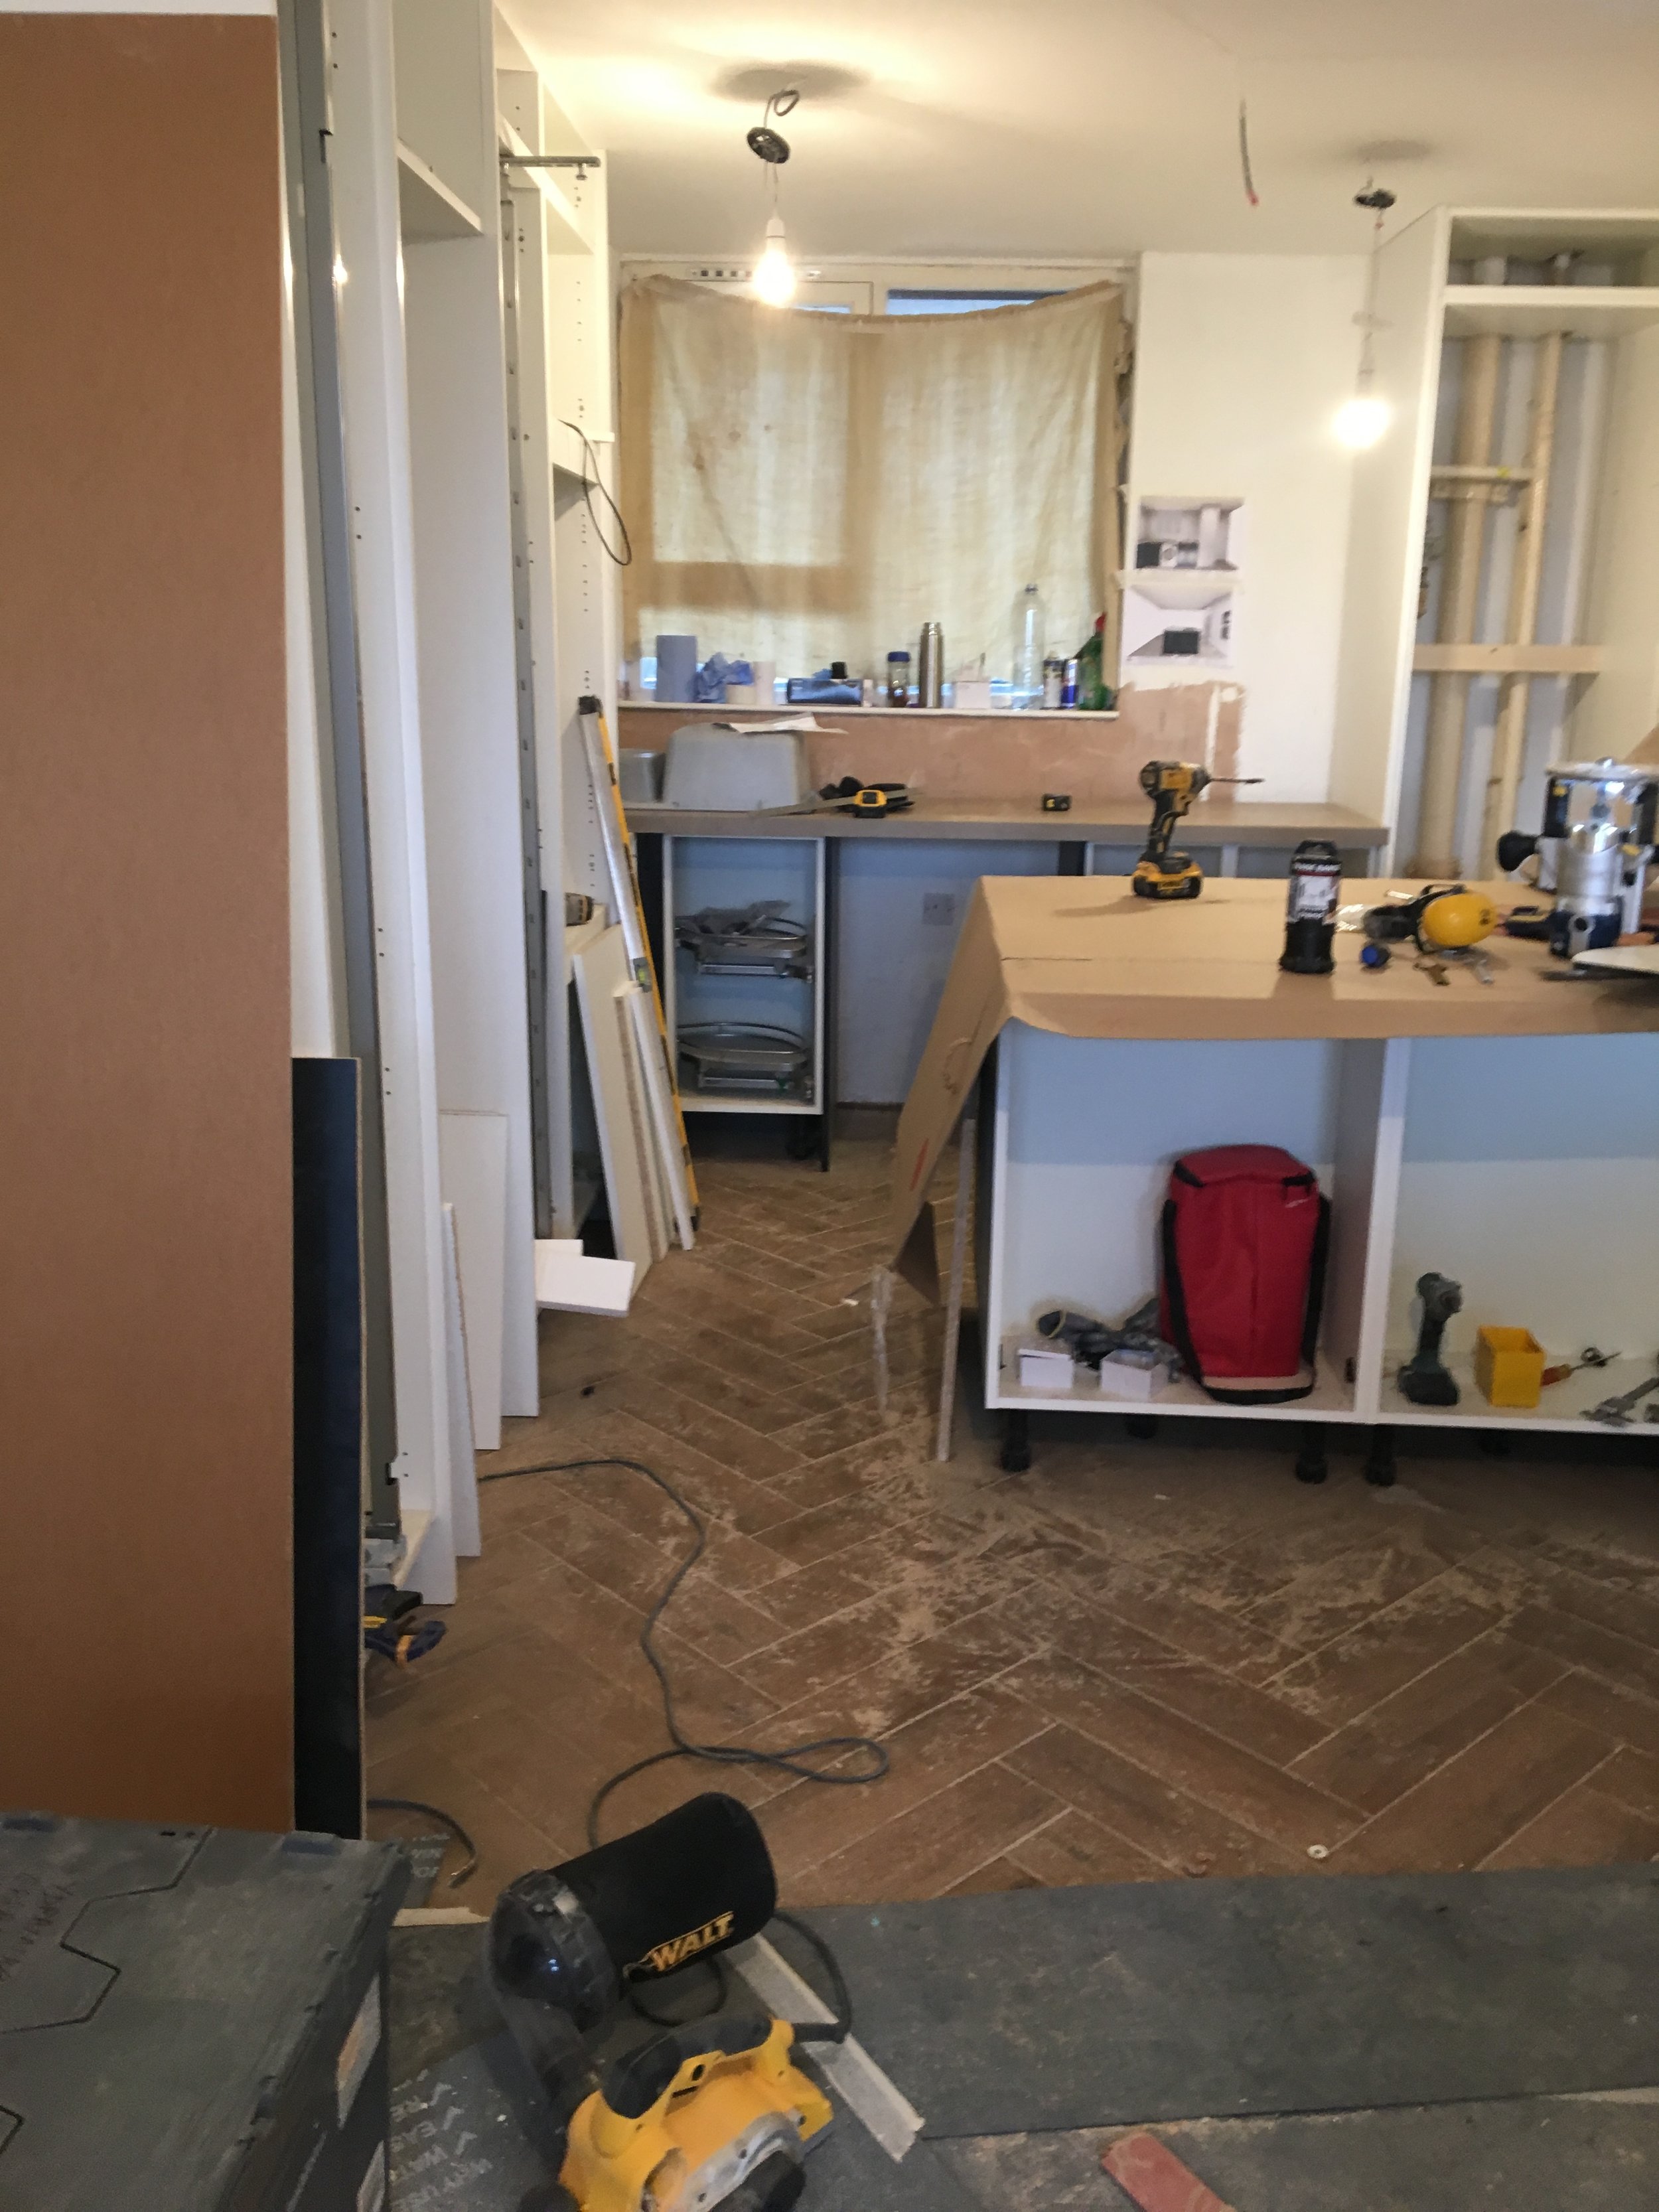
The next phase was to finish off the floors, ceilings and electrical/plumbing. This seemed to take for ever. But we had to plan where the Island was going, where the oven, washer/dryer was to be, the fridge, the lights etc. This needed to be right as we could not change this easily after the the sockets were in and plastered over. The flat started to take shape….below are some photos of the flooring, tanking and other plastering work in progress.

Finishes..
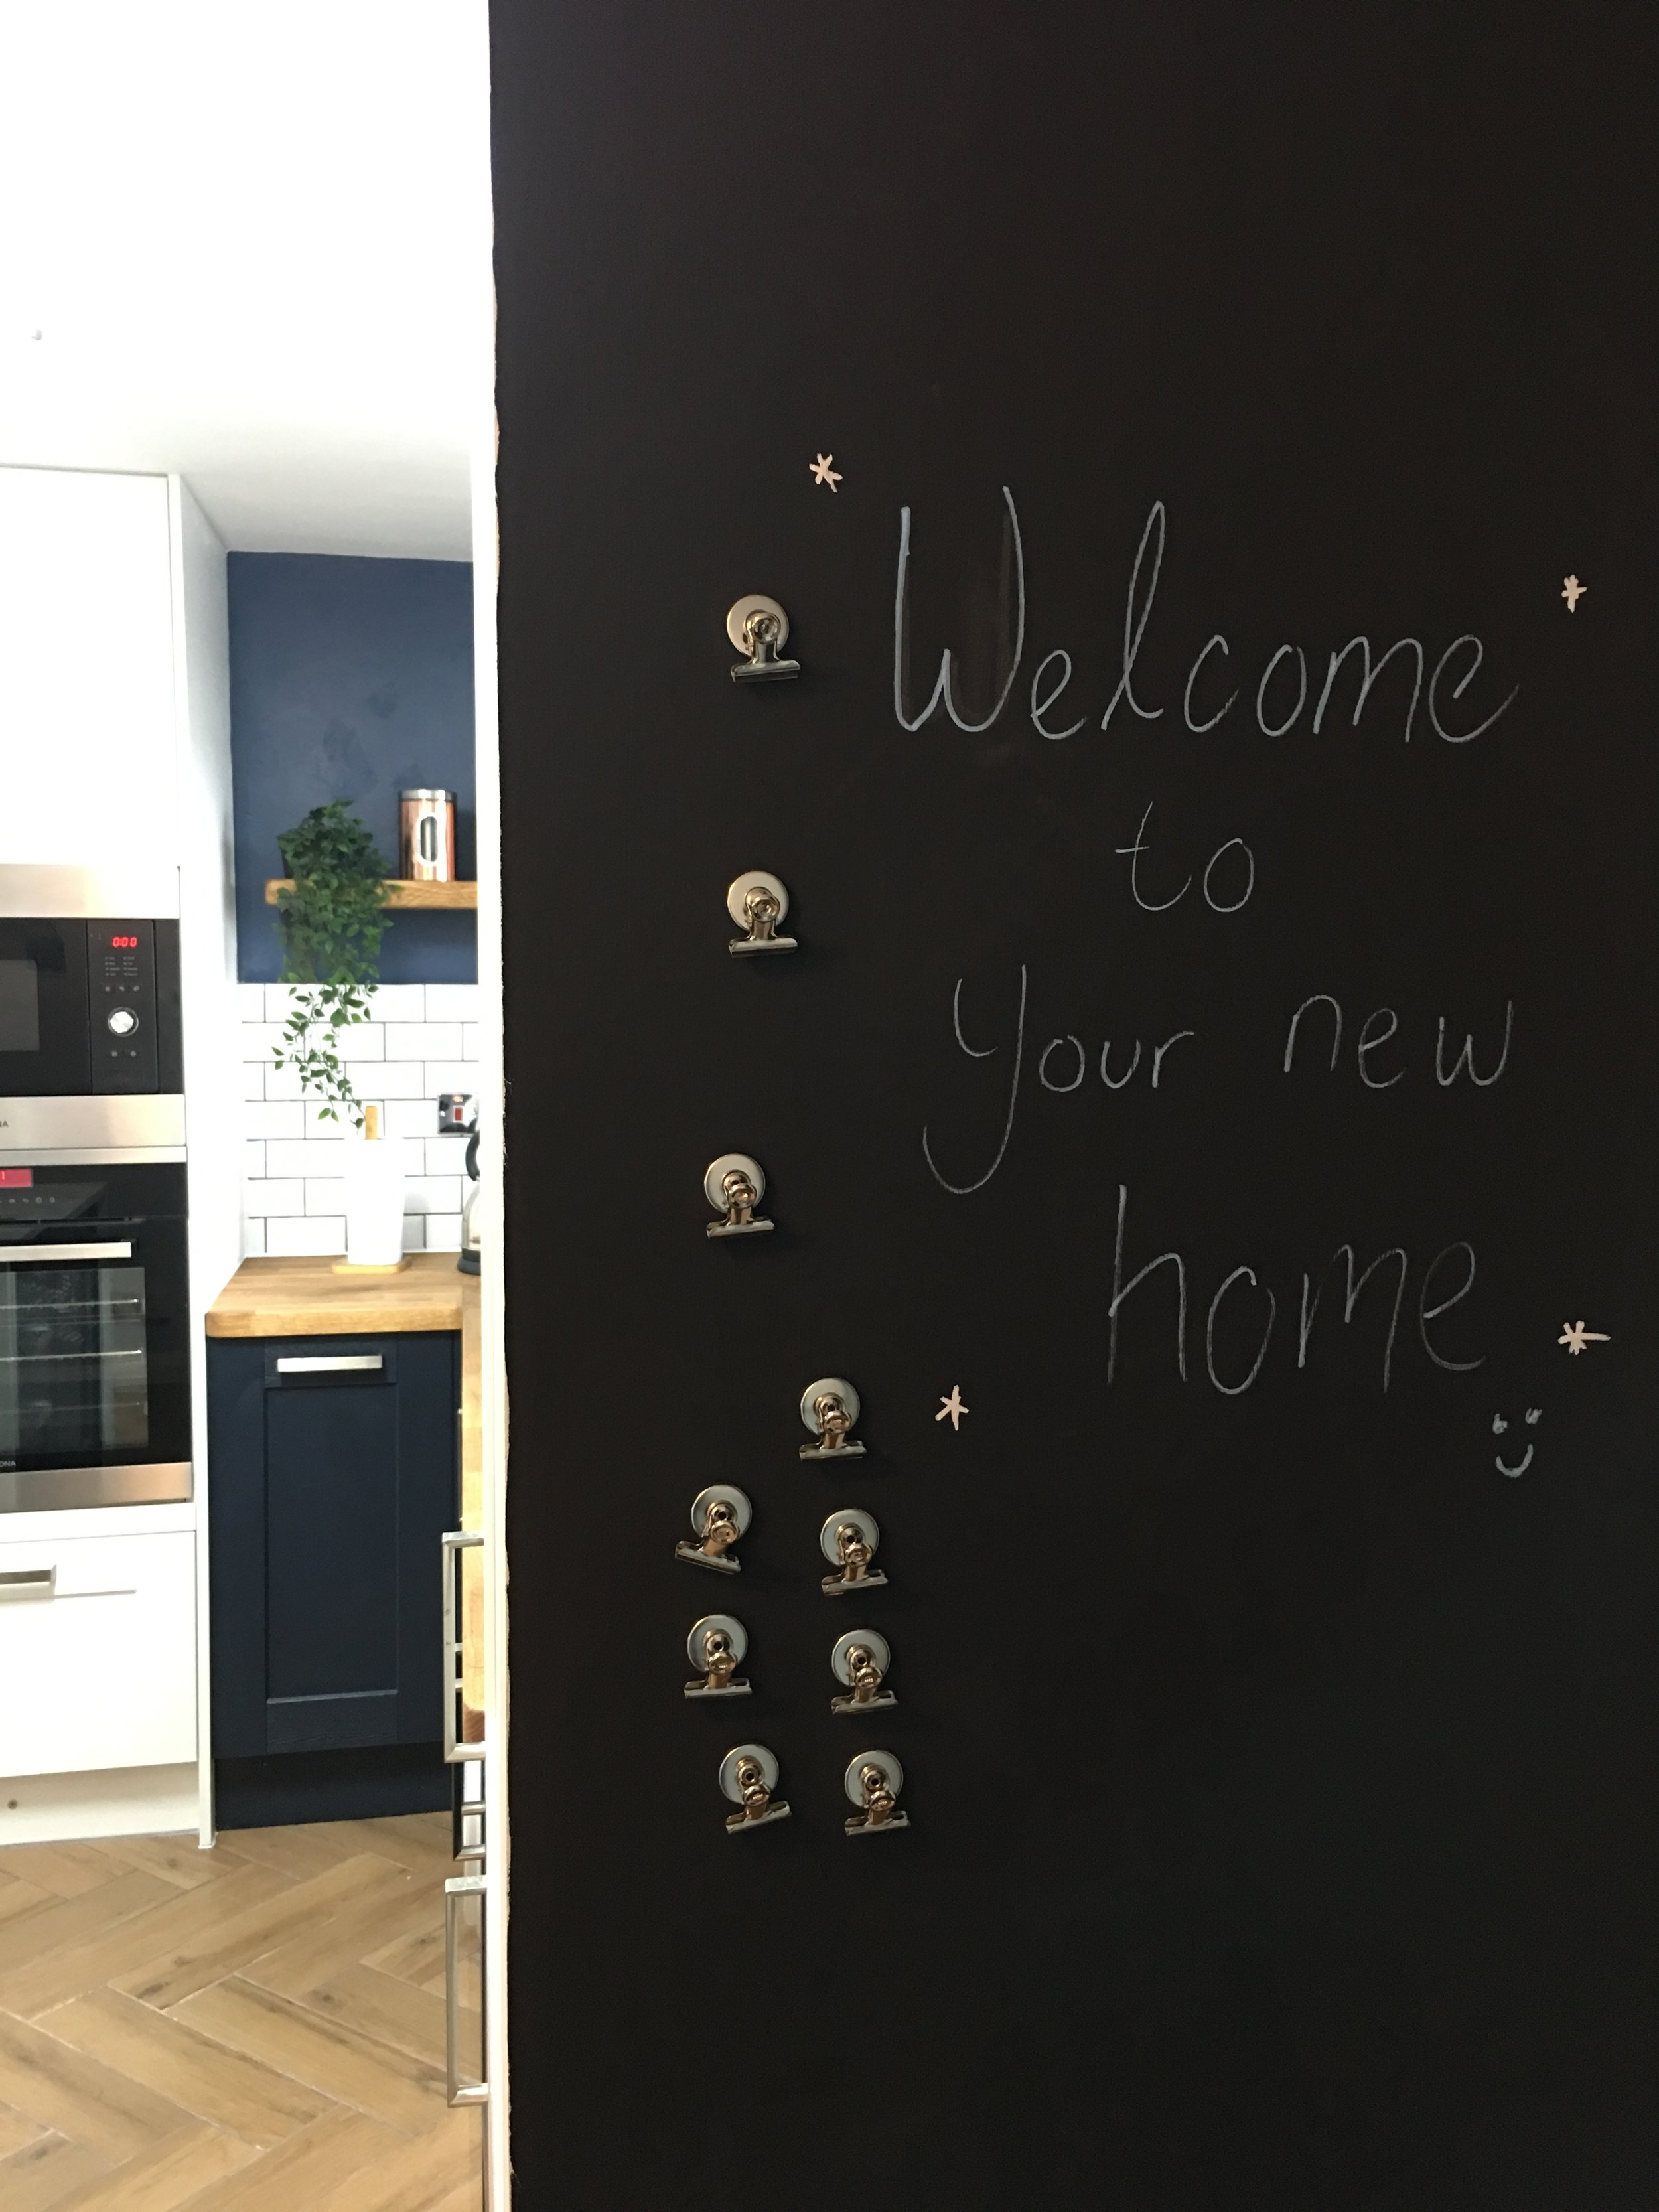
Now we are onto putting down the finishes. Tiling, flooring, kitchen etc. It was at this stage I could see my design coming together. Excitement was building and the end was in sight. There were a few minor tweeks, I decided to add a blackboard to the end of the cabinet in the hallway, and make the curtains floor to ceiling/wall to wall instead of just inside the window. Otherwise, we were basically on-track.
Finished Project.
At the end of March, the project was done. Furniture moved in and everything cleaned and dusted. One of my favourite moments during this phase was lying on the sofa after a long day moving furniture around looking out at the view. I could have just done with a glass of wine at that point. My vision had become reality and I was super pleased with the result. The feedback I had from neighbours, the builders (GT House Renovations), friends and acquaintances was widely positive. Everyone loved it, and it was quite a transformation from the start. Below are some pictures of the finished project with a few before/after shots. I hope you like it too!